
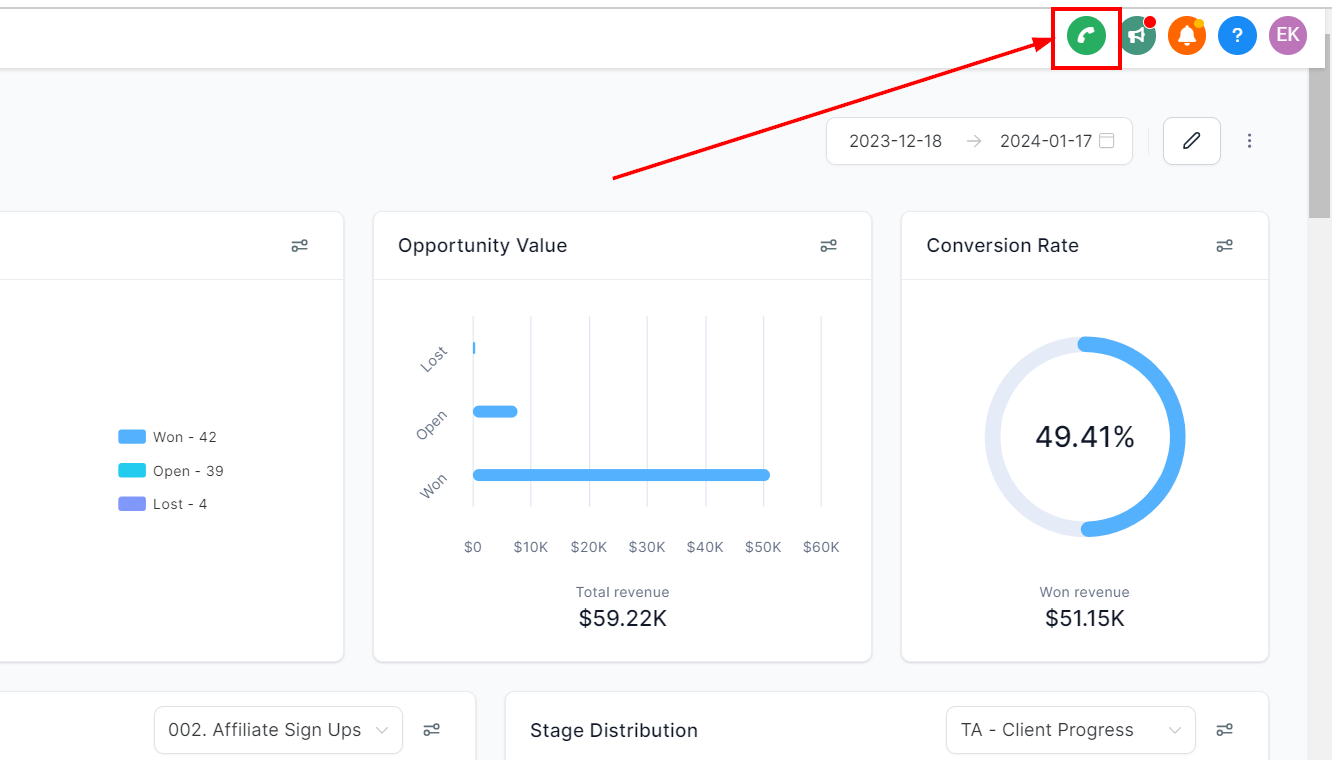
The Dialer
The dialer button is visible from every view of your platform and is found in the top right corner. Click your dialer now.
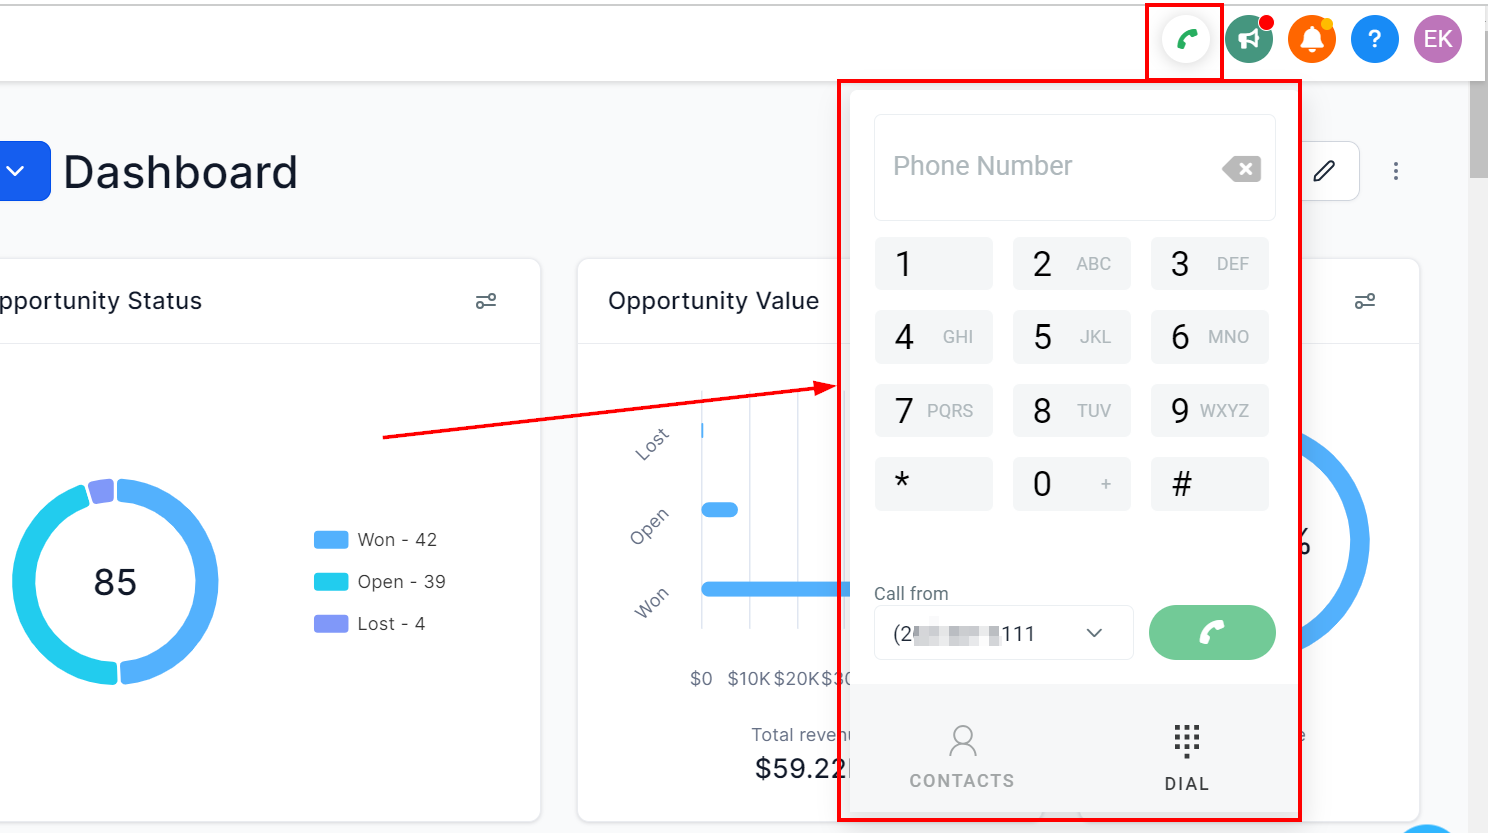
This opens a user-friendly interface with standard dialer features:
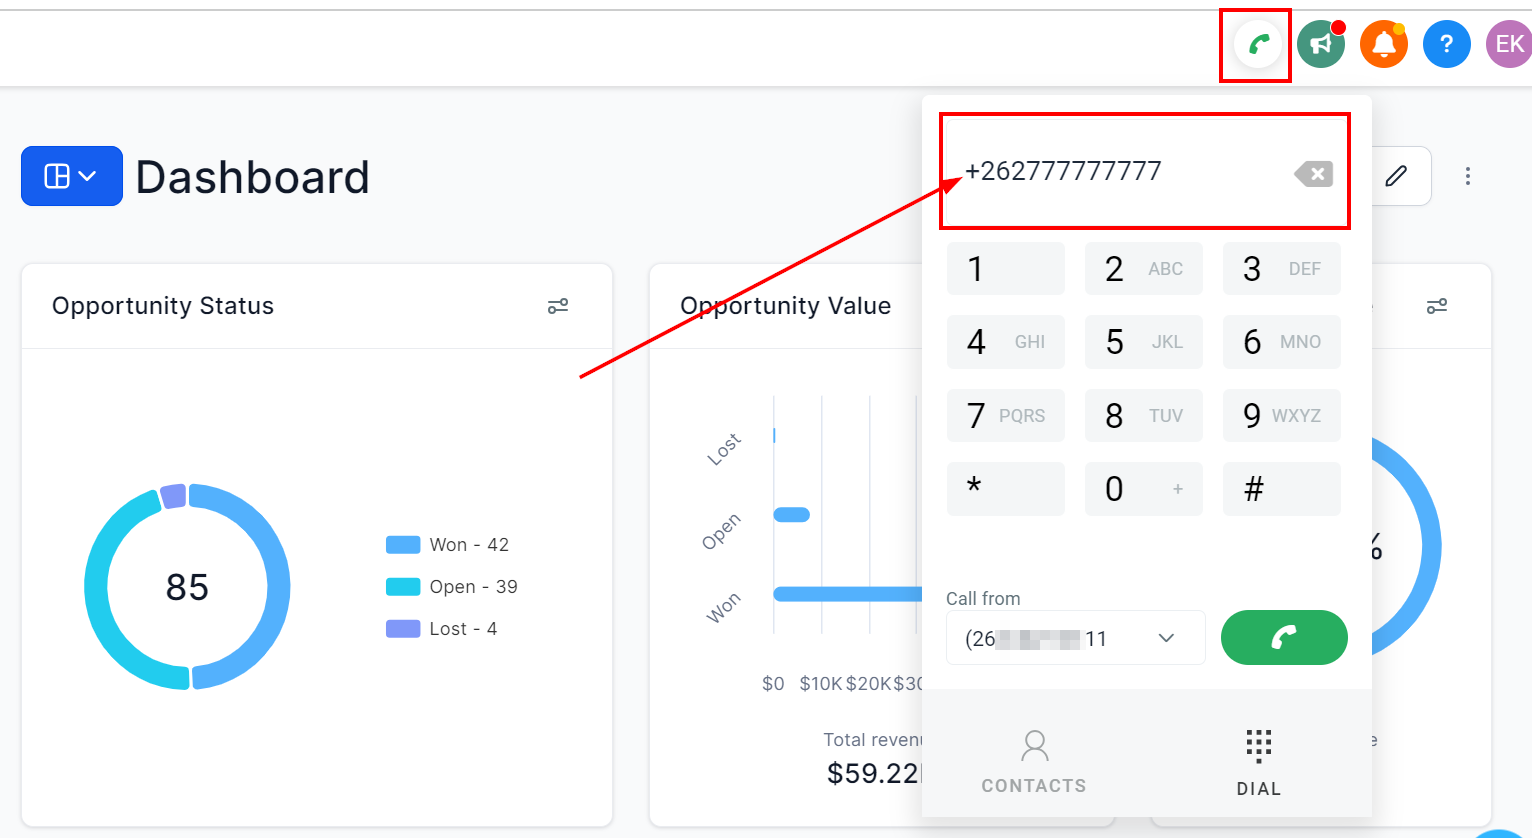
Phone Number field: This is where you enter the number you want to dial. You can copy and paste a number here, use your keyboard's numeric keys to enter it manually, or click the buttons of the number pad to enter a phone number with your mouse.
Call From field: Select which phone number you'd like to make the call from. If you have multiple numbers set up in your platform, they'll appear in the dropdown list.
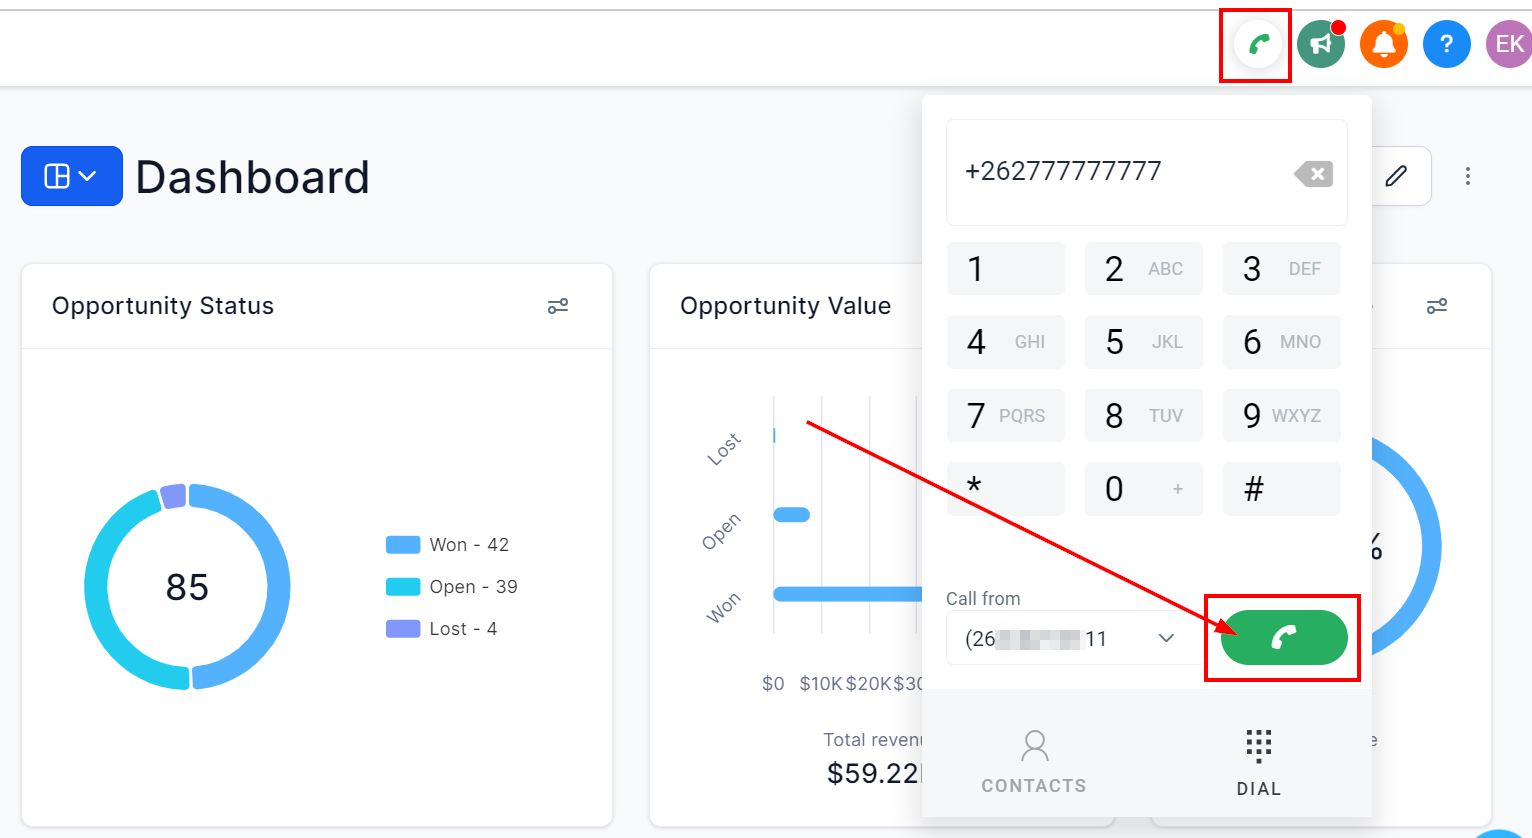
And when you're ready to dial a number, click the green phone button.
At the bottom of the dialer, you have icons for your Contacts and Dial views. Our Dial view is currently open.
Let's switch to the Contacts view. Click Contacts.
As you can see, the phone number field has been replaced by a search box and a list of your most recently contacted numbers.
You can use the search box to find a particular contact by their name or phone number.
Click Dial to go back to your dialer view.
Next, I'm going to show you the features built into your new dialer.
Let's enter a dummy number and click the green telephone button.
This changes the view - now we have a status field as well as a few options. Our call currently has a “dialing” status.
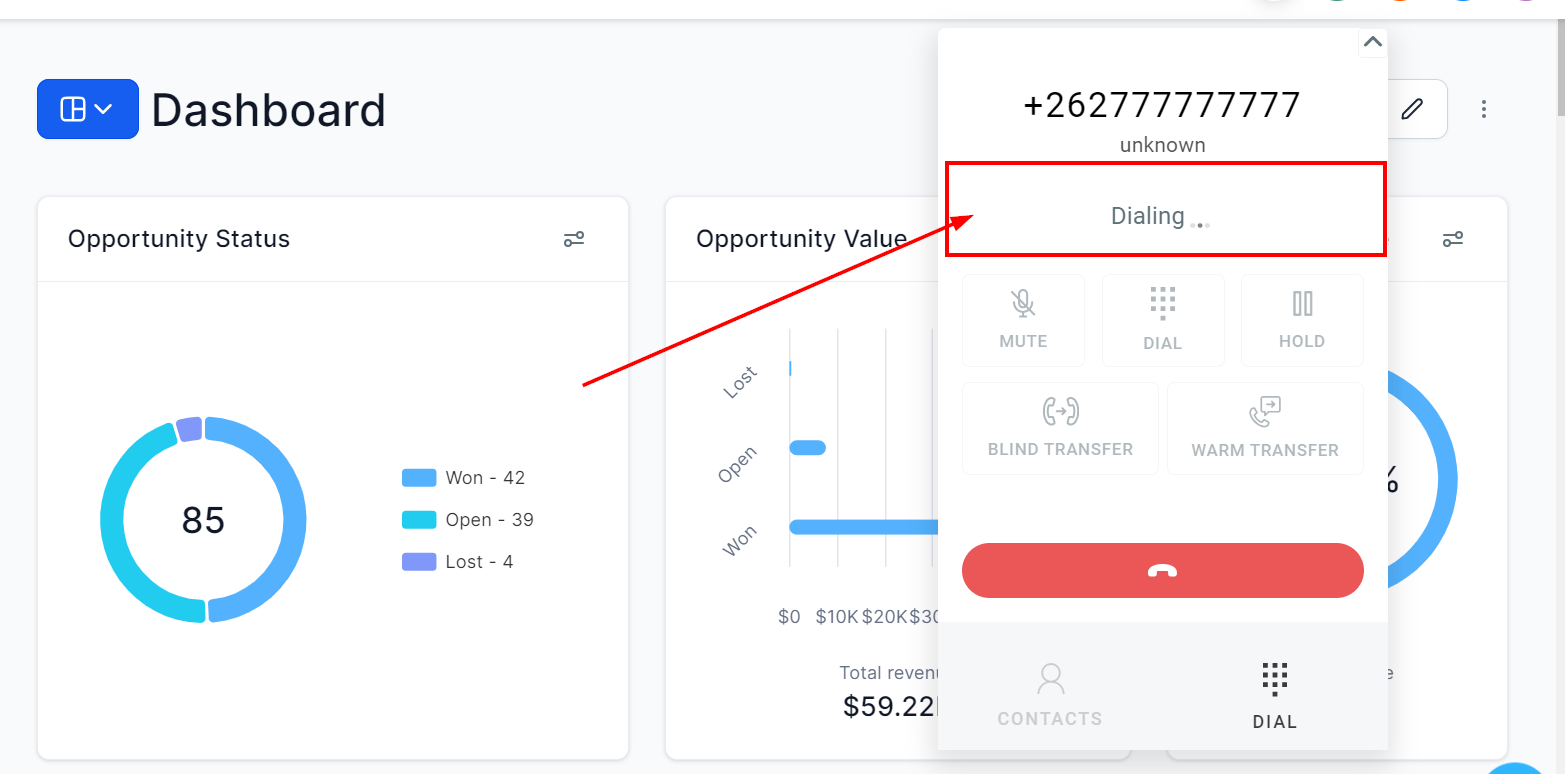
But once it connects, the status will switch to a timer that tracks your call duration.
See the small arrow in the top right. Let’s see what happens when we click it.
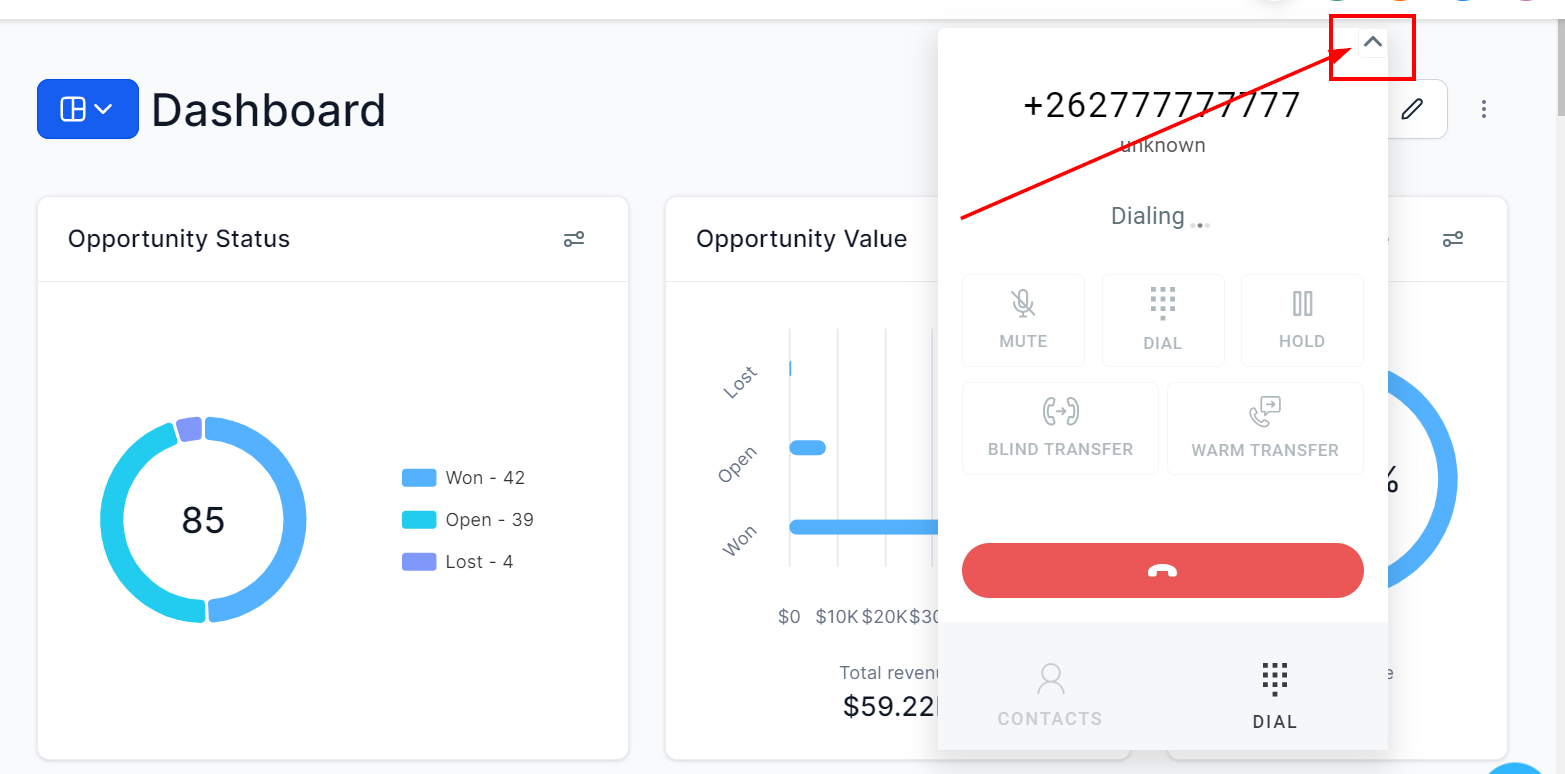
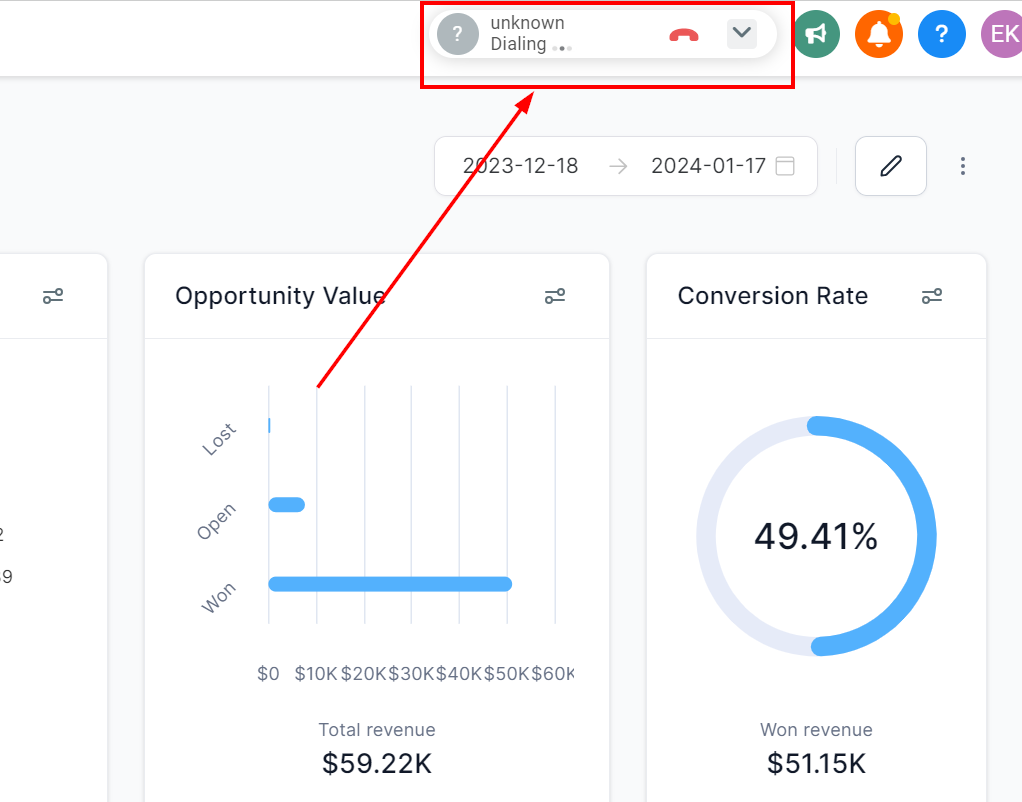
When you click the arrow during a call, the dialer is collapsed into your top menu, leaving you free to use other platform features while on the call.
Let's click the dropdown button to restore the full dialer view.
Now, let's say that you're on a call with a client and need to transfer them to a coworker.
You can click Hold to put the client on hold.
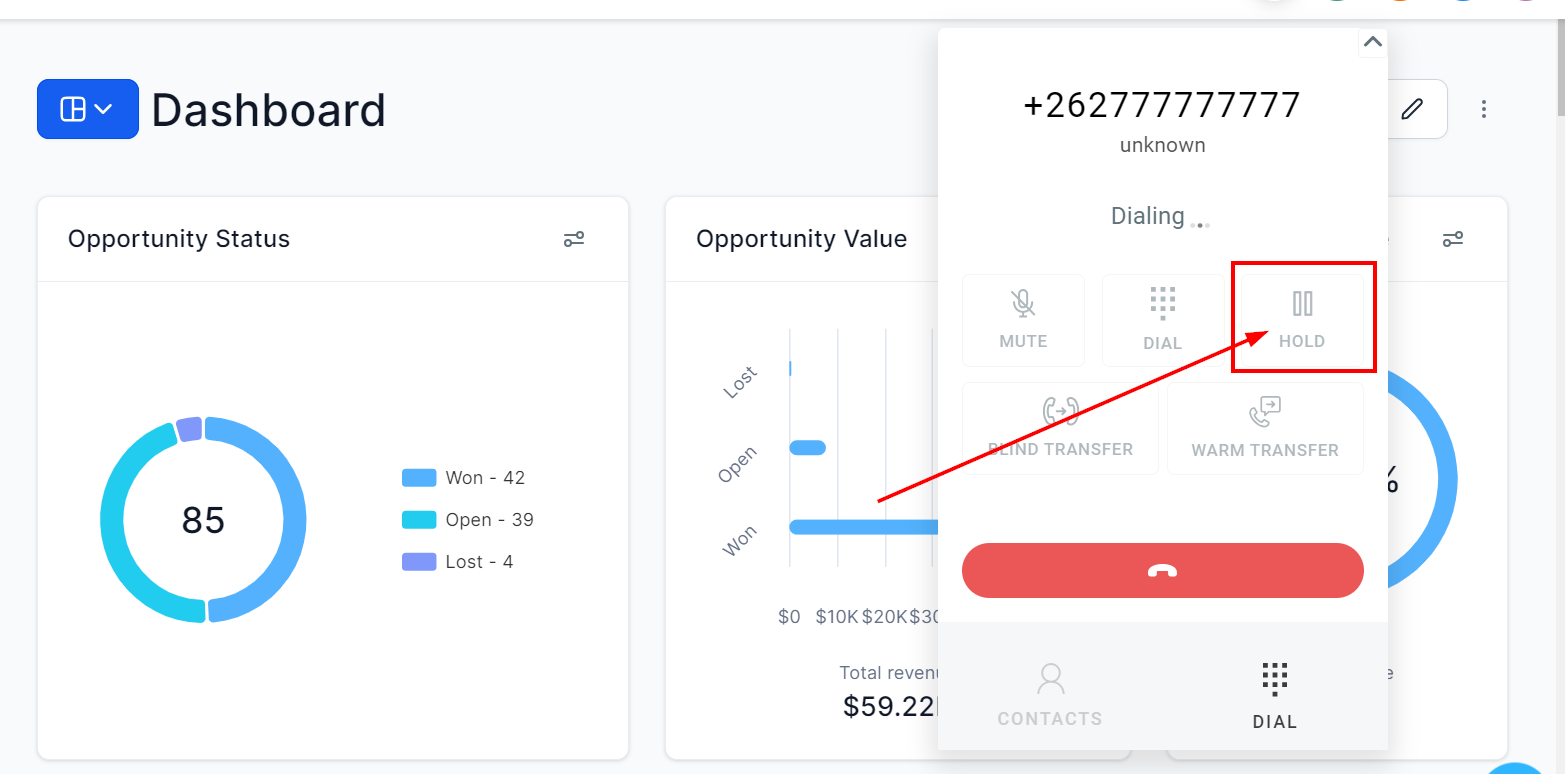
And then, click either the Blind Transfer or Warm Transfer option.
When you click Blind Transfer, you'll send the client's call directly to your colleague. However, there is a potential problem with this approach. If your colleague is on another call or not available, then the client's call will be terminated.
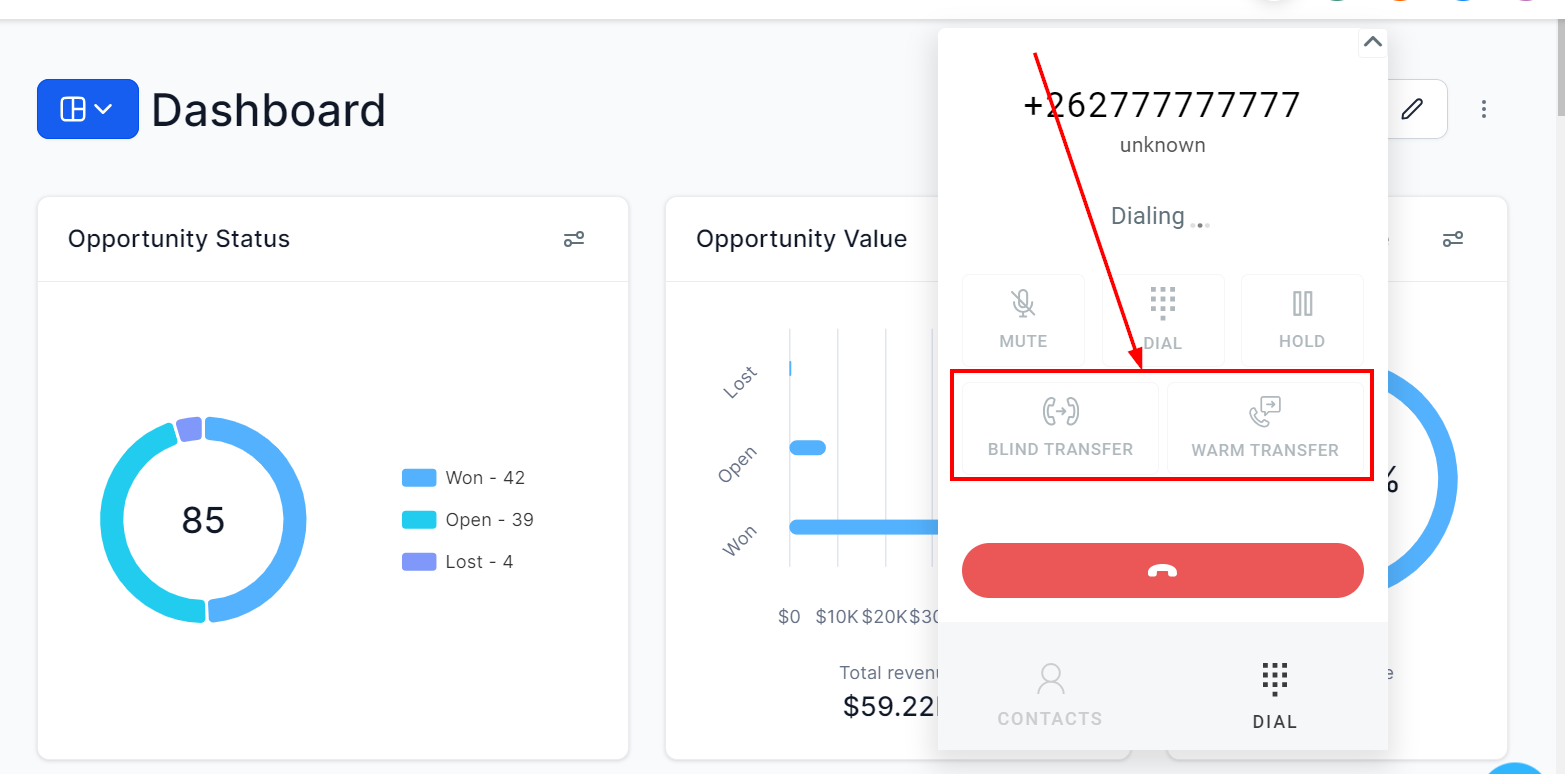
Let's look at why a Warm Transfer is a better option.
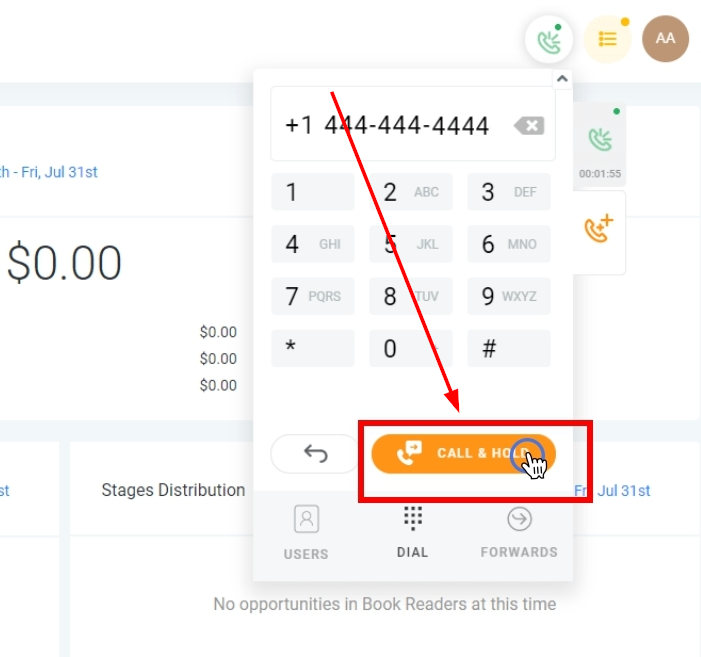
When you click Warm Transfer, you'll first find your colleague's number by using the search function or entering it manually.
Once it's been added, the Call & Hold button to dial your colleague's number is enabled.
Let's click it now.
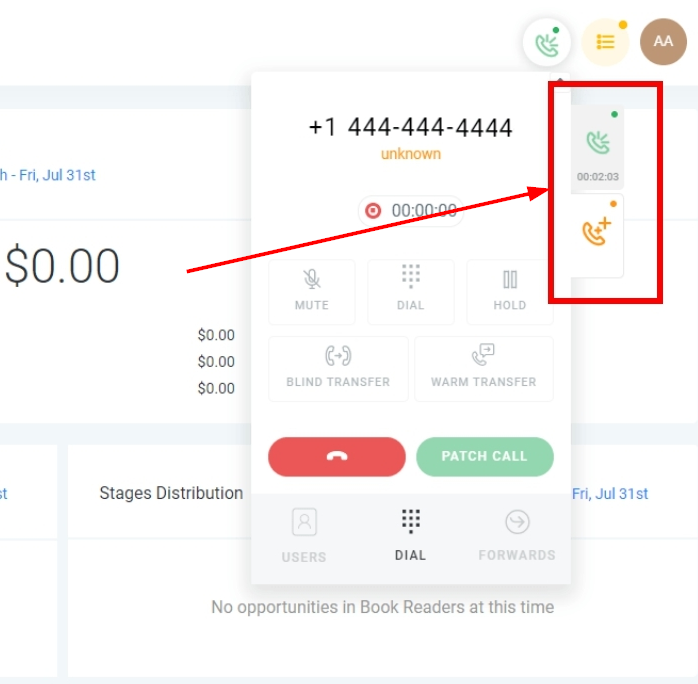
When the call is connected, you can explain the situation to your colleague before transferring the call with the Patch Call button. This prevents the Blind Transfer problem of the call being terminated and also prepares your colleague to deal with the issue.
Notice that there are now two tabs at the top right of the dialer. The green one on top is our first call with our client, which is currently on hold, and the orange one below is our call in progress to our colleague.
You can easily switch between calls by clicking the tab of the call you want.
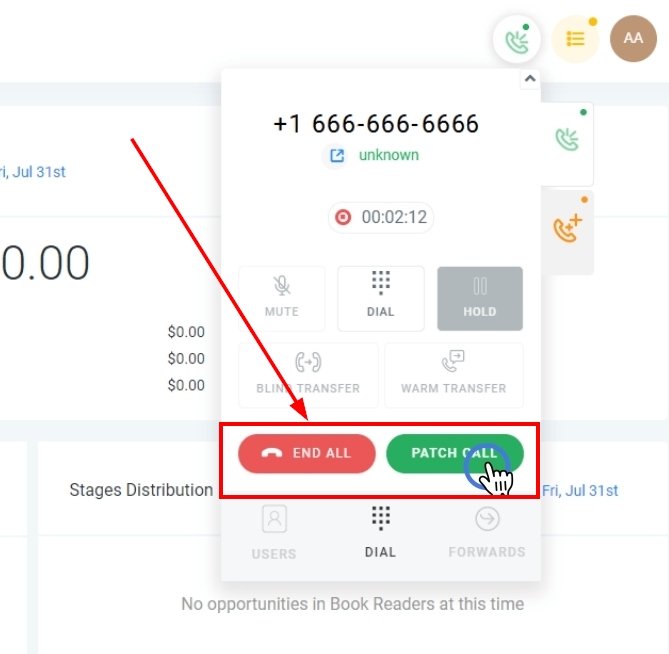
In our example, we've explained the situation to our colleague and we're ready to connect the call. Switch back to the client by clicking the green call tab and then tell them that you're going to patch the call through to your colleague.
And then to connect the two calls, simply click Patch Call.
Now the client and your colleague can continue the conversation privately, and you can click the red button to leave the call.
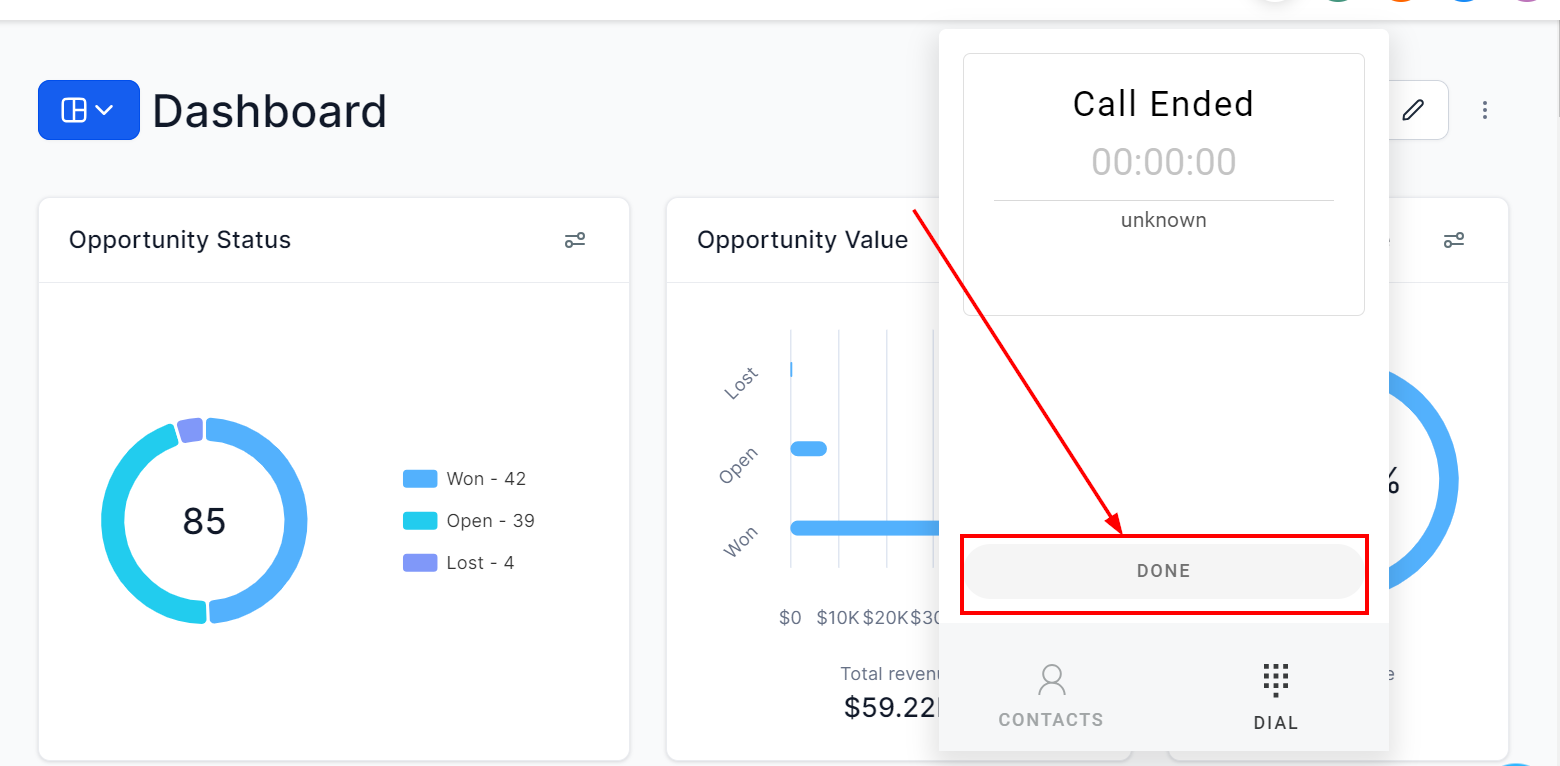
Once the call is over, click Done to return to your normal dialer view.
Your dialer is an excellent way to reach your contacts within your platform and creates a unified communications record along with email, SMS, and other communication methods.