
Content Management in Communities
Content Management in Communities is a robust feature that empowers group administrators and members to create, organize, and engage with posts and channels within a community. It offers a range of capabilities, from sharing videos to handling comments and likes, enabling dynamic interactions in the community. This article explores the key components and uses of Content Management in Communities, as well as how to effectively manage content in this context.
What's Inside Content Management?
Content Management in Communities consists of several elements that enhance community engagement and interaction. These components include:
- Group Channels: These are like categories within a community group that help keep discussions organized. Group admins have the privilege of creating these channels.
- Posts: These are the main content pieces within a group. Members can create diverse posts that can be associated with specific channels. Posts can contain text, images, videos, and other attachments, making it easy to share information and start conversations.
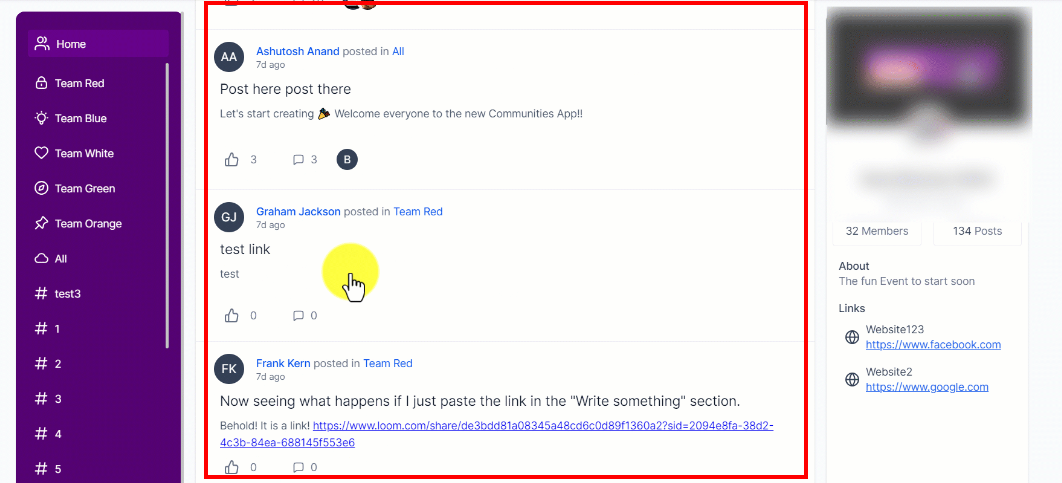
- Home Timeline: This is a central hub that displays posts from all members and channels within the group. It offers a comprehensive view of the group's activities, keeping members updated on ongoing conversations.
- Embedding Videos: Posts in the community can include videos from various platforms like YouTube, Vimeo, Wistia, and Loom, making the content more engaging.
- Attachments: Posts support various file formats, such as images, GIFs, and other media, enhancing the richness of the content.
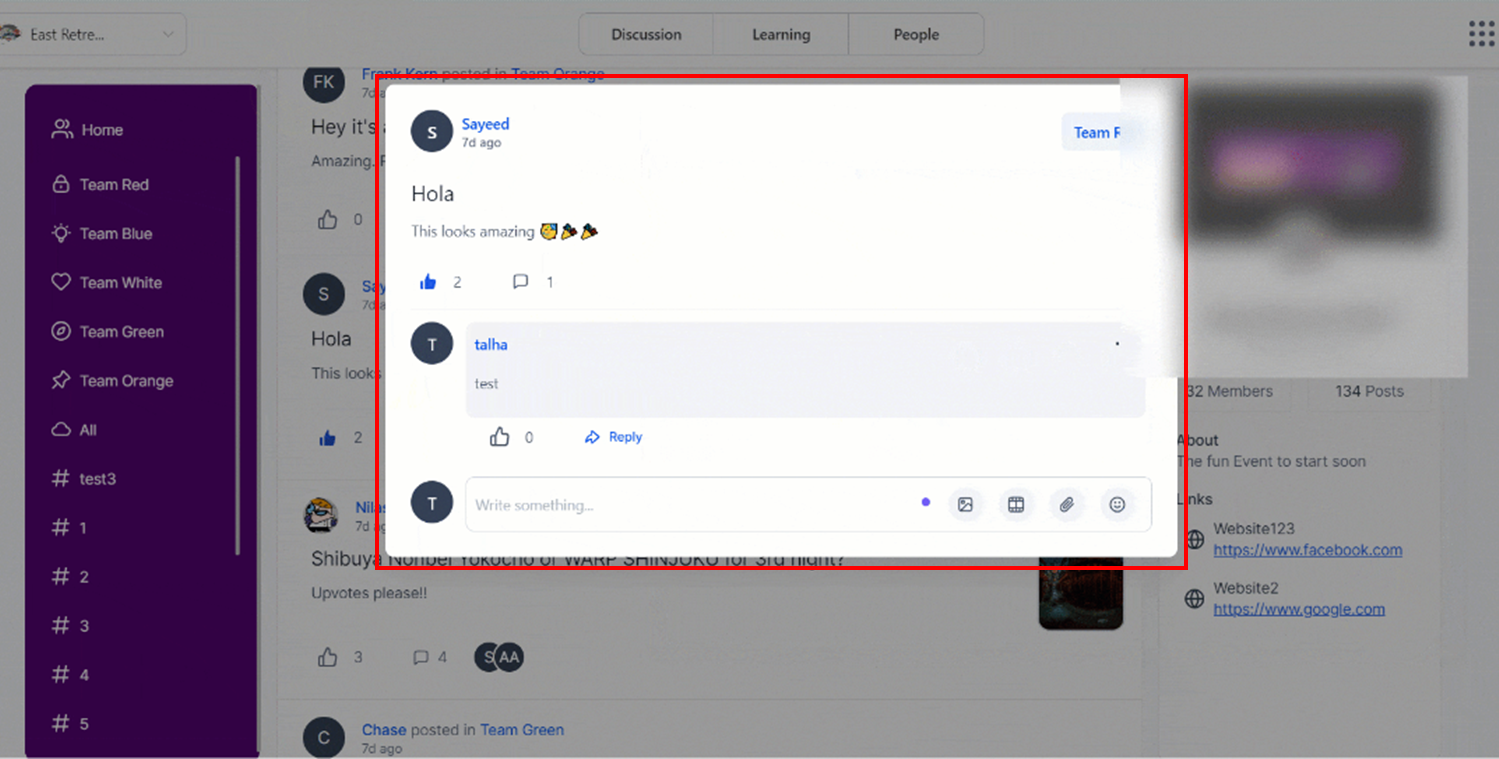
- Comments and Likes: These are essential for engagement within the group. Members can comment on posts, including images, videos, and links in their comments, and show their appreciation through likes.
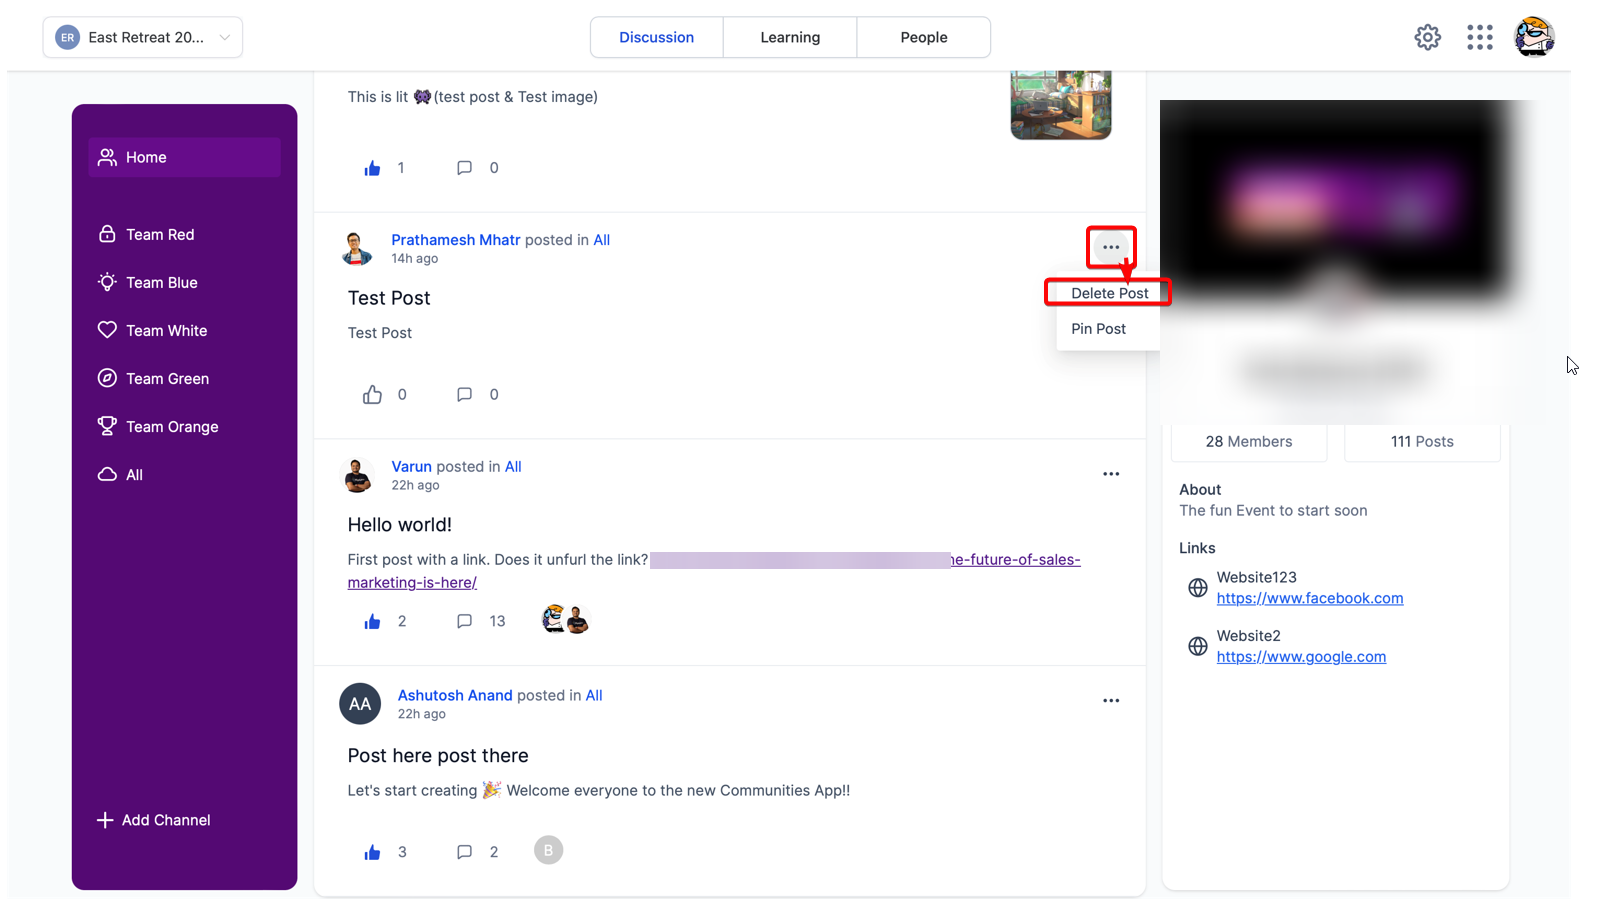
- Post Deletion: Admins and moderators can delete posts that violate community guidelines. Additionally, members can delete their posts and comments.
Practical Uses of Content Management:
Let's take a look at some real-world scenarios where Content Management in Communities can be valuable:
- Brand Awareness Campaign: Companies can use Communities to promote their new products. They can create dedicated channels for the campaign, share posts with images, GIFs, and embedded videos, and invite customers and potential clients to join the discussion.
- Customer Support Forum: Software companies can use Communities to provide customer support. Different channels can be set up for different software modules, where customers can post their questions, and the support team can respond with videos and attachments. The Home Timeline keeps everyone informed.
- Education/Training Program: Instructors can create posts for lessons, embed videos, attach materials, and facilitate discussions. Students can ask questions in comments, and the Home Timeline keeps them updated.
- Internal Business Communication: Companies can use Communities for internal communication between departments or teams. Team members can create posts to share updates, ask questions, and share materials. The Home Timeline ensures everyone stays informed.
- Community Engagement for NGOs: Non-profit organizations can use Communities to engage with supporters and volunteers. Various channels can be created for different programs, and the organization can share updates, and stories, and start discussions to foster engagement.
Online education platforms can use Communities for courses.
How to Manage Content in Communities:
Here's how to effectively manage content in Communities:
Creating Group Channels
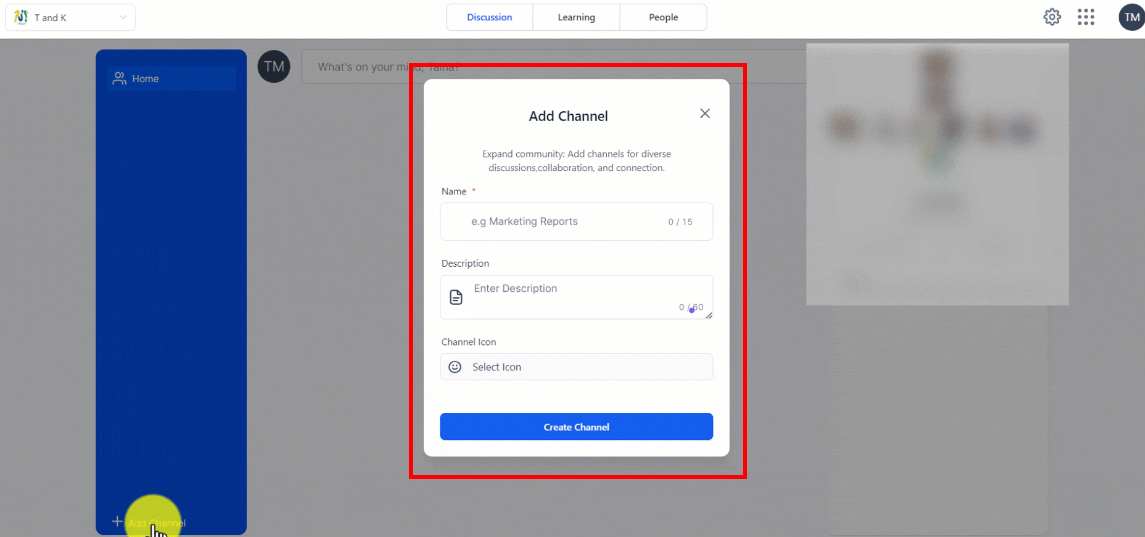
- Multiple channels are available within each group to categorize discussions and facilitate organized conversations. Only admins have the privilege to create these channels. To create a channel, locate and click the "Add Channel" button in the group interface's left bar. A modal window will appear, prompting you to provide specific details for the channel creation.
- To create a channel, locate and click the "Add Channel" button in the group interface's left bar.
- A modal window will appear, prompting you to provide specific details for the channel creation.
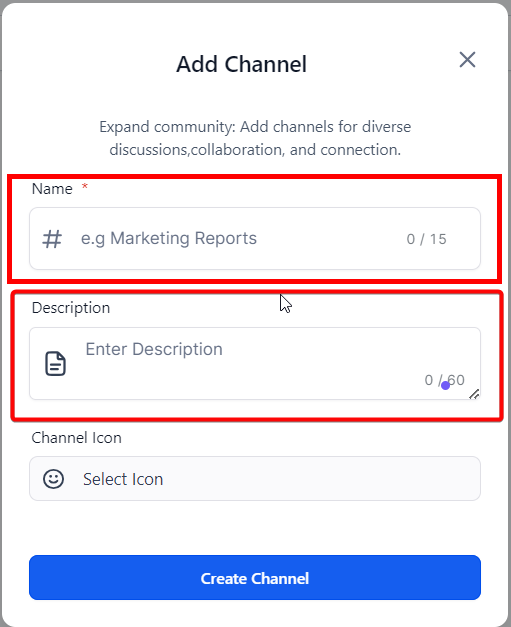
Channel Name and Description
- Provide a concise name and description for the channel. You have a limit of 15 characters for the Name field and a maximum of 60 characters for the description field, meaning it should be short yet informative.
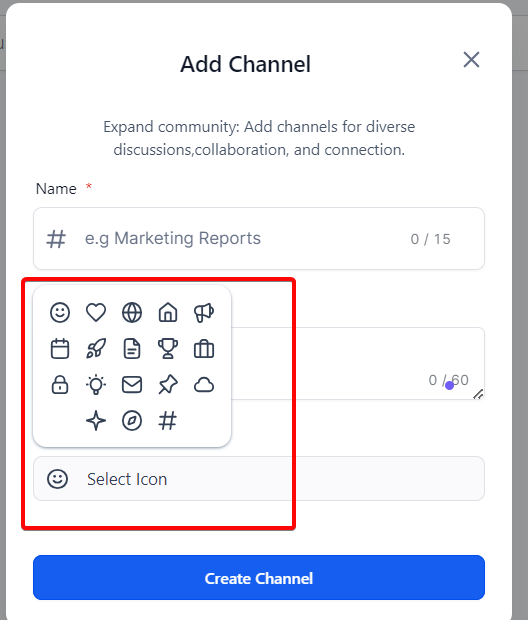
Channel Icon
- Choose a distinct icon for the channel. This icon will be displayed next to your channel name, offering members a visual cue that helps them identify your channel quickly.
- Click "Add Channel" to create it.
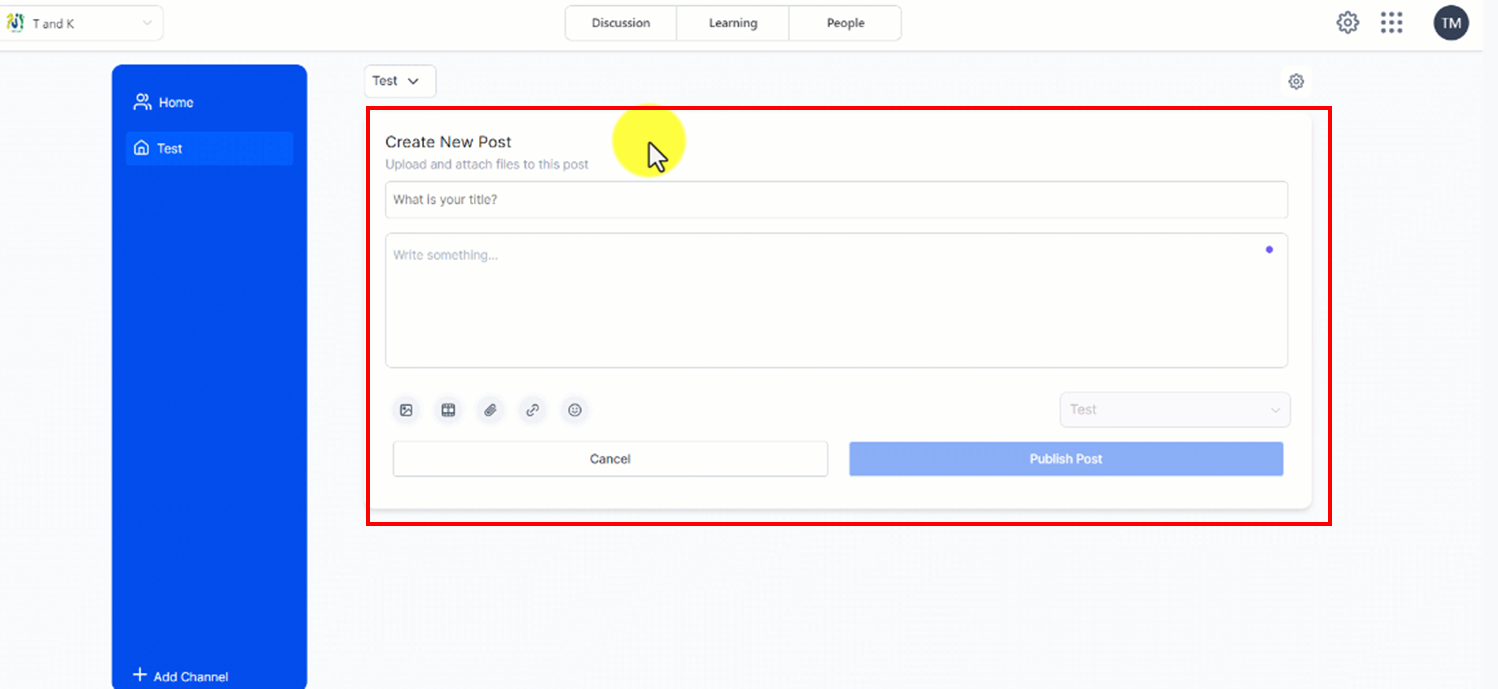
Creating Posts
- Navigate to the desired channel.
- Enter a title and description for the post.
- Attach images (maximum size of 800x400px.), videos (MP4), files (PDFs, CSVs, or XLSX), emojis, or Links as needed. This platform also supports video embedding from popular sources like YouTube, Vimeo, and Loom.
- Choose the appropriate channel.
- Click "Publish Post" to publish it.
Using Home Timeline:
- It is the designated space where you can view posts from all members across all channels in one convenient location. Regularly checking the home timeline lets you stay informed and engaged with the ongoing conversations and updates within your group.
Comments and Likes:
Comments and likes serve as important drivers for engagement within the group
- Comment on posts to engage in discussions.
- Like posts or comments to show appreciation.
Deleting a Post:
- Admins and moderators can delete posts if they violate the terms and conditions by selecting "Delete Post" from the post's menu. Additionally, members can only delete their posts and comments.
FAQs
Q: How many images can I attach to a single post?
A: You can attach as many images as you like to a single post. However, we recommend limiting the number of images per post to ensure optimal loading times and readability.
Q: Can I change the title of my post after it has been published?
A: Yes, you can edit your post title after publication. Simply go to the post, click on the three dots icon at the top, and select 'Edit Post'. You can then modify your title as needed.
Q: What is the maximum size for video files that I can upload?
A: File Size restrictions will be defined later for this feature. For optimal performance, we recommend keeping your video files below 100MB. (This is not the official file size limit.)
Q: What happens when I add a hyperlink to my post?
A: When you add a hyperlink to your post, users can click on the linked text to be taken directly to the linked URL. This is a great way to provide additional resources or references without cluttering your post.
Q: Can I use emojis in my post title?
A: Yes, you can use emojis in your post title. However, keep in mind that the use of emojis should enhance the readability and understanding of your title, not detract from it. Always consider your audience and your post's context when choosing emojis.