
Appointments Section within Calendars Tab
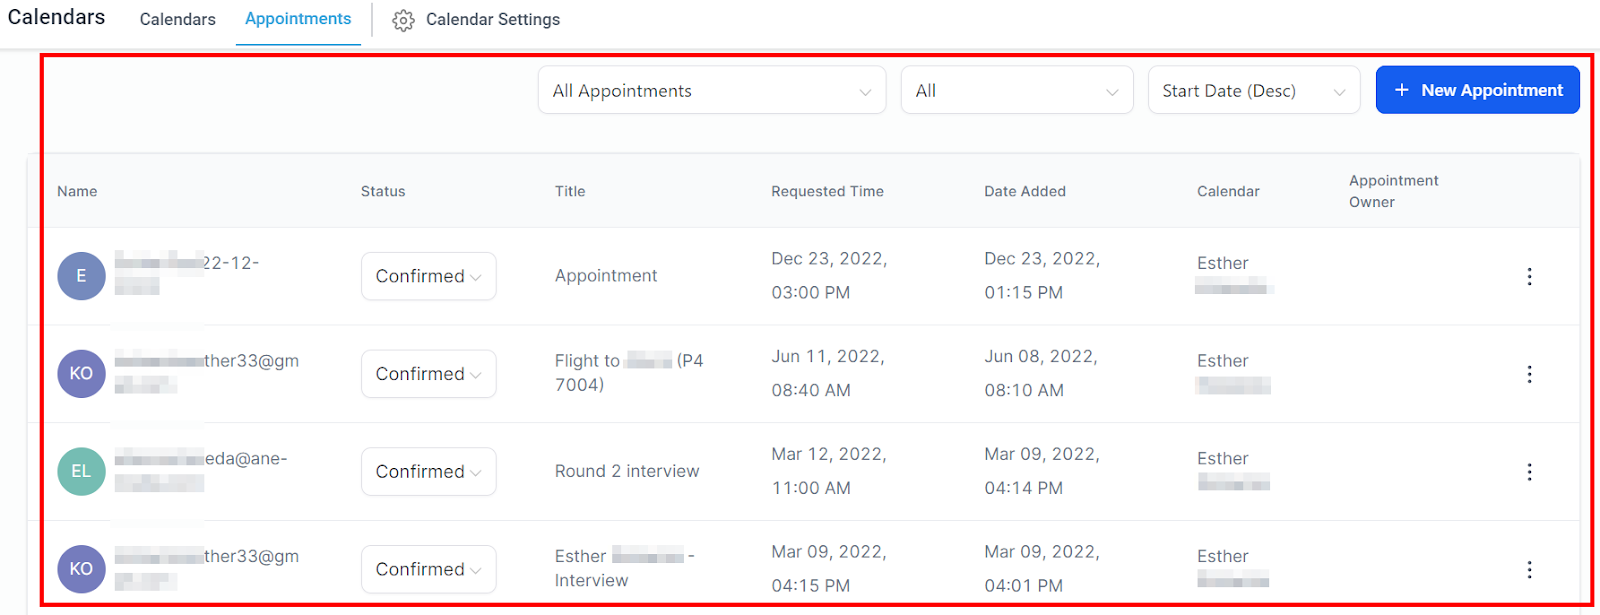
You can view all of the appointments in your CRM calendar by clicking on the Appointments tab in the Calendar section of your CRM. Here you will see a list of all the appointments booked through the CRM, whether a customer or a team member books them. You can change the status of appointments and create new bookings in this section.
NOTE: Depending on your user permissions, you may not have access to all of the components.
Appointment Overview
Name Of The Contact
In this column, you can see the contact's name who scheduled the appointment with you or your team.
When you click on the contact's Name or Icon, it directs you to the contact's details, where you can edit more actions.

Appointment Status
You can change the status of an appointment by clicking on the drop-down to the left of the corresponding appointment you’d like to update in the Actions column to the far left. With this column, you can adjust and manage your upcoming appointments. Select from one of seven possible appointment statuses, including:
Confirmed:
If the contact confirmed the booking.
Showed:
If the contact shows up for the appointment.
No-Show:
If the contact did not show up for the appointment.
Canceled:
If the contact requests that the appointment should be canceled.
Invalid:
If you want to mark the contact as Invalid, maybe the information provided by/for the contact is incorrect, and there's no way to rectify it. Be sure to mark the contact 'Invalid' because the action cannot be undone.

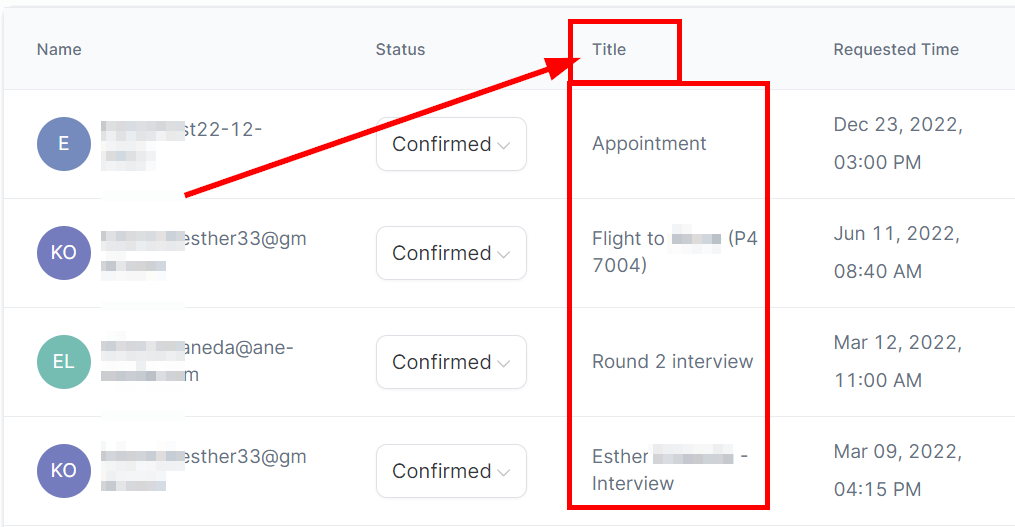
Appointment Title
In this column you will see the Title given to the appointment when it was booked.
Requested Appointment Time
You can see when the appointment was booked or requested in the Date Requested column to the right of the Name column. Here you will see the exact date and time the appointment is booked or requested.

Date Added
The "Date Added" column shows when the appointment was created, whether by a team member or the customer. Here you can see the exact date and time the appointment was booked and how it was booked.

Calendar Booked
In the Calendar column to the right, you will see which calendar the appointment was booked in. This could be individual team member calendars or group calendars.

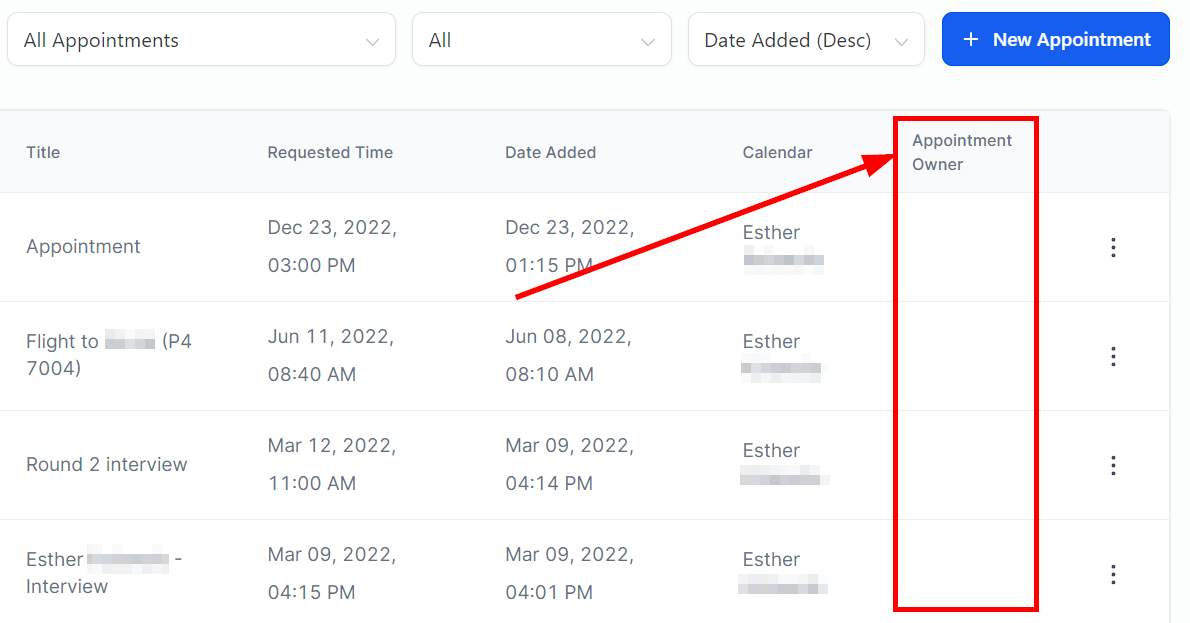
Appointment Owner
The Appointment Owner tab shows who the appointment belongs to. If the appointment were booked in an individual calendar, it would show the team members' names here. If the appointment was booked in a group calendar, you will not see a name unless the appointment was assigned to a specific team member.
More Action
View Details
Click here to view the details of the appointment.
View Notes
If notes were added when booking an appointment, you can view them here. This section will be blank if no notes are added during the appointment booking process. You can add notes here to ensure that the appropriate team member(s) know what the meeting is about.
Edit
Click on the "Edit" button to edit your appointment.
Reschedule
Suppose the contact requests to reschedule the appointment. You can note their reasons for rescheduling in the 'Appointment Description.'
Delete Suppose you want to delete an appointment. Be sure you want to delete the appointment because the action is permanent.

Filter Appointments Table
If you'd like to see the appointments scheduled for only a specific calendar, user, or team, you can filter by selecting them in this drop-down tab.
Filter By Calendar, Teams, or Users
Here you can either show all appointments from every calendar in your CRM or filter the appointments by calendars, teams, or users.

Filter By Appointment Status
You can filter appointments based on their appointment status by clicking on the All button next to the All Appointments drop-down. A drop-down will appear, and you can filter your appointments by Confirmed, Canceled, New, No Showed, or Showed. You will see only those listed below when you choose one of these appointment types.

Filter By Appointment Date
If you'd like to rearrange the appointments according to your preferences, simply select either Descending or Ascending order by clicking the Date Added button on the top right of the page. This is an easy way to customize how the appointments appear in the table.
