
In-App Appointment Modal Enhancements
In this section, you will learn more about In-App appointments which are designed to elevate performance, usability, and overall user experience. This enhancement encompasses a complete transformation of the in-app booking appointment module, which includes;
Book Appointments The process of booking appointments has been redesigned to make it more user-friendly and efficient for both clients and staff.
View Appointments The way appointments are displayed and accessed within the app has been improved to provide a more intuitive and streamlined experience.
Edit Appointments: Making changes to existing appointments has been enhanced to ensure ease of use and accuracy, offering a smoother editing process.
These improvements are driven by the goal of delivering a highly functional and user-centric in-app appointment module that aligns precisely with our customers' needs.
Book Appointment
The newly redesigned "Book Appointment" feature enables users to directly schedule appointments for existing contacts or new ones. This streamlines the booking process, saving time and effort.
Here are the steps to follow when booking an appointment:
Click on the “Add Appointment” button or click on any calendar time slot to start the process. The appointment page will popup
On the right side of the modal, you'll find the "Contact" section. Here, select the appropriate contact from your list.📌 Please note: This is why the process has been streamlined. Previously, you’d have to select the contact first to start the booking process but now the contact can be selected within the booking details. You are required to add a contact, if not, you won’t be able to save the booking.
Choose your calendar from the available options.
Provide the appointment details:
Appointment Title
Description
Start Date and Time
End Date and Time
Meeting Location
Status

View Appointment
The “view appointment” feature helps show all the events for the selected calendar or users and shows all the events on the Calendar view including the events synced in from third-party calendars like Google and Outlook.
Ways to View Appointment


This will enable users to see a quick view of events.
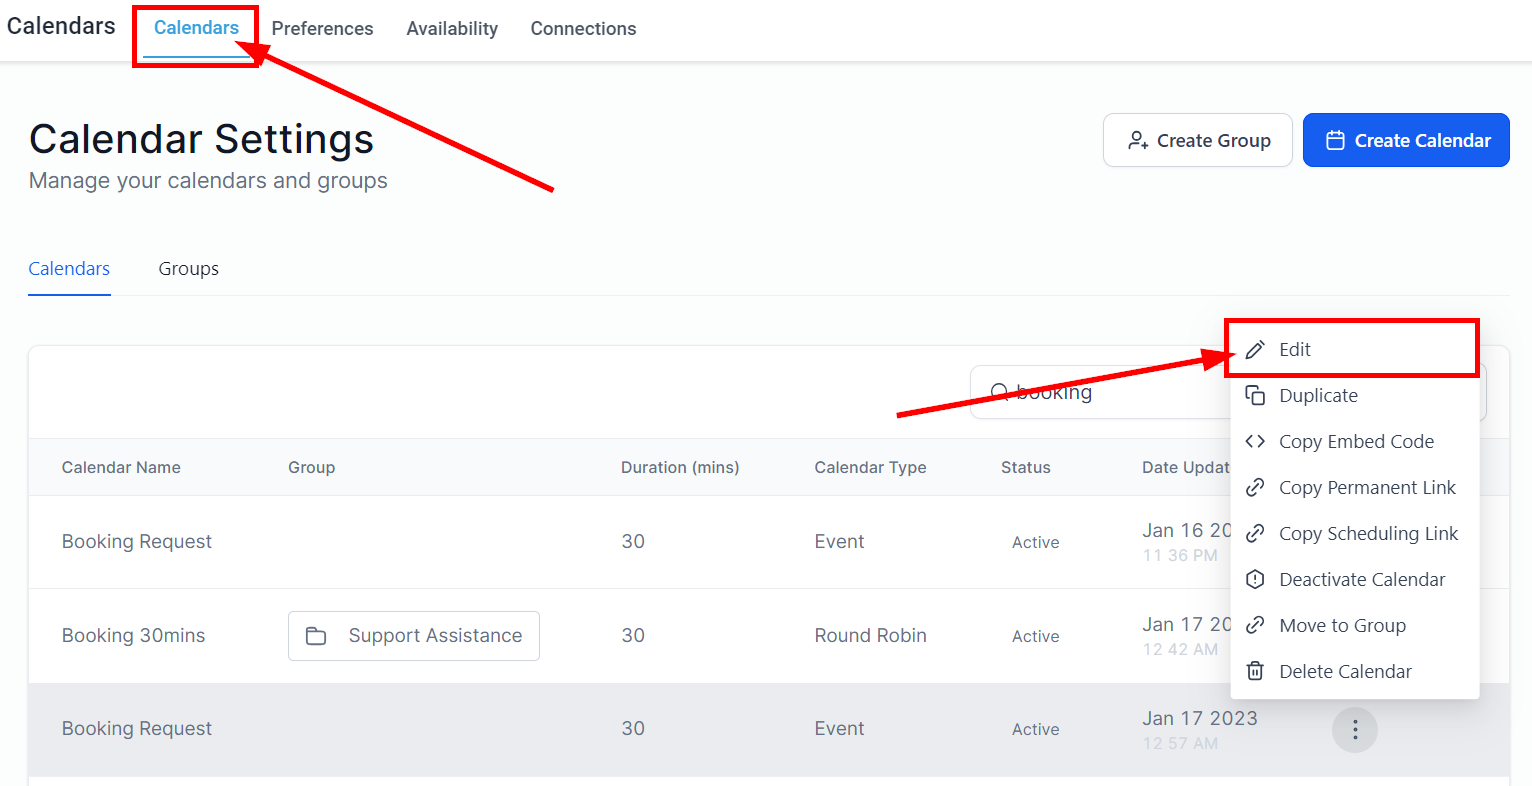
Edit Appointment
If you want to edit your appointment, simply follow these steps:
Click on the specific appointment you want to edit. This action will open a modal displaying the appointment details.
In the top right corner of the modal, you'll find the "Edit" icon. Clicking on the "Edit" icon will redirect you to the "Edit Appointment" modal.
Within the "Edit Appointment" modal, you can make the necessary changes to the appointment details.

This will ensure a straightforward way to access and modify appointments, starting from the appointment view modal and seamlessly transitioning to the dedicated "Edit Appointment" modal for making adjustments.
Add Guest to an appointment
Once the "Add Guest" feature is enabled in the Calendar settings, users will gain the ability to seamlessly include guests when booking appointments directly through the modal.
To facilitate this, make sure that you've activated the "Add Guest" function within your calendar settings.
The appearance of the booking appointment modal will dynamically adjust based on your chosen "Add guest" setting, whether it's "Name and Email" or "Count Only."

Name and Email
If you've activated the option to include guests' names and email addresses, you'll have the capability to invite guests while scheduling an appointment. This can be done by either choosing from your current contact list or by manually inputting the essential details, such as their names and email addresses, for new guests.
Count only
Count only allows you and your contacts to add simply the count of the guests. In this case, the Name and Email details of the guest are not required.
