Attach Files To A Contact Record
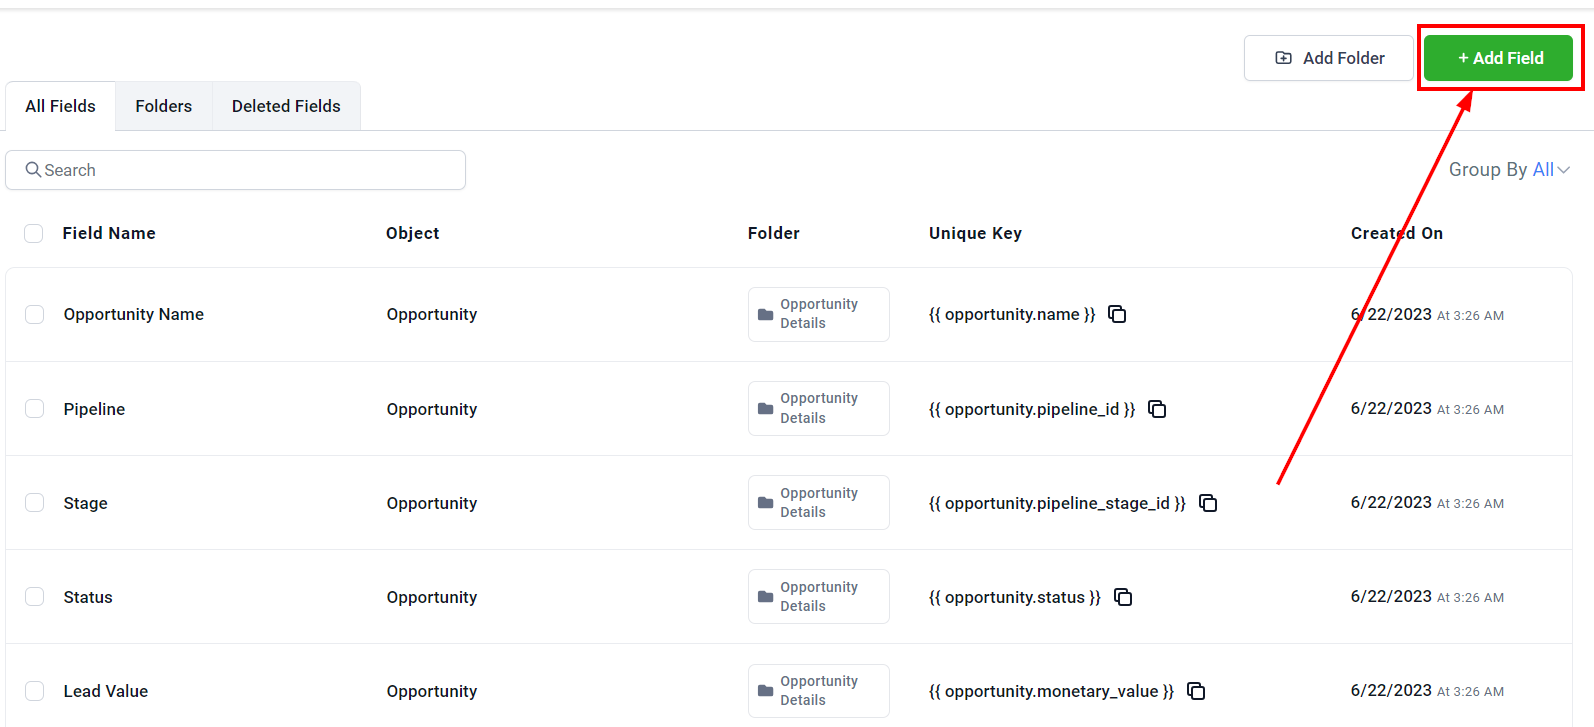
In this section, you will learn how to create a custom field and add it to your Contact or Opportunity details. First, navigate to the Settings category and select the Custom field section. Click on the “+Add Field” button to start creating one!
Upload A File
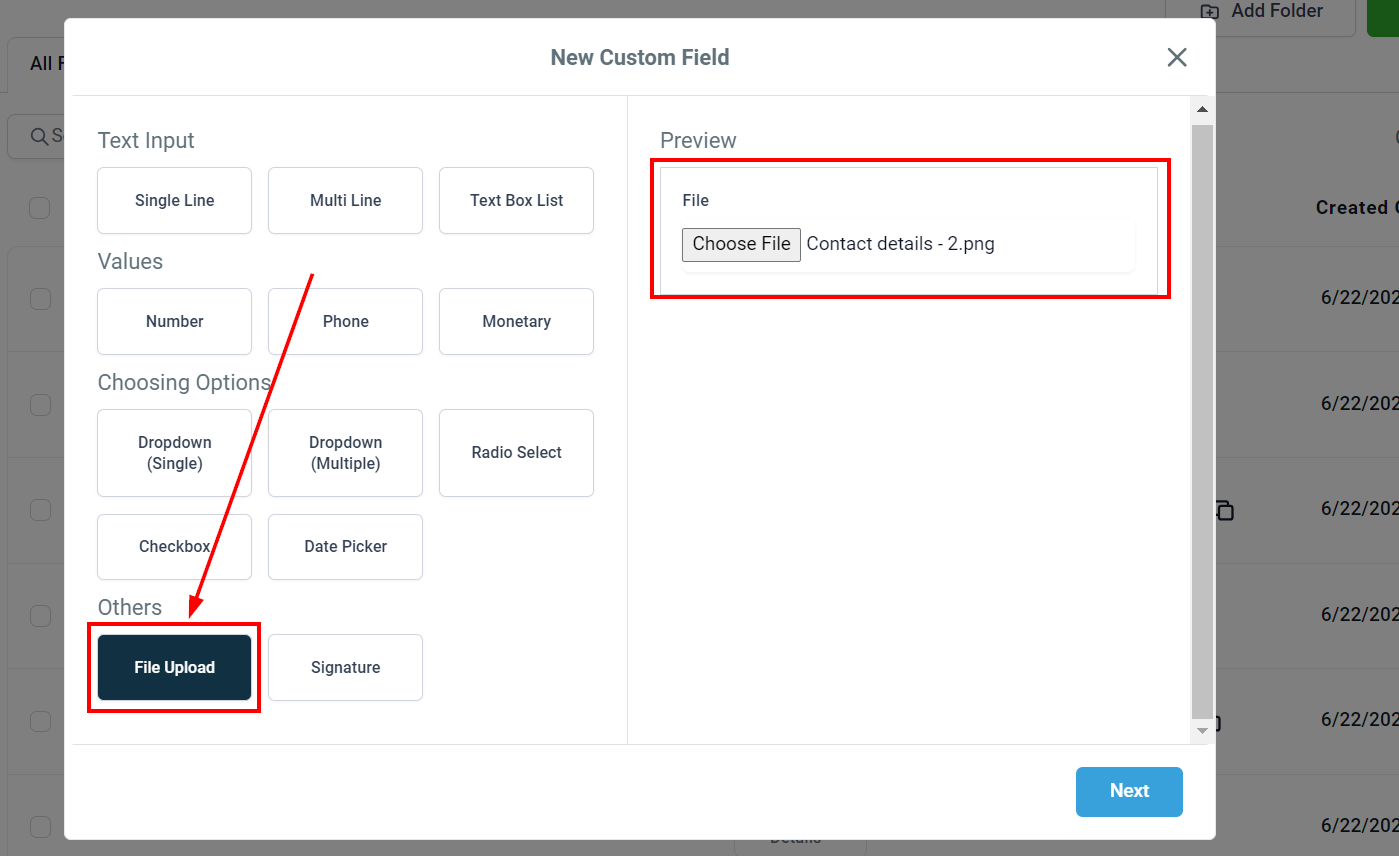
In the popup that appears, click on the File Upload and upload your file in the Preview section on the Right upper corner of the popup.
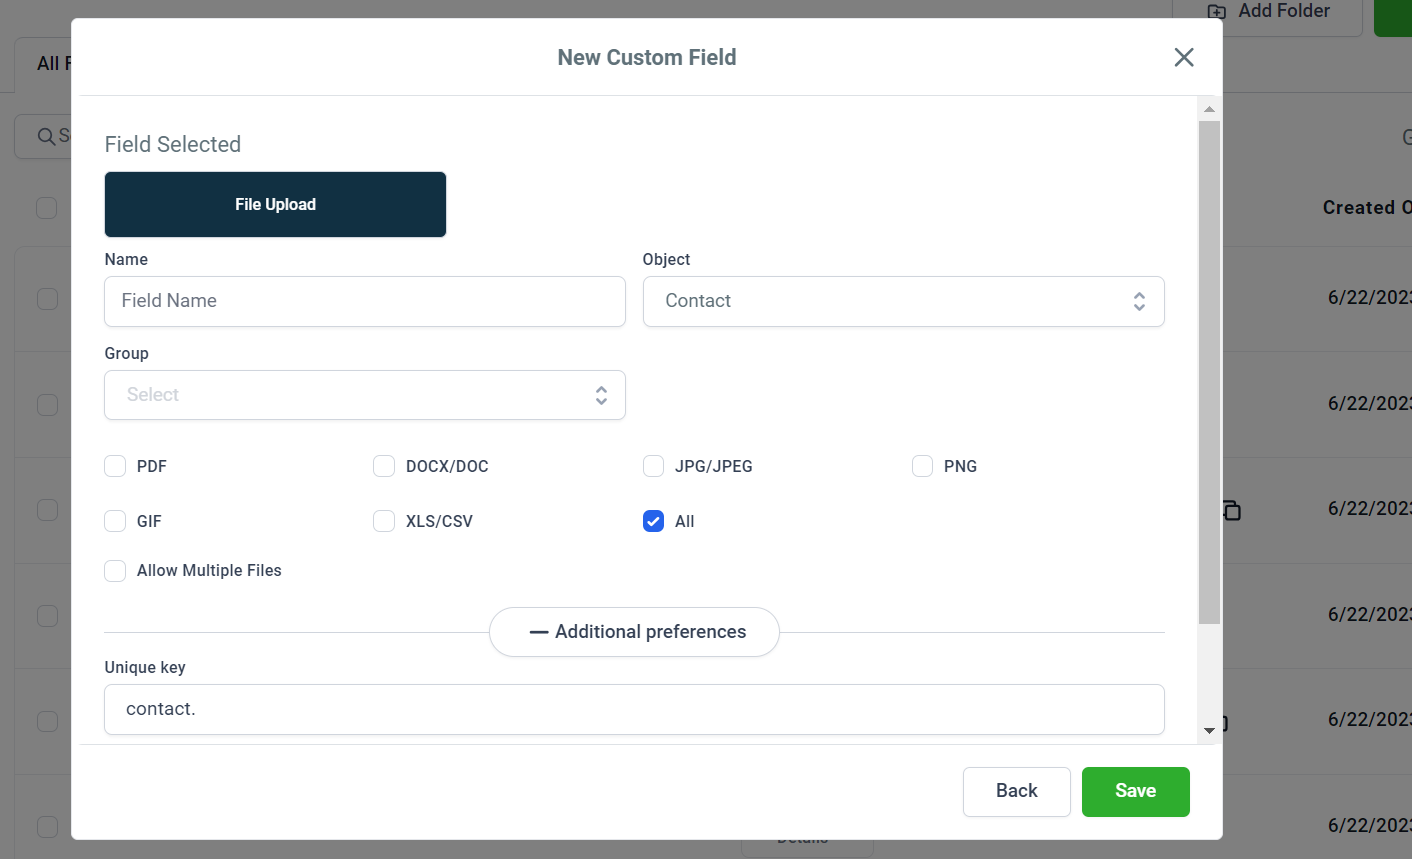
File Name
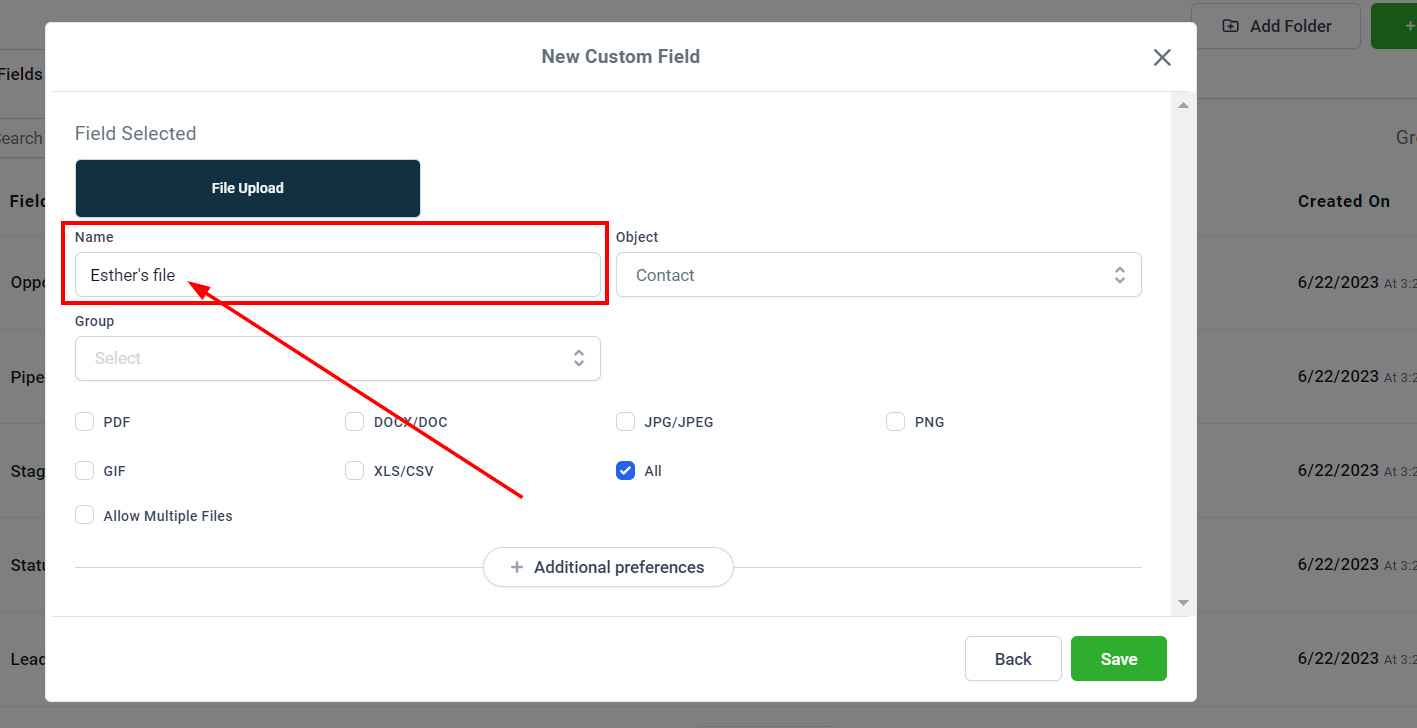
In the next window, give your new field a name. As you can see, I've simply named the fields “Esther's Files” for our example.
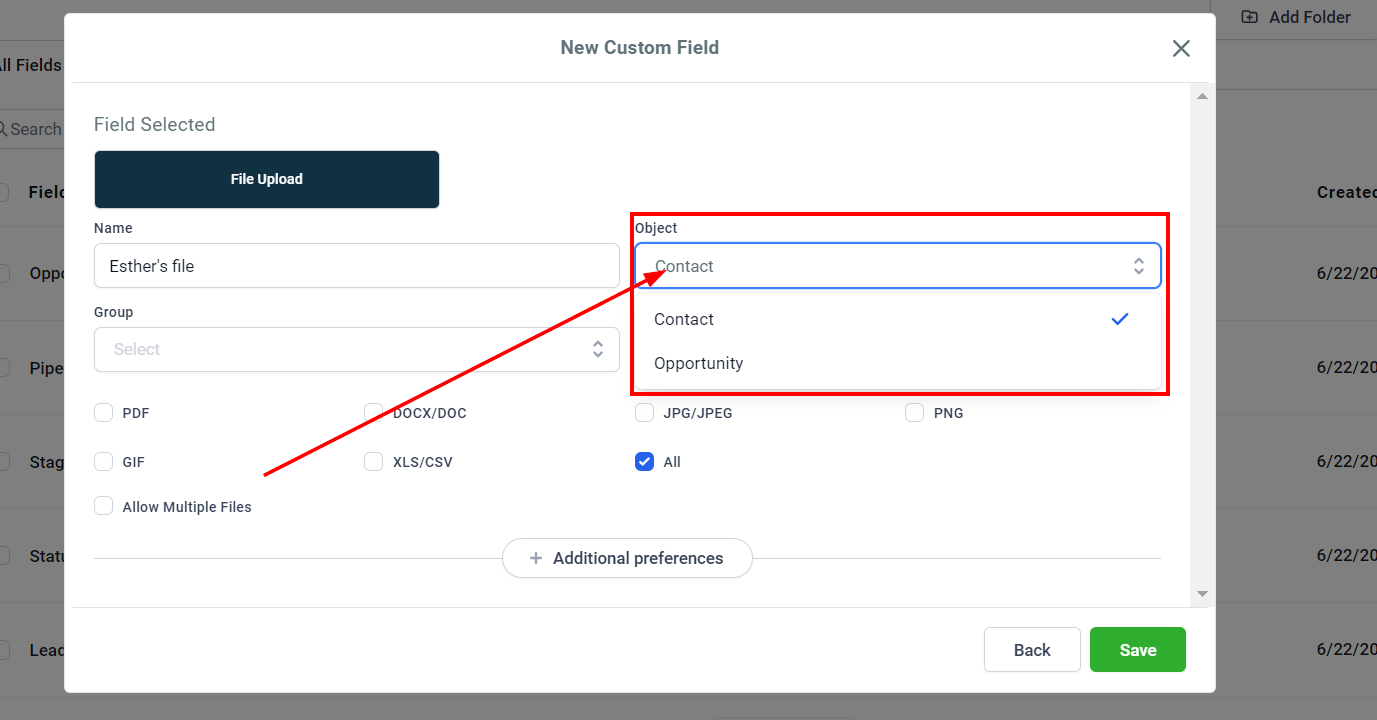
Select Object
Choose the section in your CRM you want this custom field to be; as a Contact or Opportunity details.
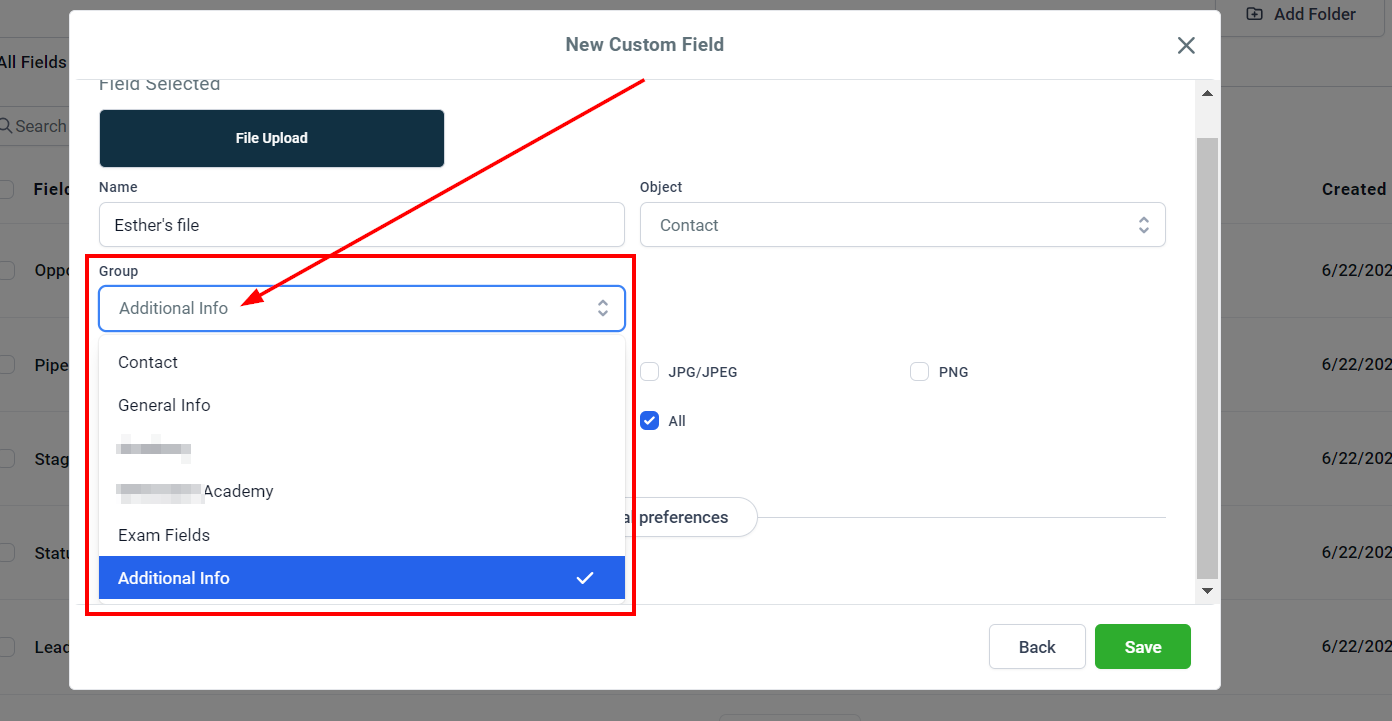
Choose a Group
Choose a group you want the Custom field to be within the details you selected above.
Select File Type
You can also choose what types of files can be attached, or select Any to allow all file types.
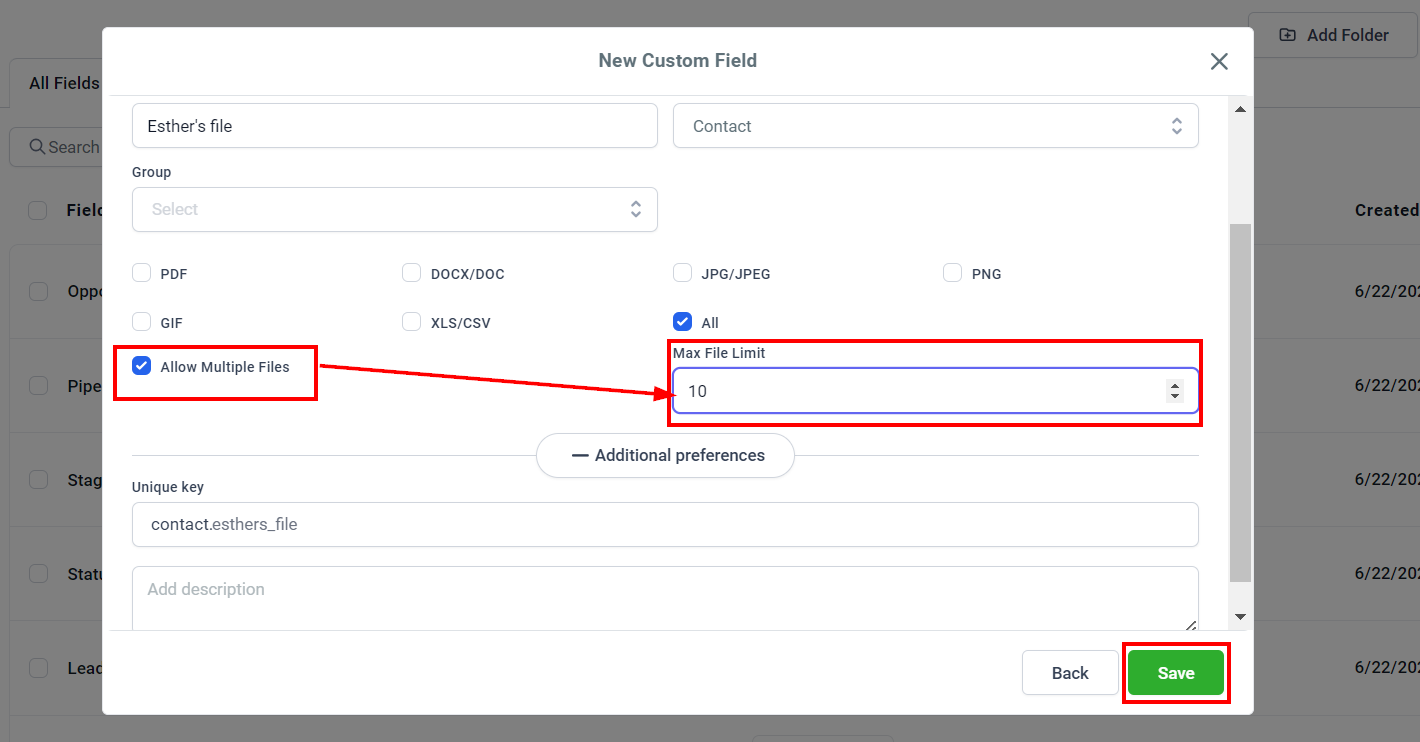
Attach Multiple Files
To attach multiple files to one Custom field, enable the toggle and set the maximum number of attached files. Lastly, click Save.
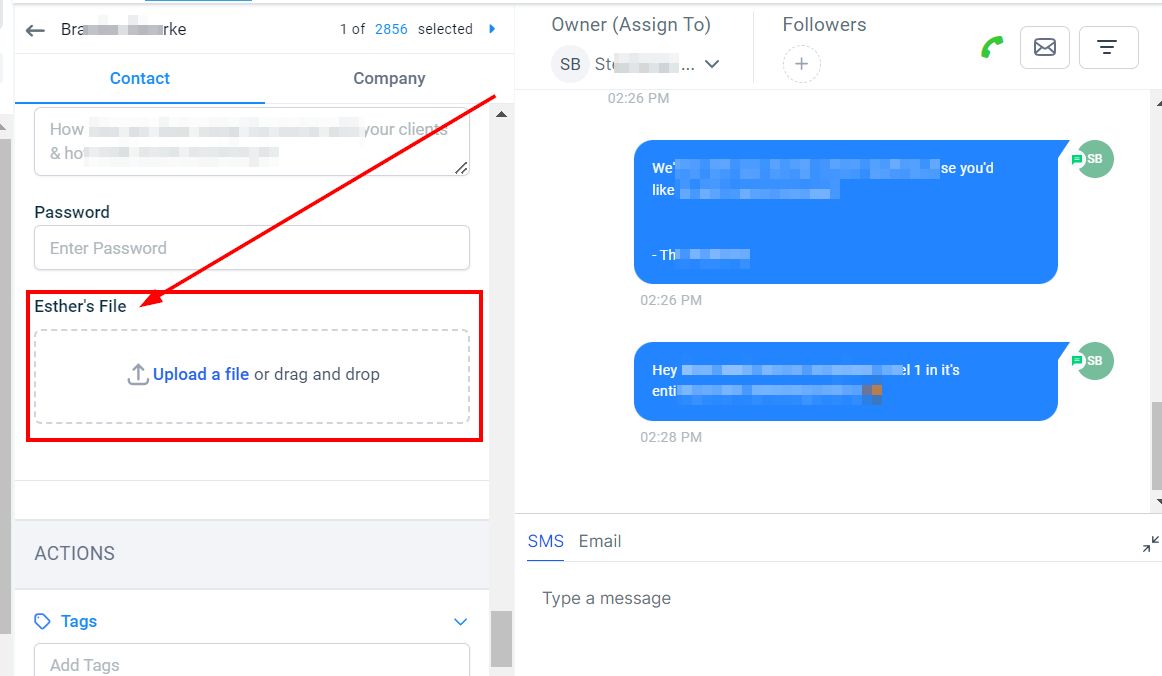
Let’s see how it works. Click Contacts on the left menu and open an individual contact record.
In the contact record, click the Additional Info and you'll see a new option to add files when you scroll down.
If you click the "Upload a File" button, a local file browser is opened, select the file you want to upload, and after the file has been uploaded, click Save.