How To Send An SMS
Creating SMS Message
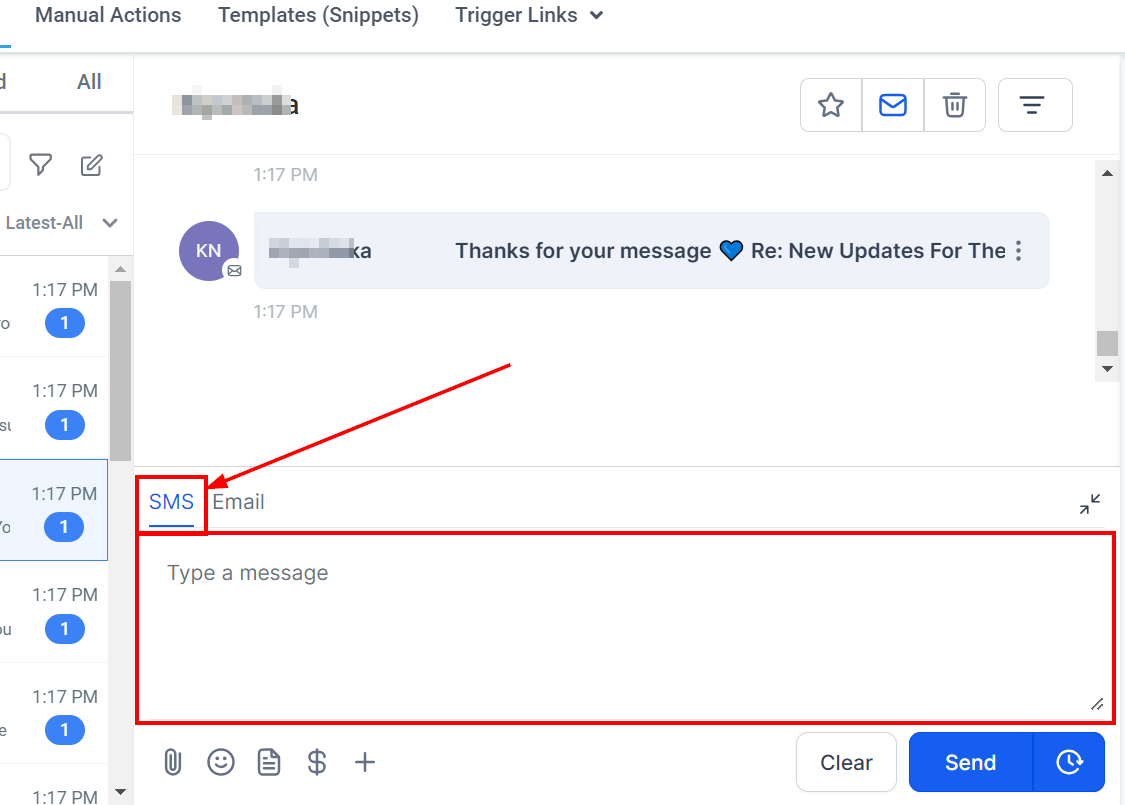
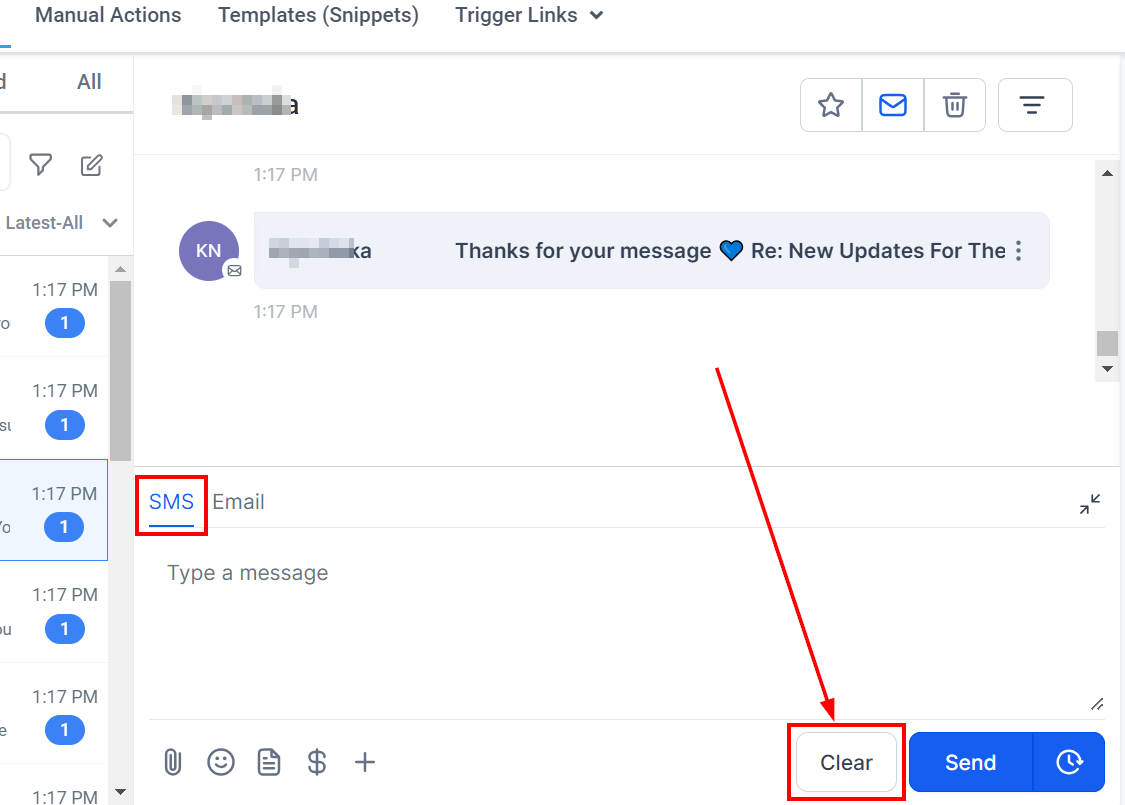
To send an SMS message to a client, first access the pertinent conversation within your messaging platform. Then, locate and click the SMS button situated at the bottom left corner of the conversation window. This action will prompt the appearance of a message box where you can compose your desired text. Simply input the message you wish to send and prepare it for delivery to your client.
Adding Custom Fields
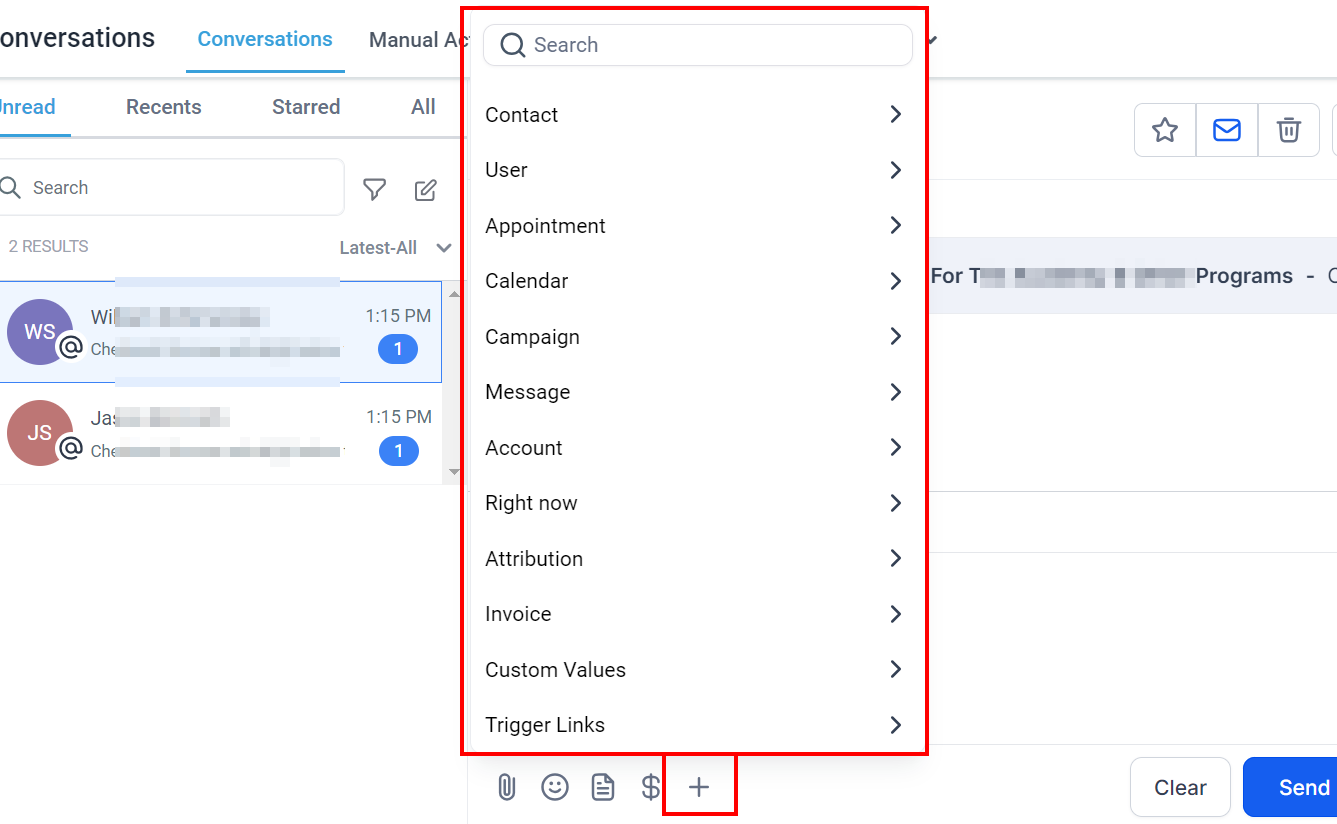
To personalize your SMS messages, you can add custom values based on customers' information from forms, surveys, and appointment calendars. Click the + button icon at the bottom of the message box. A dropdown will appear and you'll be presented with a list of custom values that can be added to your SMS message. Simply click on the desired value and it will populate in the message box. When sent, this value will then be filled with the related information according to your CRM. If there's no information present where you've inserted the custom value key, it means that a particular value is blank within your CRM. You can set up new custom values by visiting the Settings section of your CRM and selecting 'Custom Values'.
Adding Files to SMS
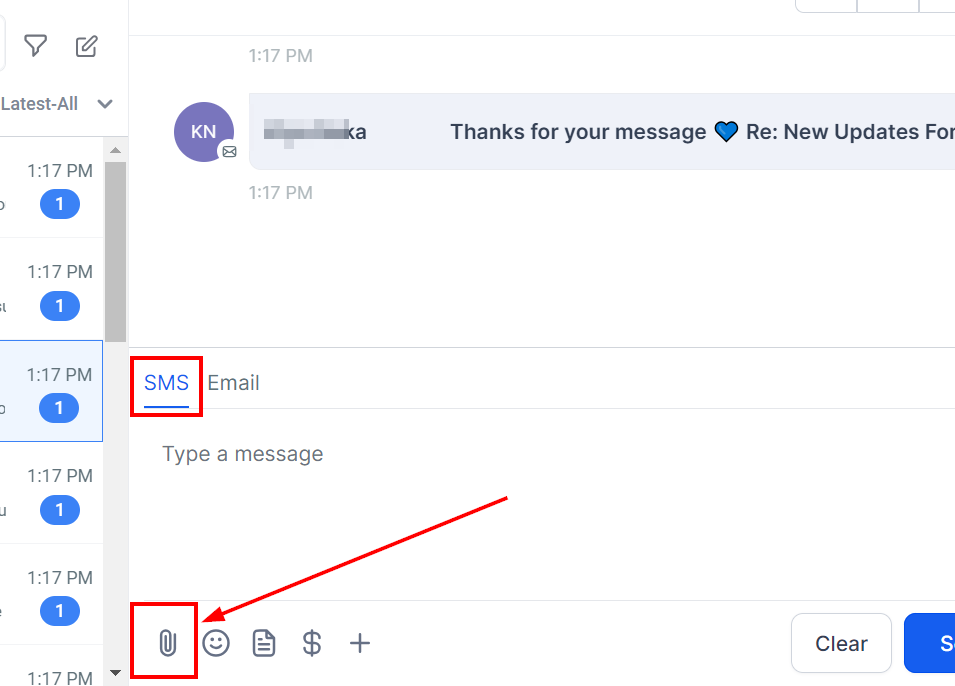
To attach files or images to your SMS message, click on the paperclip icon on the bottom of your message box, under the custom values icon. This will open up the file explorer on your computer, allowing you to select and add any relevant files or images. Follow the prompts on-screen to complete the process.
Adding Emojis to SMS
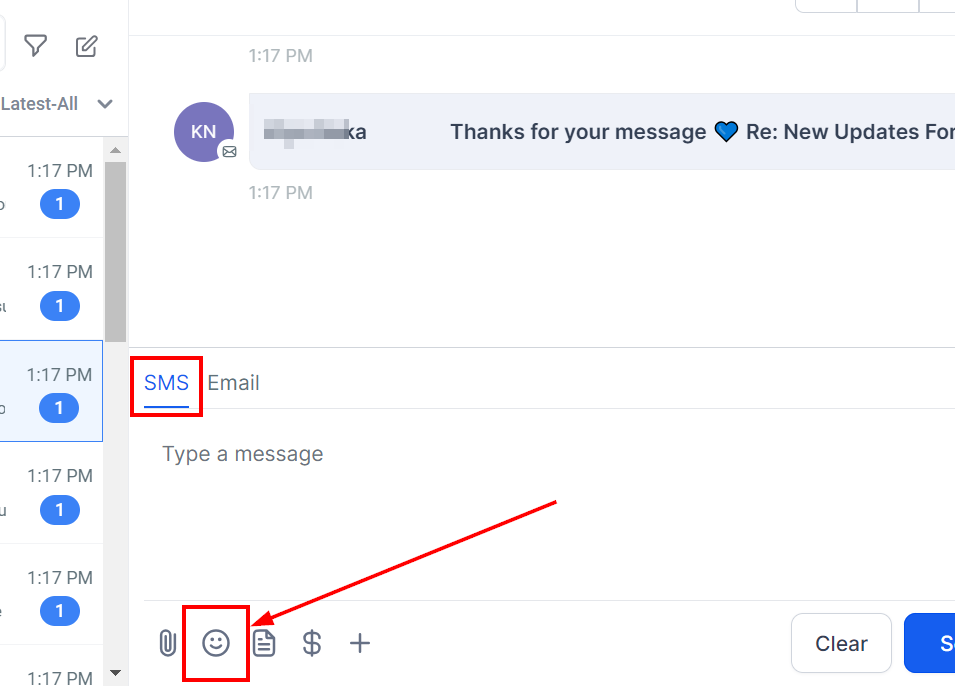
You can add emojis to your message as well by clicking on the smiley face icon on the bottom of your message box. You can search for a specific emoji by using the search bar, or clicking on the category icons and scrolling through the emojis. If you would like to use multiple emojis in your message, simply repeat the process.
Using SMS Templates
To use an existing SMS template from your CRM, click on the paper icon in the bottom of the message box. A popup will appear for you to select which template you'd like to use. Click on the downward arrow and choose the template from the dropdown menu. Finally, press 'Use Template' to populate your message box with the chosen template.

Request Payment via SMS
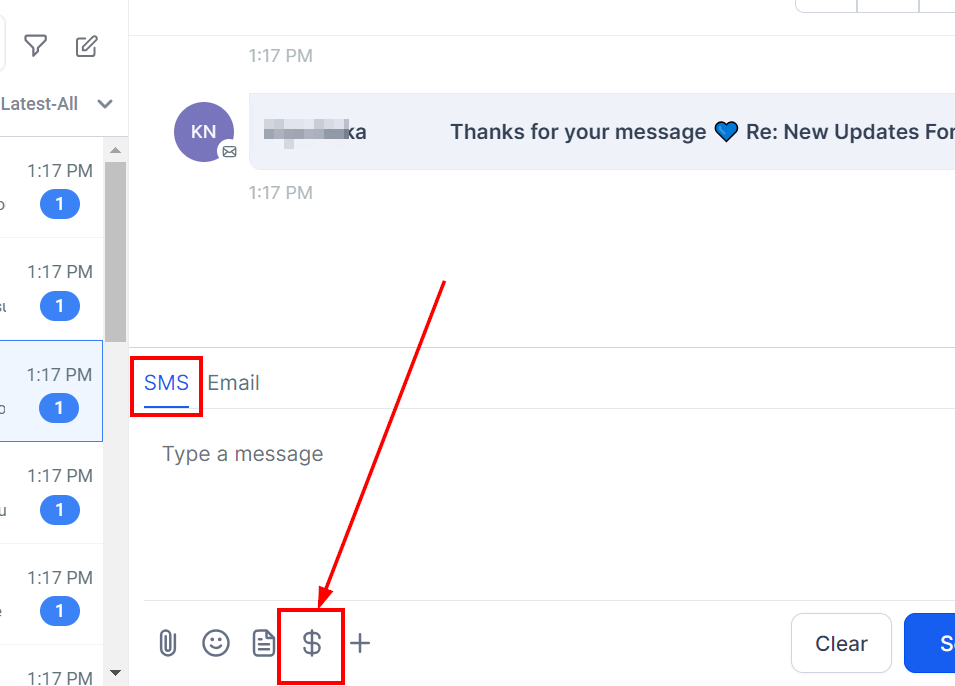
To request payment from customers, click the money icon in the bottom of your message box. A popup will appear for you to fill out the payment request details. Once you have finished entering them, press the 'Copy link and mark as sent' button to complete the process.
Collapse Message Box
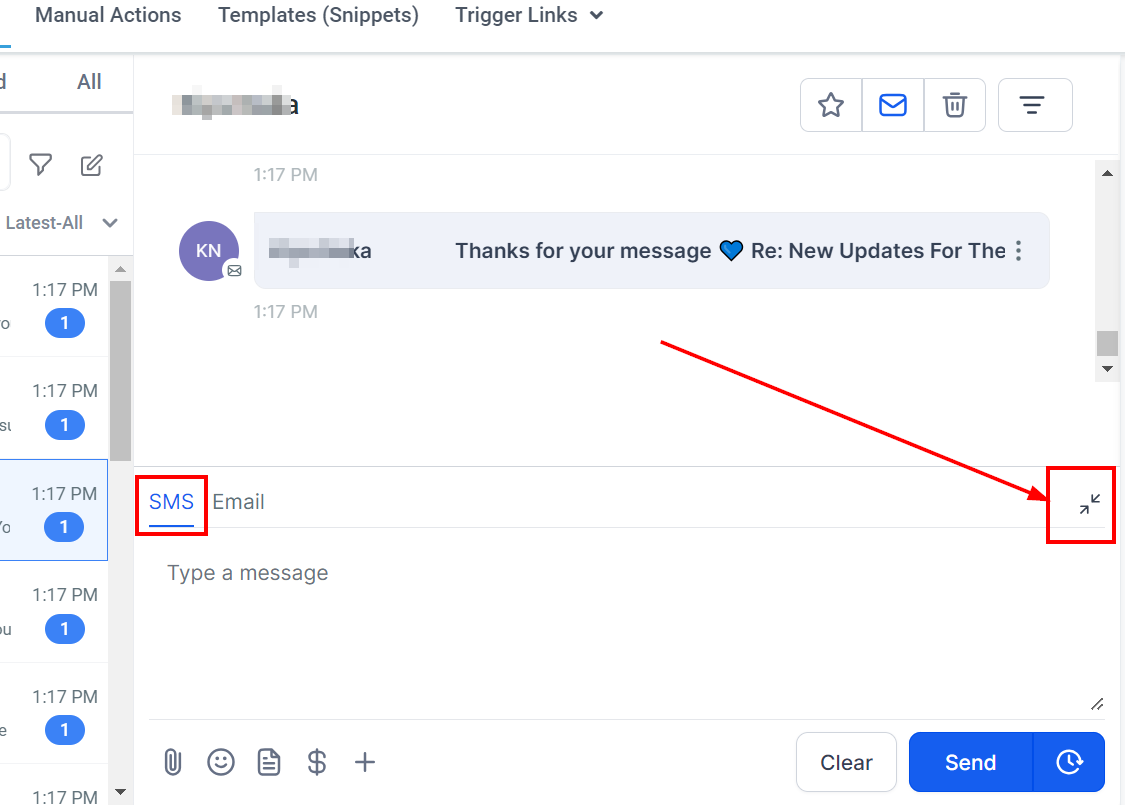
To shrink your message box, click on the icon in the top right corner - it's shaped like four corners. This will collapse the message box and clear any content that you have added - so make sure to send or save the message before closing the box.
Clear Text Box
If you decide to erase your current message and begin anew, simply click on the Clear button found at the lower right corner of your message composition area. However, it is crucial to contemplate this action thoroughly, as once you press the button, your message will be permanently deleted and cannot be retrieved.
Send SMS
When it comes to transmitting your message, you have the flexibility to choose between two options: sending it right away or scheduling it for a later time. This adaptability allows you to cater to various situations, whether it's addressing urgent concerns or planning for future communications, ensuring that your messages reach their intended recipients at the most suitable moments.
Send Now
If you wish to dispatch your message immediately, locate the blue Send Now button situated at the lower right corner of the message composition area. Clicking this button will promptly deliver your message to its intended recipient, ensuring efficient and timely communication without delay. This feature is particularly useful when addressing urgent matters or responding to time-sensitive inquiries.
Scheduling Messages
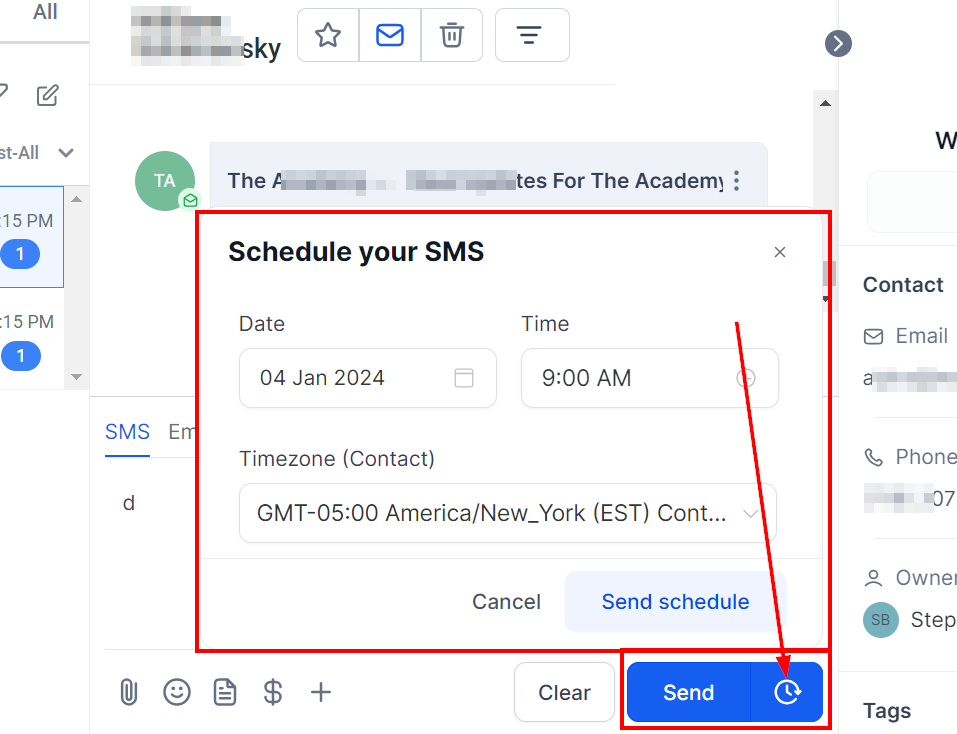
Additionally, you have the option to schedule your messages for later delivery by utilizing the Timer icon positioned beside the Send button. Upon clicking this icon, a scheduling window will appear, allowing you to input:
Date: The date you would like to send the message.
Time: Select the time you prefer.
Time zone: Input the time zone. You can use the recommended time zones (your account or system timezone) or choose from the rest of the list.
Click the Schedule button, then click Send Later to save it!
Cancel Scheduled Message
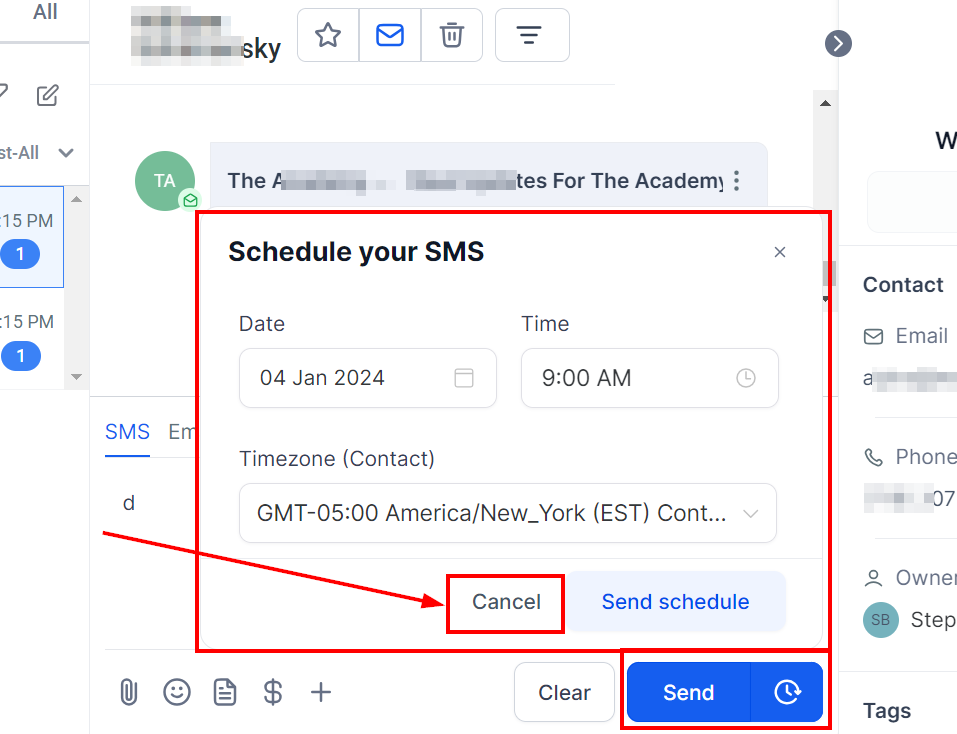
If you haven't clicked on the "Send Later" button and you want to delete the scheduled message, simply click on the Cancel button.
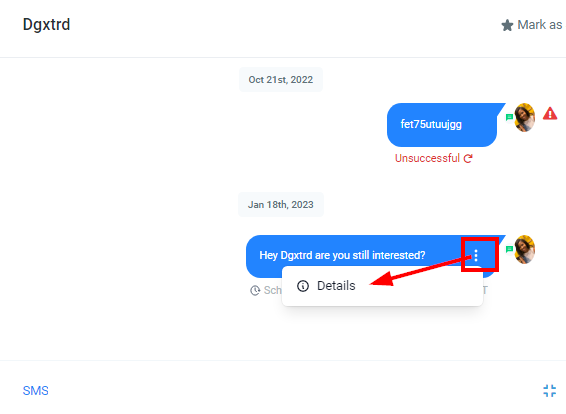
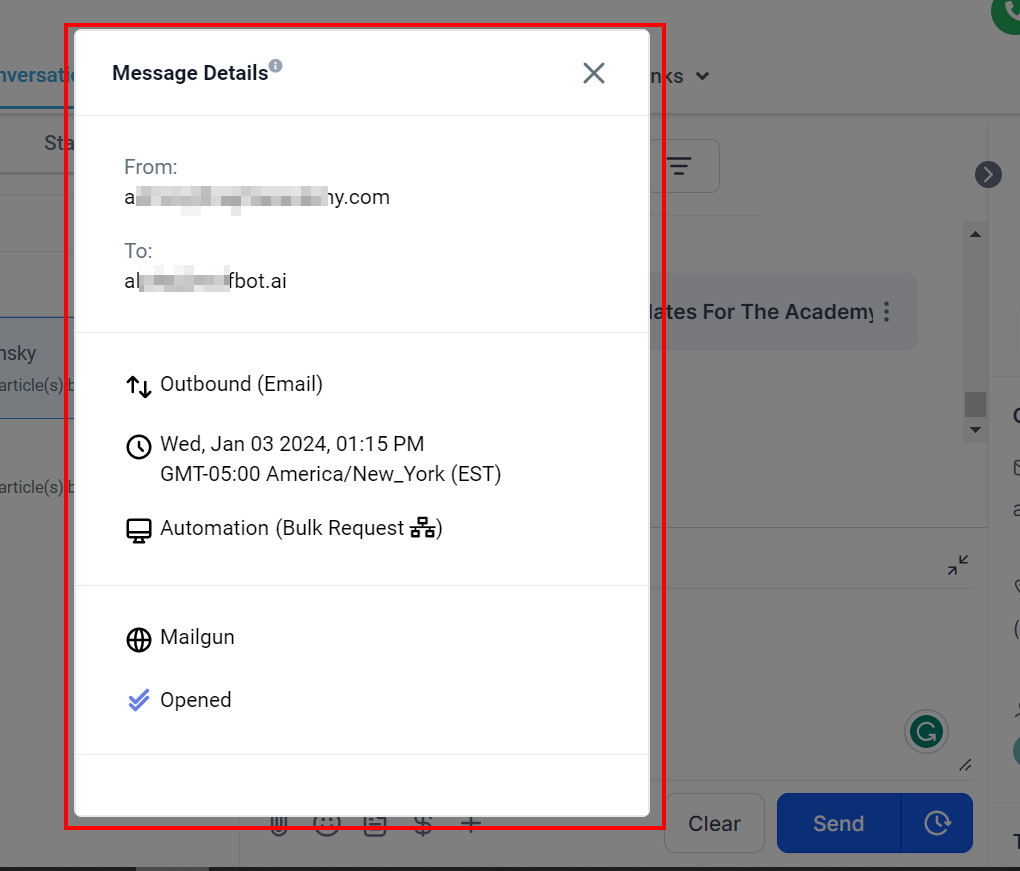
To cancel a scheduled message, hover over the scheduled SMS message and click on the three dots located to the right. A window will appear with all the details of your scheduled message, and you can click on the blue Cancel Send button. A confirmation window follows this prompt, asking whether you'd like to proceed with canceling your scheduled message. Selecting the red Yes button will cancel your scheduled message and delete it permanently while selecting the white No button will keep your scheduled message intact.