
Image Element
Image Element
Adding Image Element
The Image element allows you to add images to your email, making it more visually appealing and engaging. To do this, simply drag and drop the Image element from the left sidebar into the body of your email template. This easy-to-use feature allows you to add images with just a few clicks, helping you to create professional-looking emails in no time.
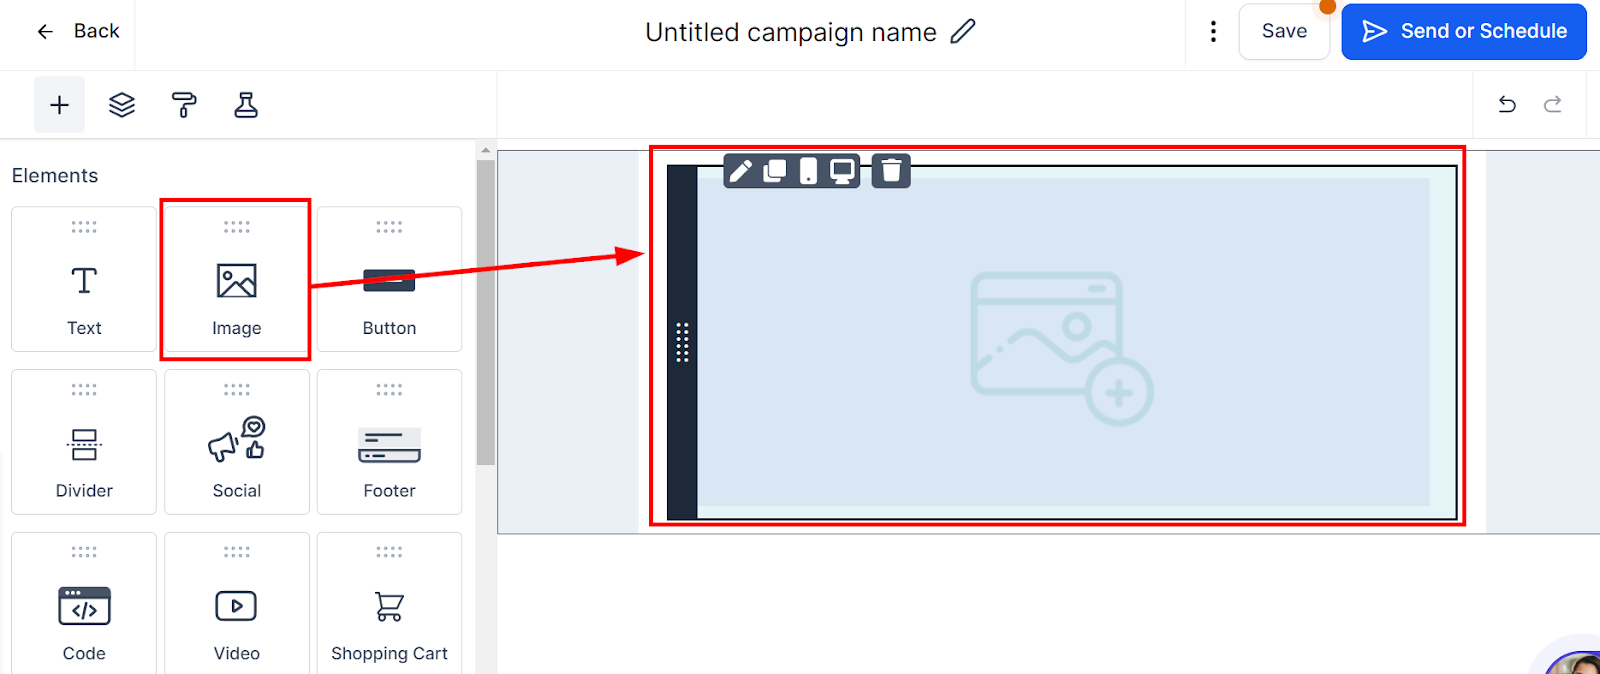
Drag and drop to add the image element
Editing Image Settings
Similar to the Text element, you can easily edit and customize the settings of the Image element to ensure it fits perfectly into your email template. These settings include custom images, image URL, alt text, height and width adjustments, and cell padding customization. With these editing options, creating a visually stunning email that resonates with your audience has never been easier.
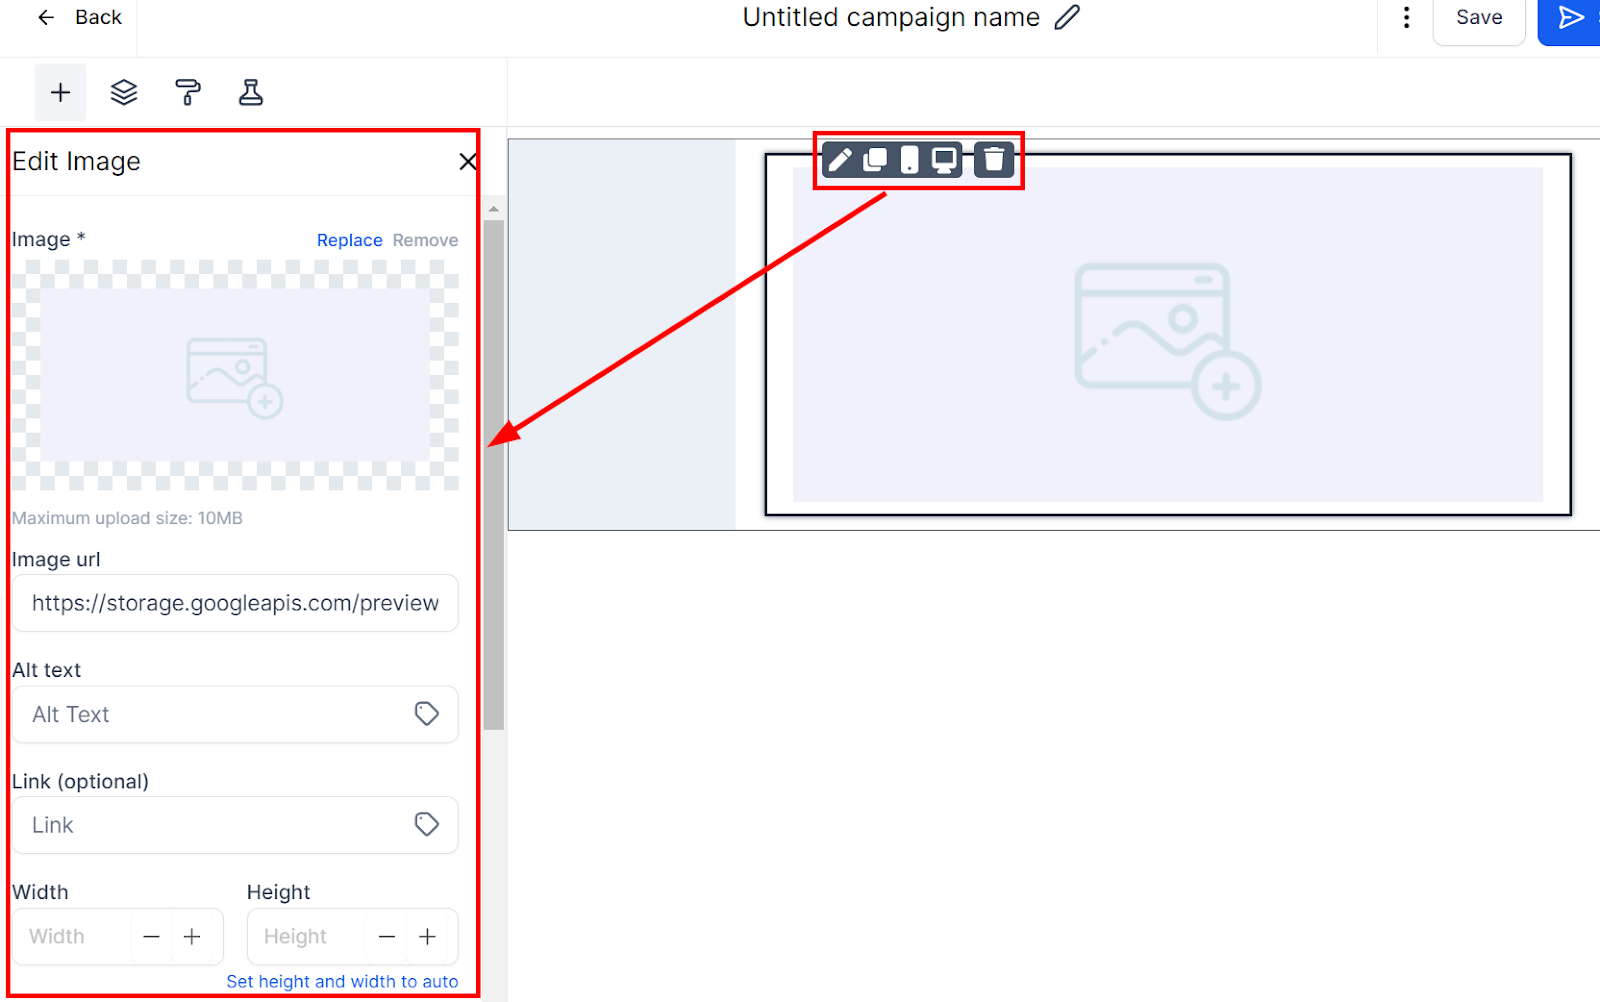
Edit image element
Adding Image
Once you drag in the image element, select "Replace" and upload an image into the file library where we can then double-click the image to paste it to the editor's page or select it to copy and then paste the URL in the Image URL field.
After this, you also have some additional information to customize like the Image Url and some other controls where you can enter Alt Text for SEO purposes.
You could hyperlink the image to a destination and you can also control the width and the height of the image right here.
Here again, you get the Padding toggled on if we wanted to add or remove any spacing around the image, then you can choose the alignment of the image. Once you're good with your image, go ahead and hit Done. Well done!
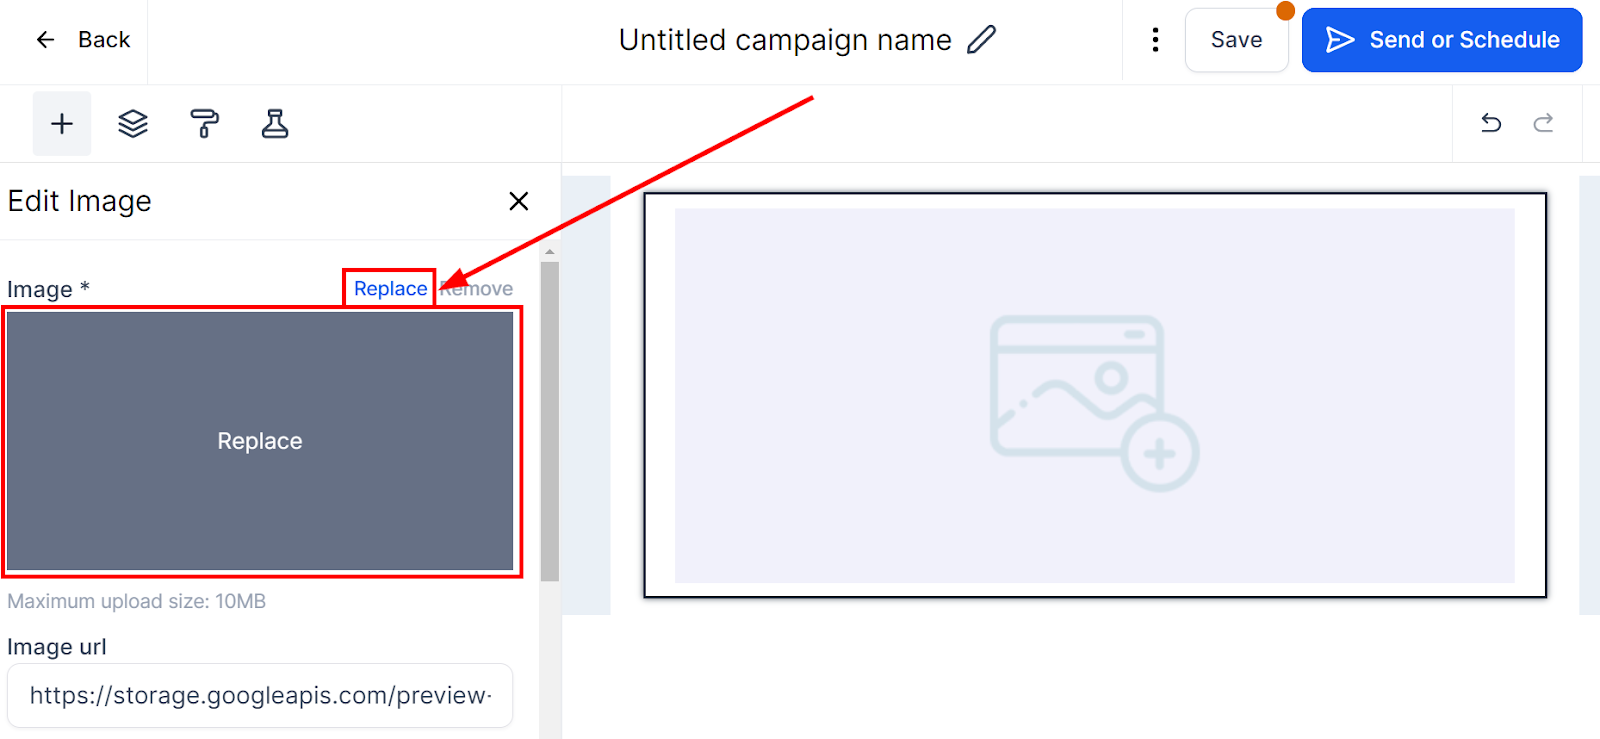
Replace Image
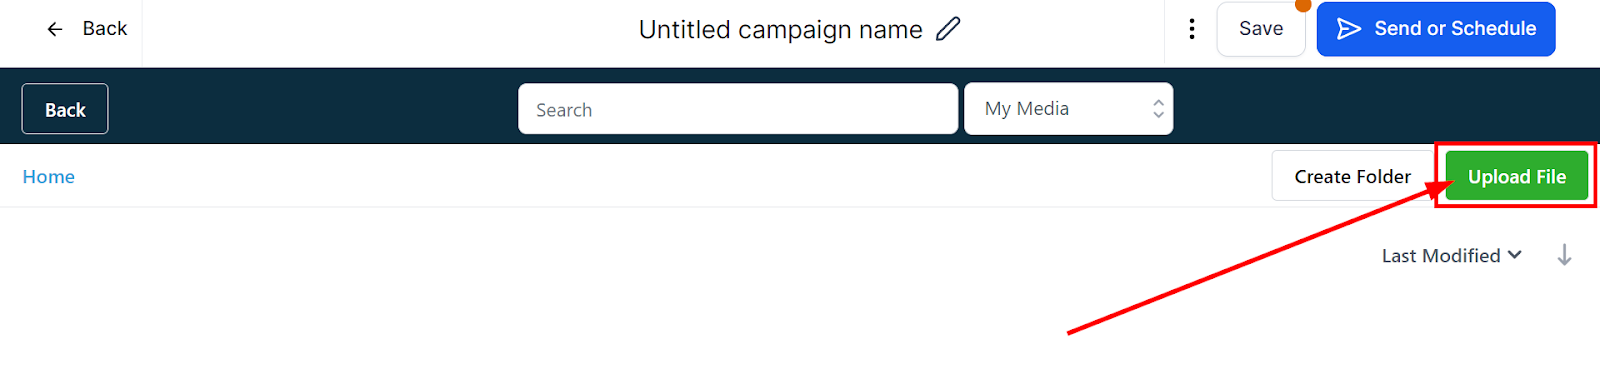
Upload File