
Connecting Sendgrid to Email Services
A quick way to set up Sendgrid as an email service provider. Before connecting it to the CRM, a few steps need to be completed on the Sendgrid account.
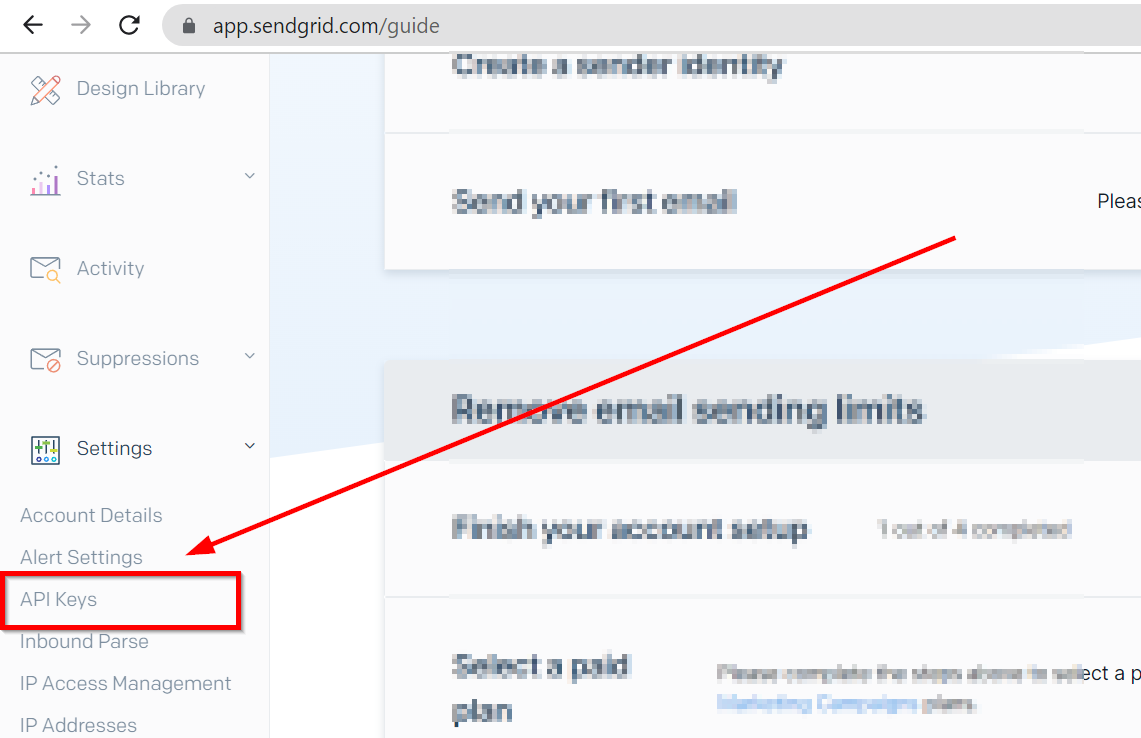
Go to API Keys Section
Login to your Sendgrid account navigate to "Settings" on the left navigation bar, and then select "API Keys".
Create API Key.
Click on the “Create API Key” to generate a key.

Setting up API Key
- Give your API key a name.
- Select Full Access, Restricted Access, or Billing Access. If you're selecting Restricted Access or Billing Access, select the specific permissions to give each category. For more information, see API key permissions.
- Click Create & View.

Copy API Key.
This API Key will need to be used as a Password for the SendGrid connection. Click on the code and it will automatically copy the entire code. Copy your API key somewhere safe. For security reasons, do not put it directly in your code, or commit it somewhere public.

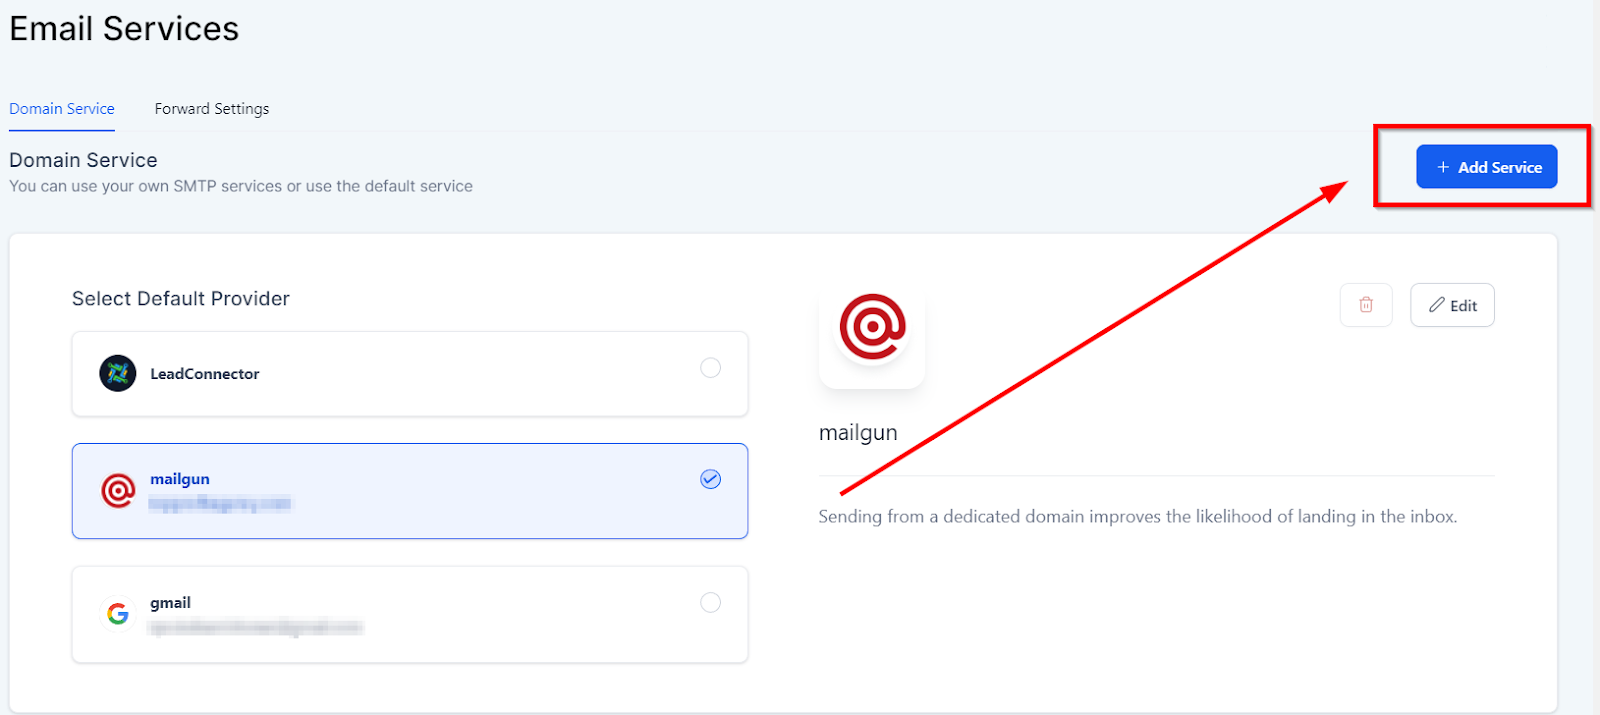
Setting up SendGrid inside of the CRM
Now that you have copied the API code from the SendGrid account, go back to the email services area of the CRM settings section. There you can click on the "Add service" option for the next steps.
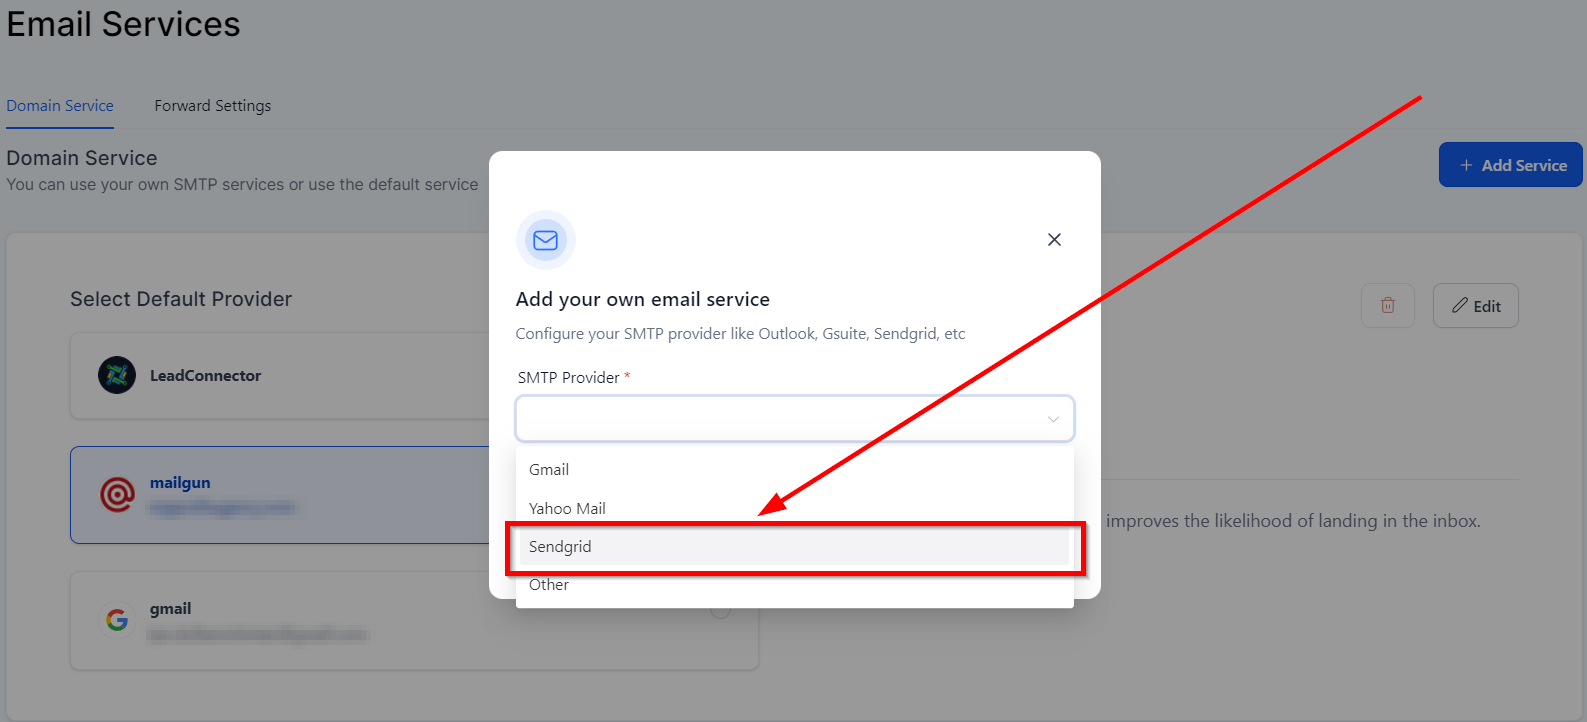
Click on the SMTP provider option and select Sendgrid from the dropdown menu.
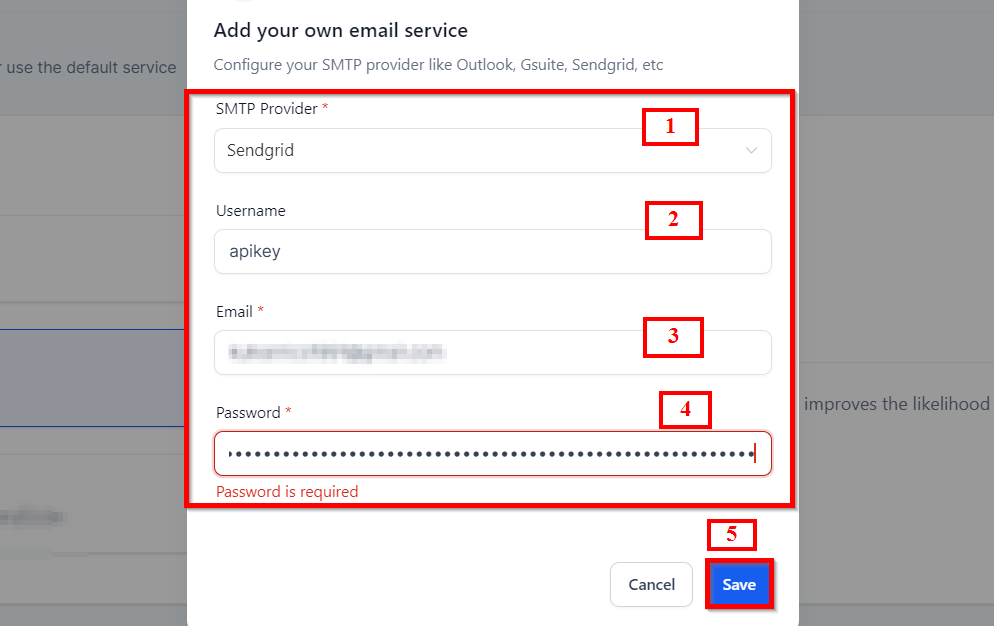
Configuring SMTP settings
Select Sendgrid from the dropdown menu.
add the username as "APIkey"
Add the email address that you wish to set up with the CRM location.
Paste the API Key copied from the SendGrid account.
Save the settings.
Sendgrid Connected
This is how your screen will look after you have successfully connected your Sendgrid account with your CRM. Remember to select Sendgrid as a default provider.