Blog Post
A blog post is an essential part of any content marketing strategy. It's typically written to cover a specific topic or answer a question, and it’s educational. Blog posts are an excellent way to share long-form articles related to your business and cover topics your target audience may want to read or learn about.
General Settings
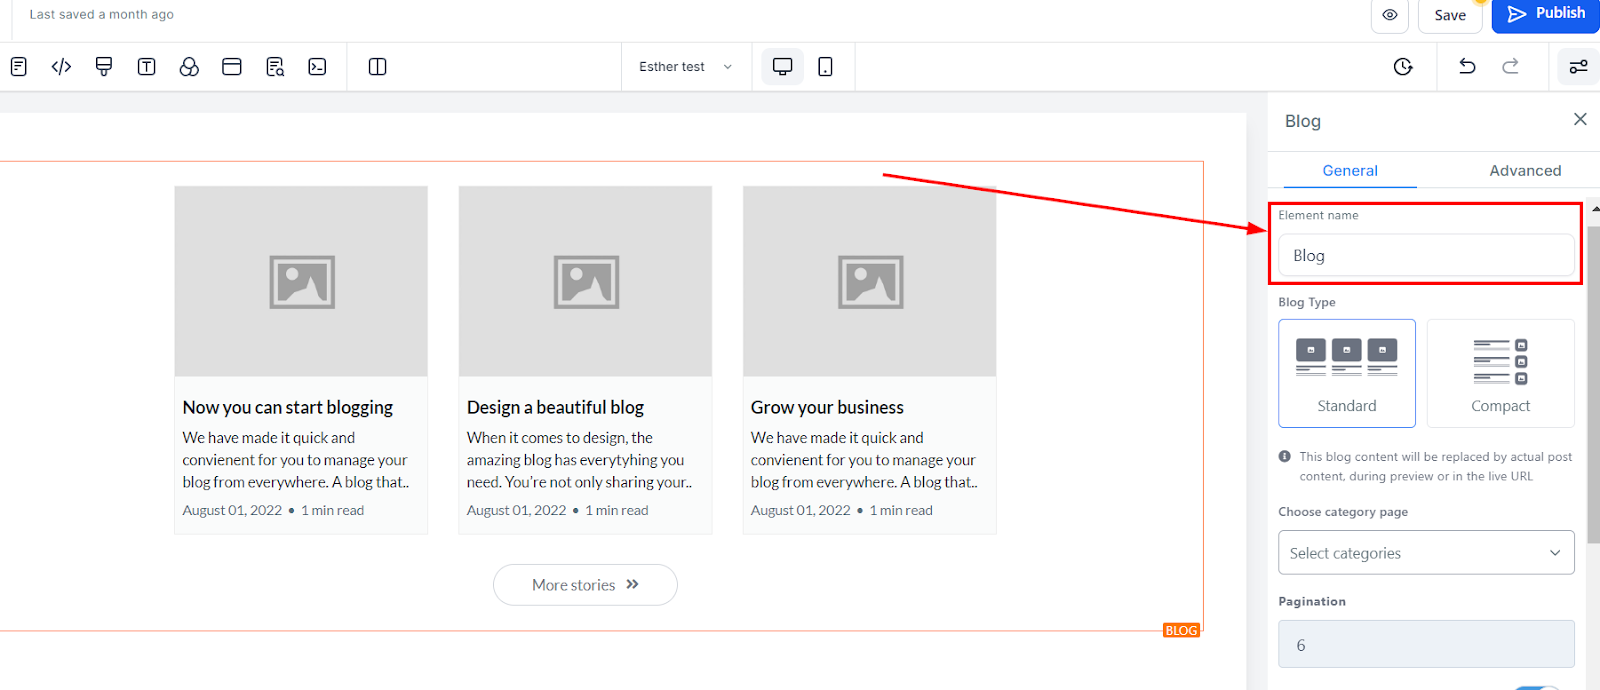
Element Name / Title
Under General Settings, you'll see the Element Name/Title at the top. This field shows the default name/title of the edit option you're working on, but you can rename it for easy identification as you build out your funnel page.
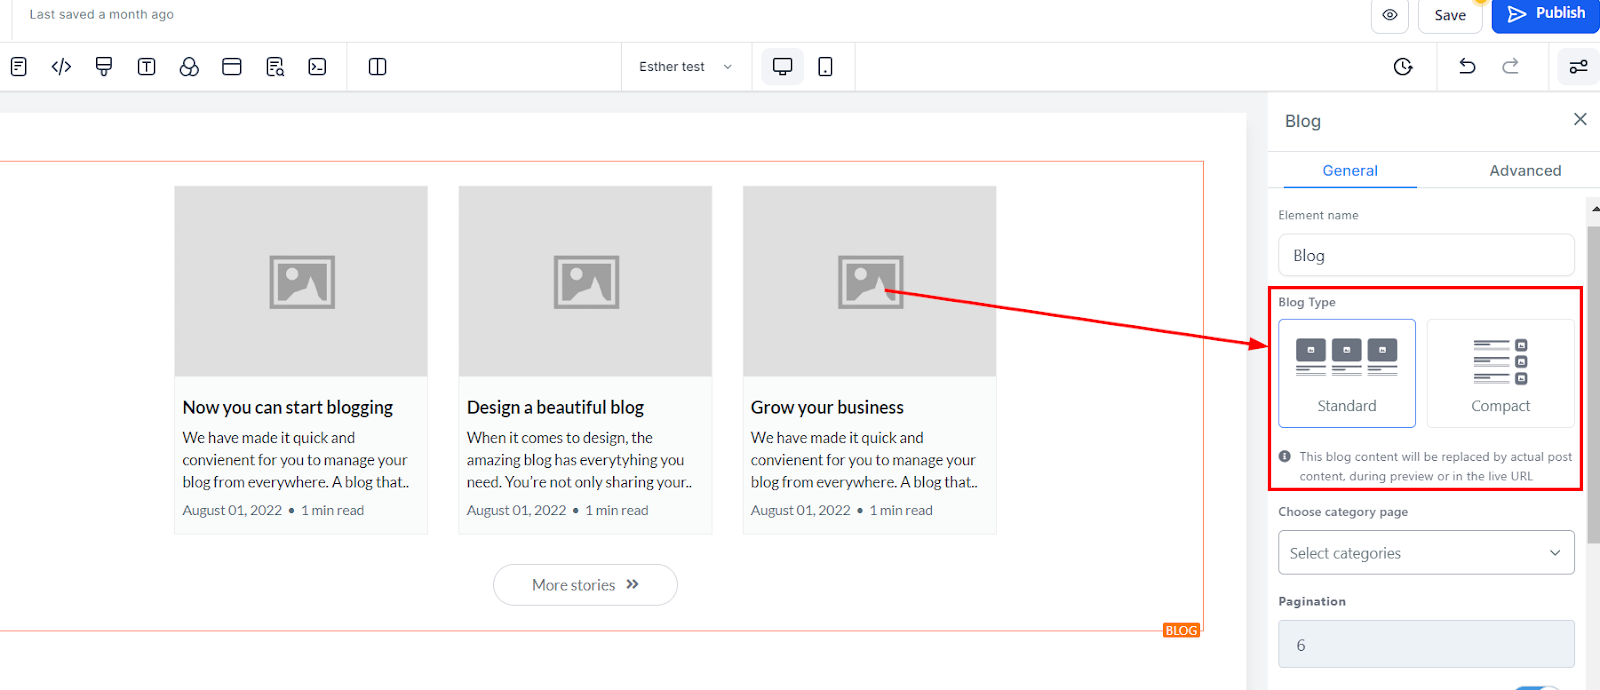
Blog Type
Standard
You can decide to use the standard type which has the blogs in a Grid View.
Compact
You can decide to use the standard type which has the blogs in a List View. This blog content will be replaced by actual post content, during previews or in the live URL
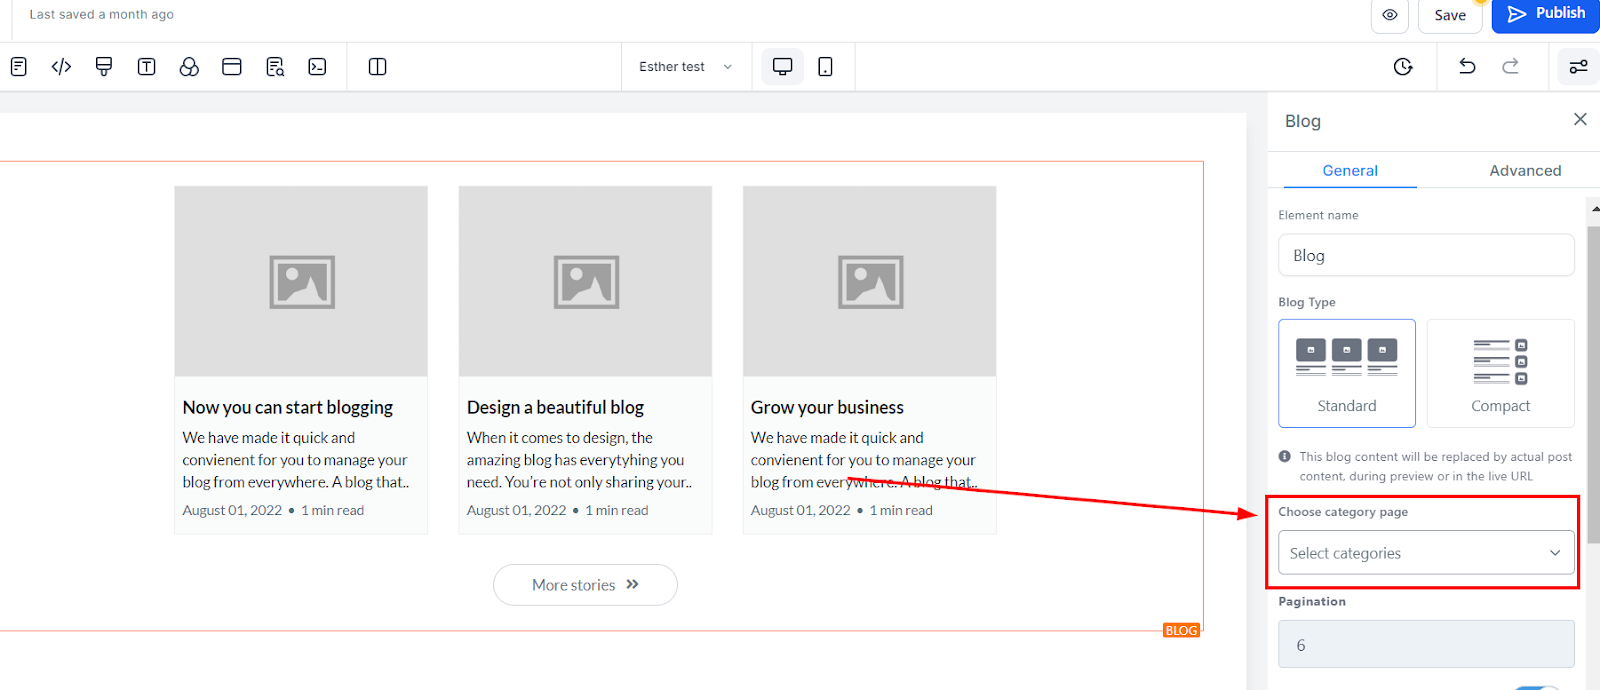
Choose Category Page
You can filter the category page here
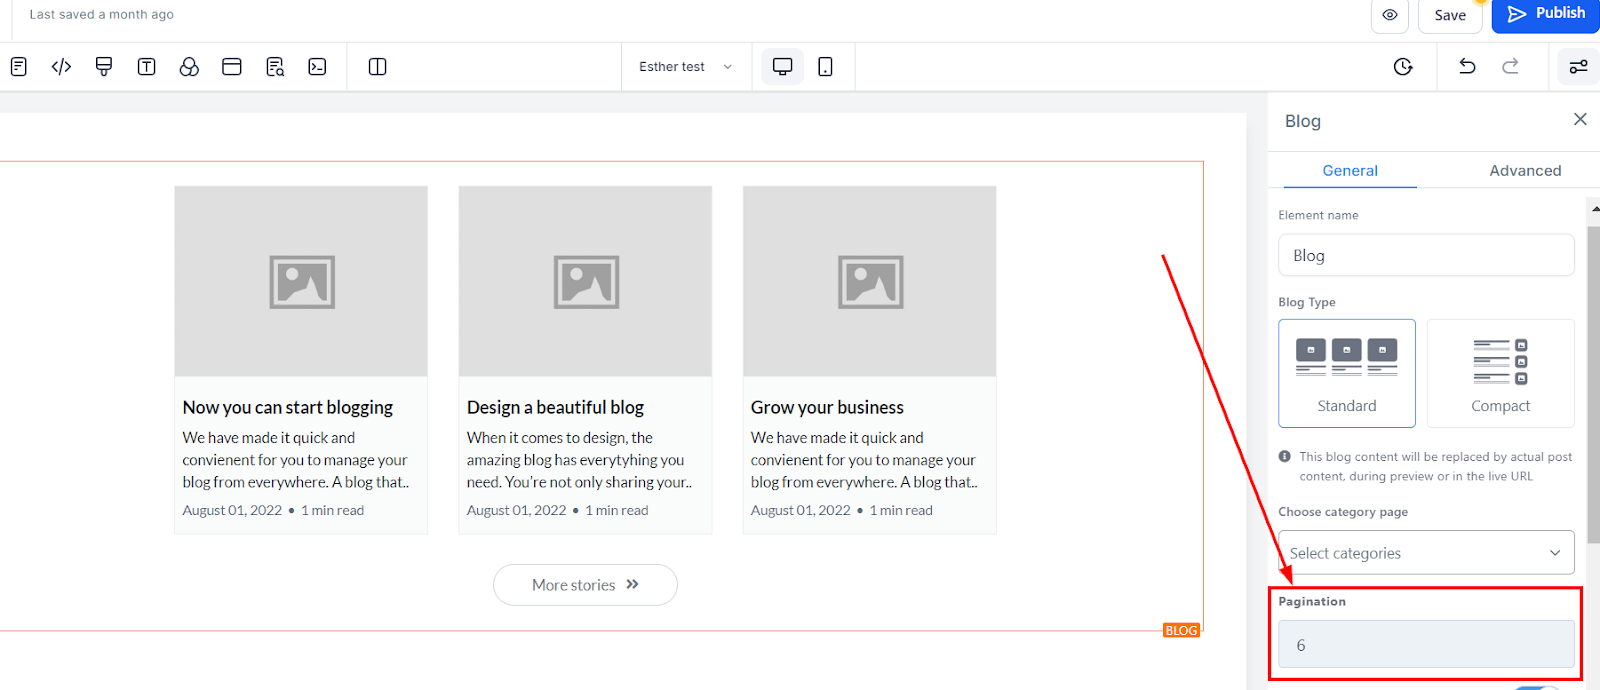
Pagination
You can select the number of blog posts you want visible on the page in the Pagination settings. It's recommended to keep it between six and nine blog posts, but you can set it however you prefer.
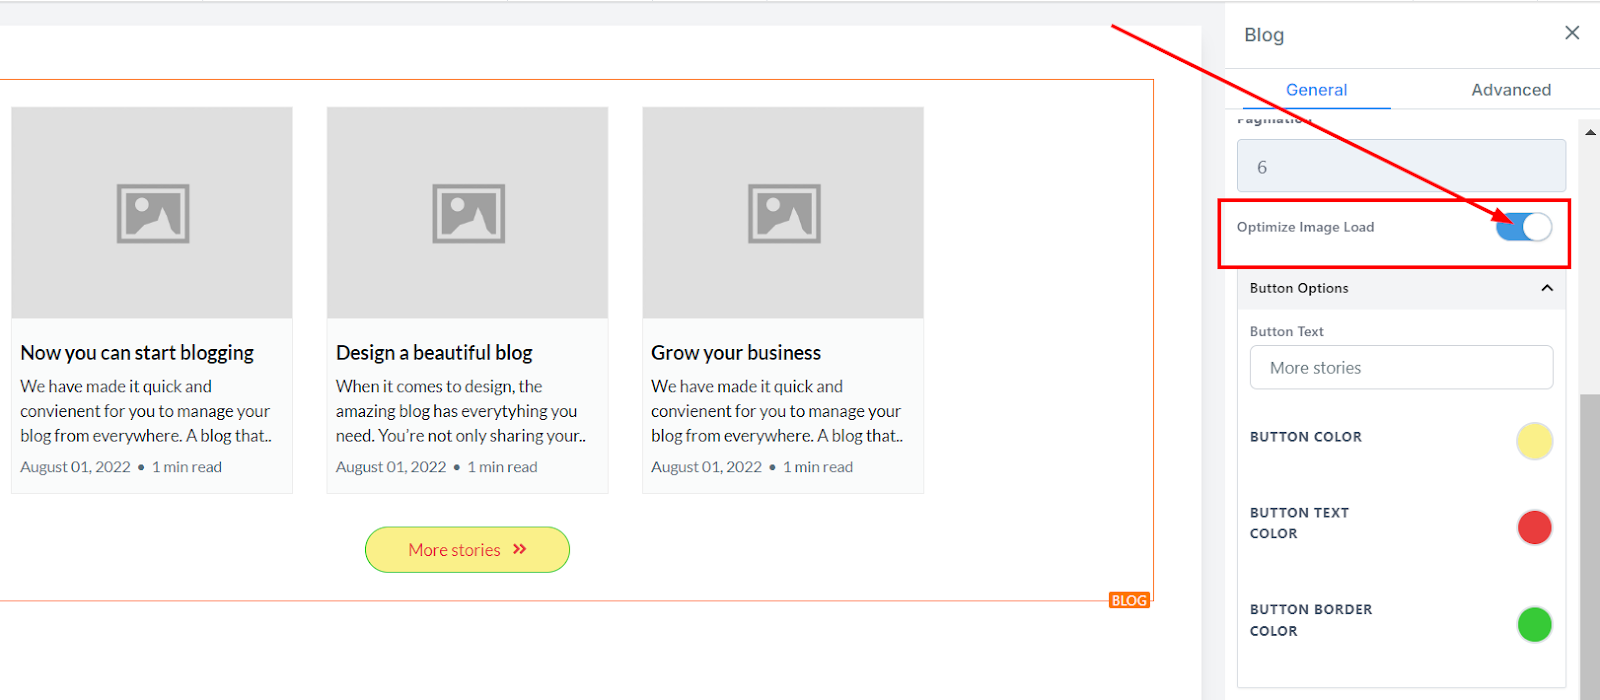
Optimize Image Load
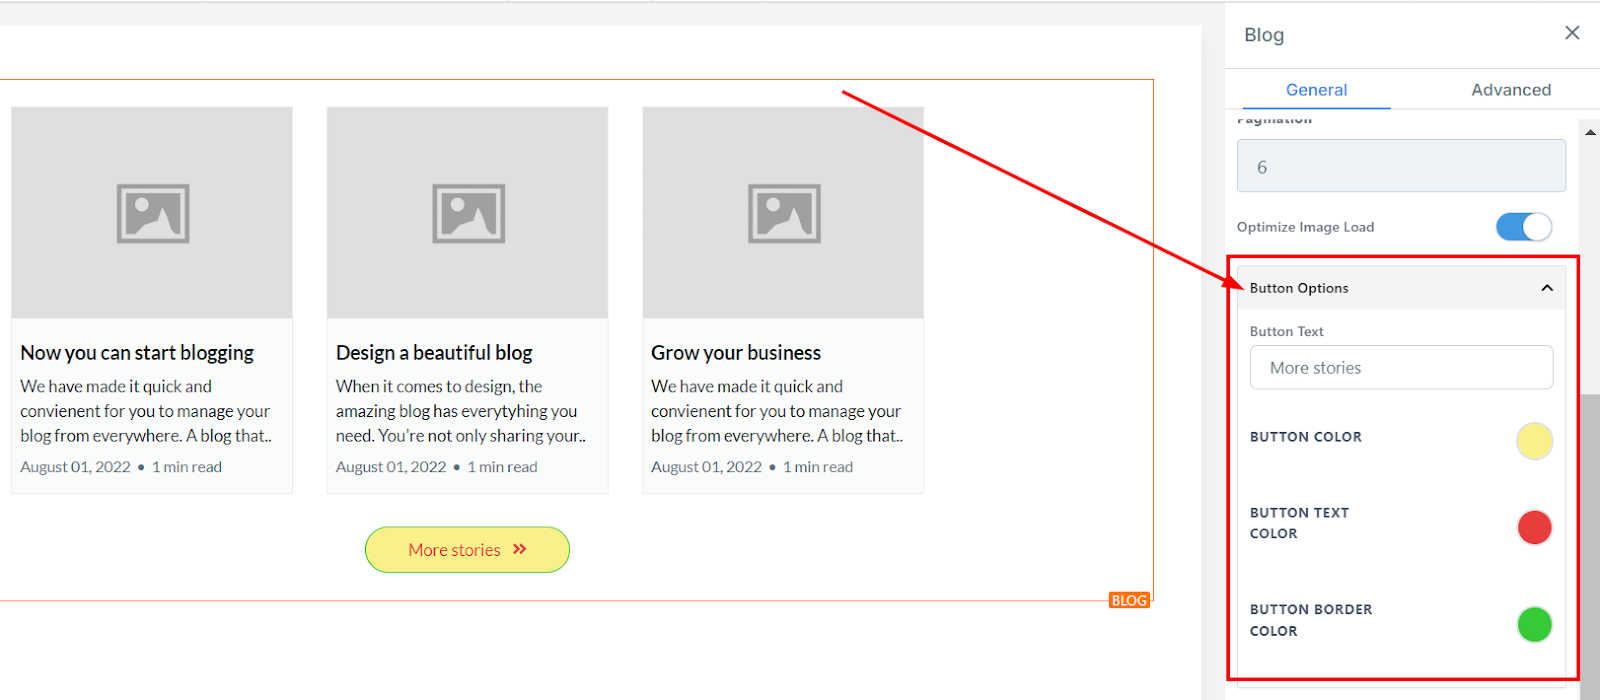
Button Options:
Button Text
You can decide to edit the button content in this space provided.
Button Color
You can edit the background color of your button here.
Button Text Color
You can edit the color of your button text here.
Button Border Color
You can also edit the color of your button border here.
Advanced Settings
Advanced Settings provides several options to customize your blog post element. Here you have spacing options, the ability to add borders and shadows, as well as adjust visibility and add Custom CSS.
Spacing Option:
There are different spacing options available for adjusting your content. Depending on the Edit option you are working on, the settings will only apply to that option. For example, if you are editing a particular Row (the BLUE box), only every content in that Row will follow the command of what settings you make.
Padding Left, Right, Top, and Bottom
These four (4) different toggle bars move the content to either the left, right, top, or bottom depending on the toggle bar you click on.
Margin Top and Bottom
You can adjust the top or bottom margin of your content by toggling its bars.
https://lh7-us.googleusercontent.com/d3oCMUw_iNAeBF94Qcq4mM6mziK_UGSu6_7zewAb-NAh5PfjKG6rZfUbplNiEO-kM0LS7hf5eV0UNC4GBIPcgCXODYbvt8e-ZnucoXBUrTj3qafjSG3ayS5AHd5ygOJKvMW8SCZeGfJoTTY7PMqclQ8
Border And Shadow:
Border Options
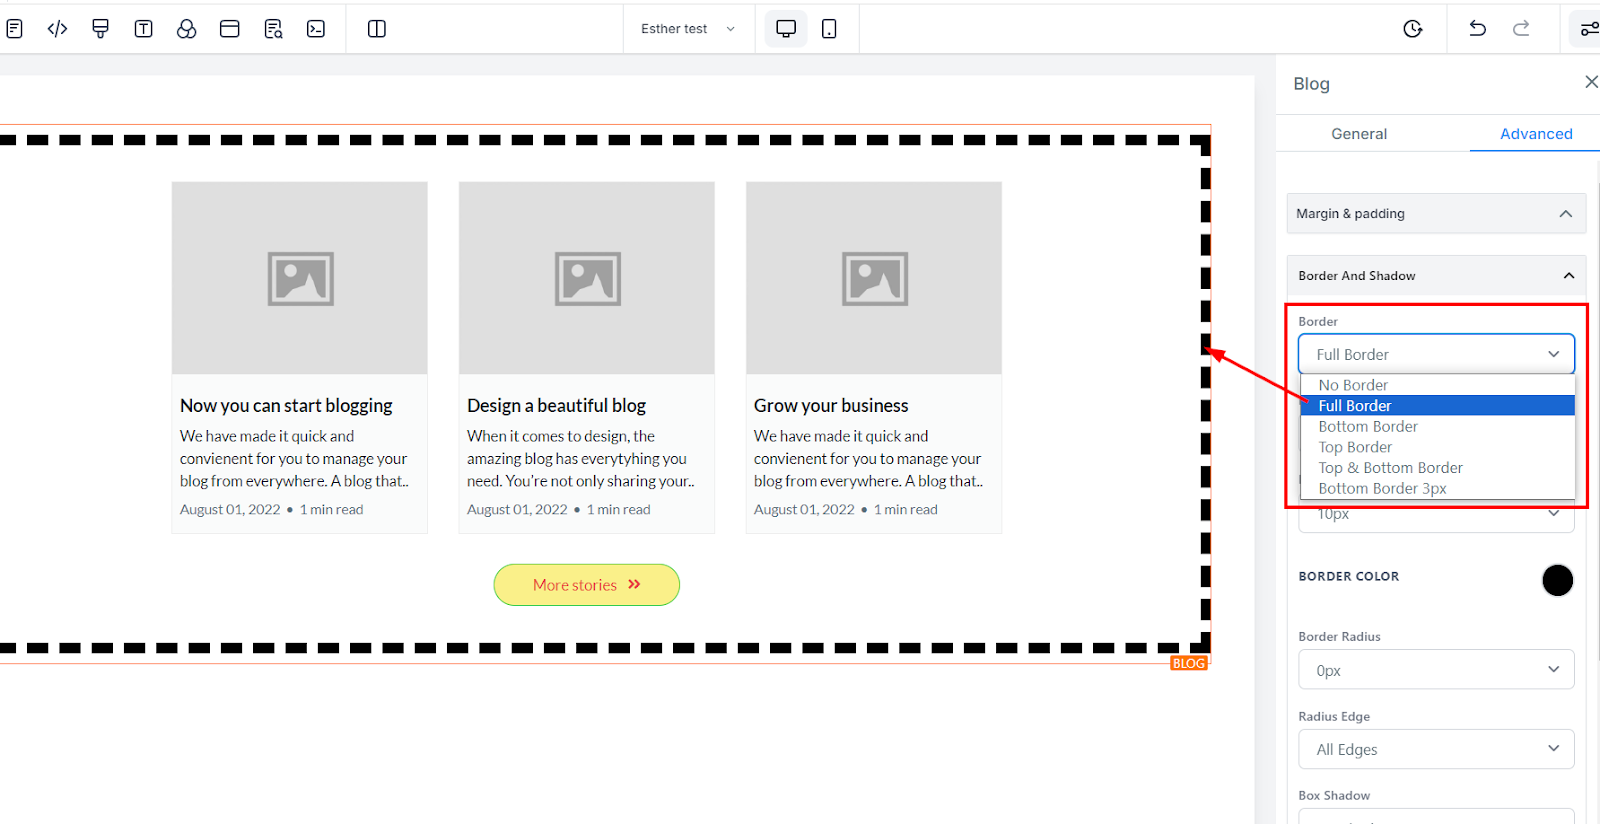
Border
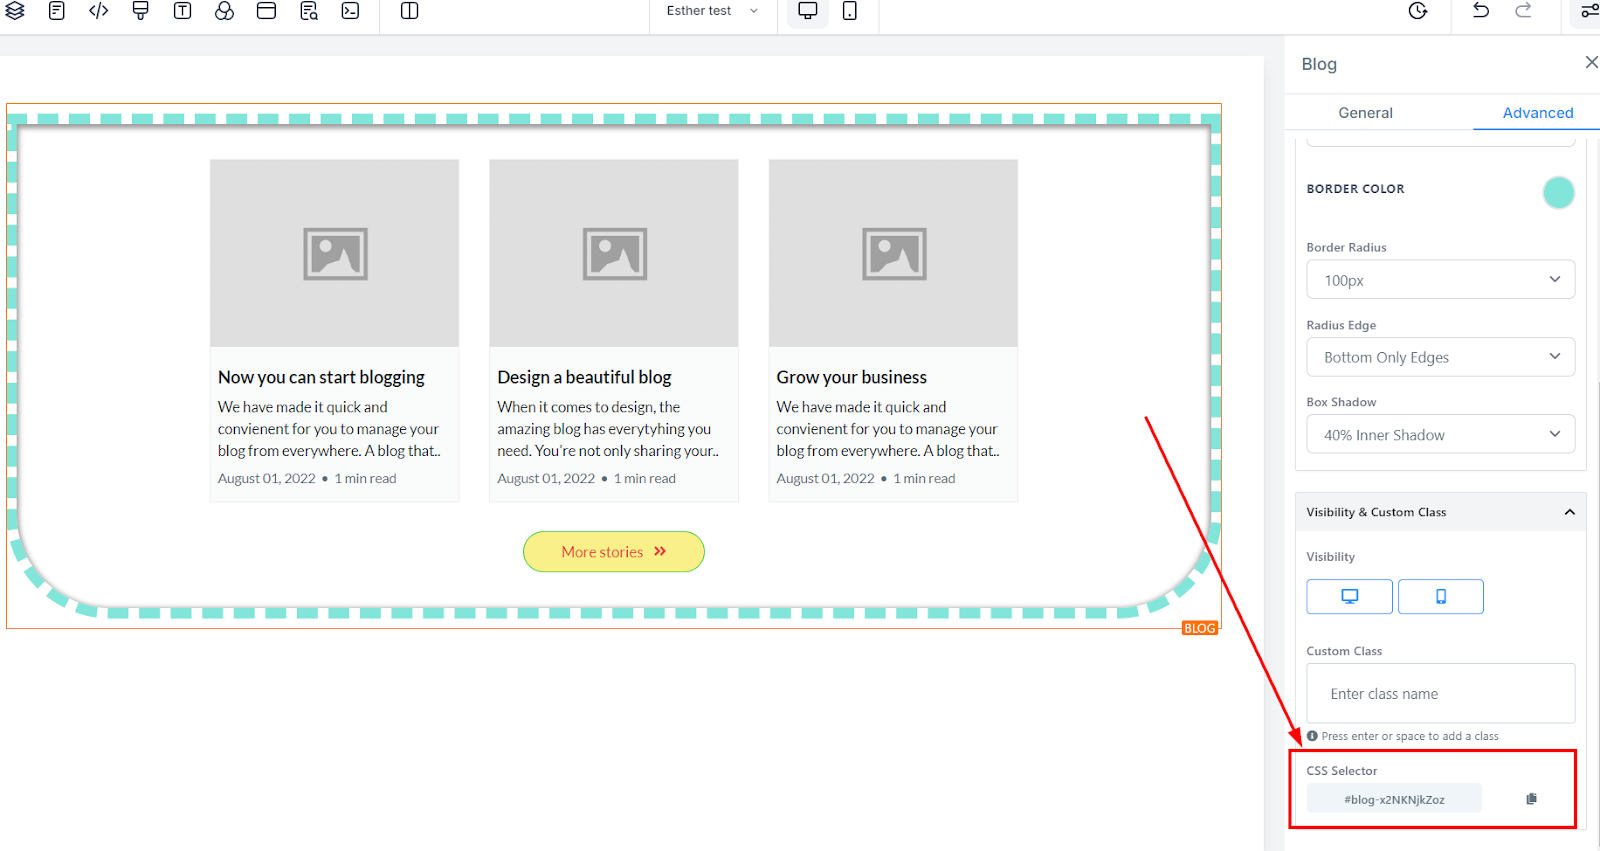
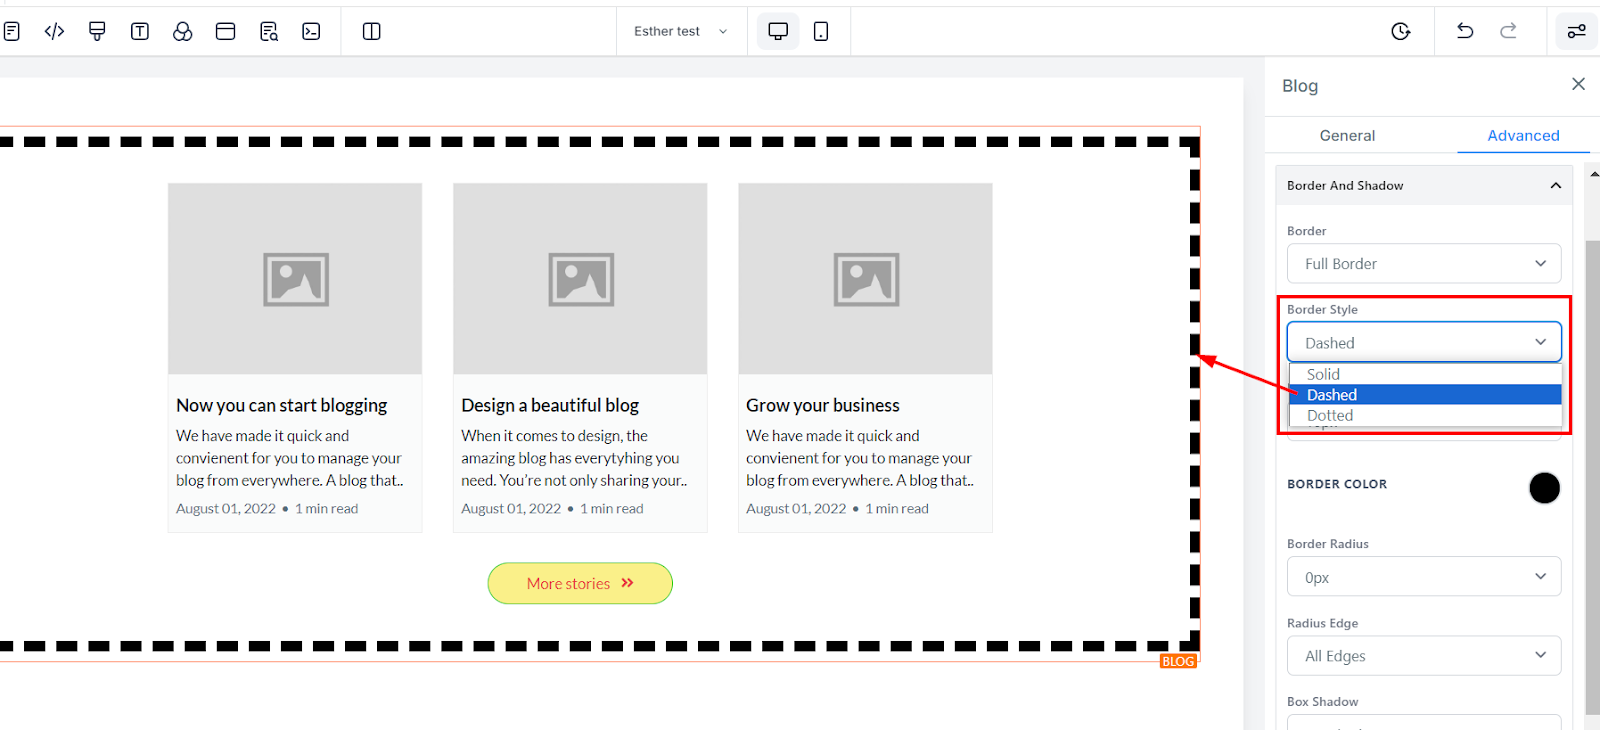
You can choose the type of border you want. Once you select any of the border types, the settings for the border pop up;
Style
There are three (3) Different styles for your border, It could be a solid, Dashed, or Dotted border.
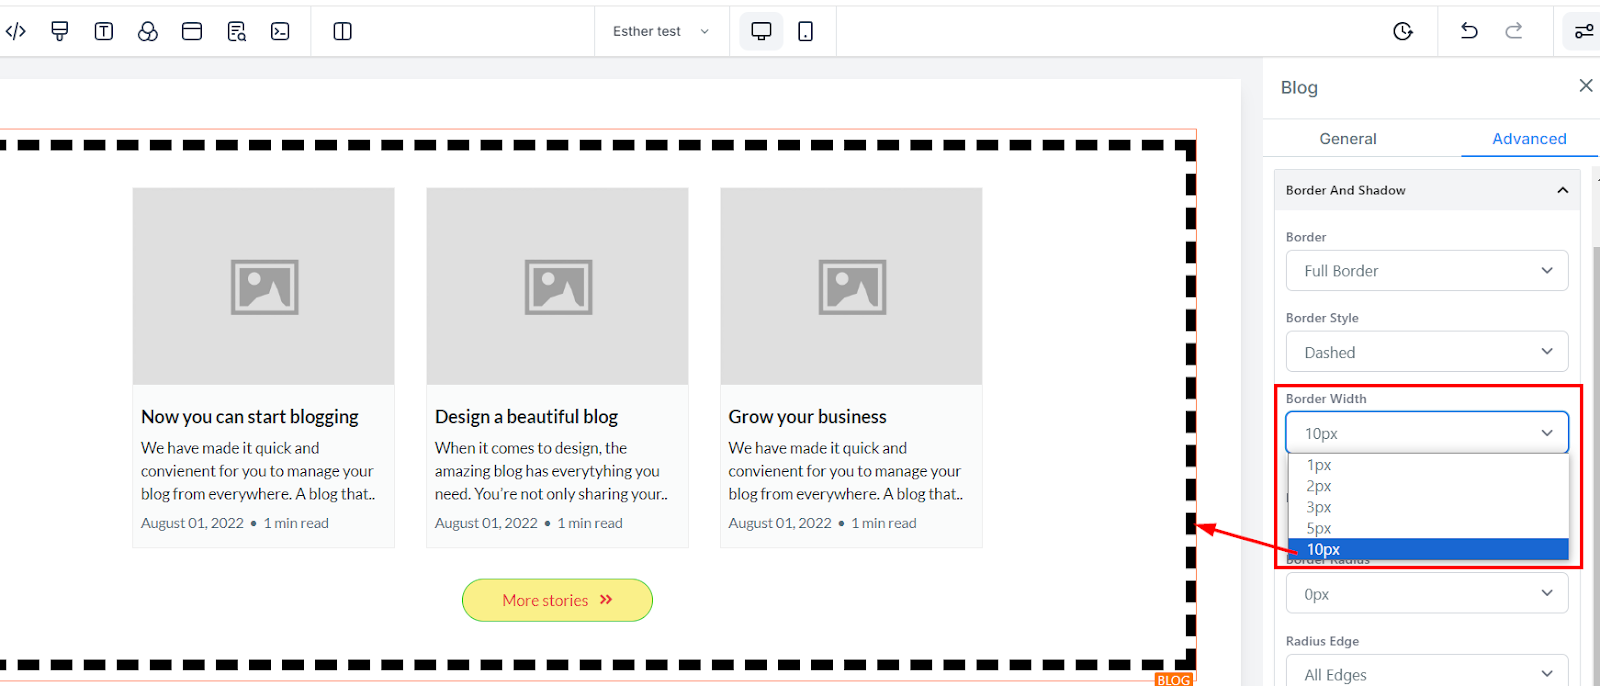
Width
When you increase the border width, it increases the thickness of the border.
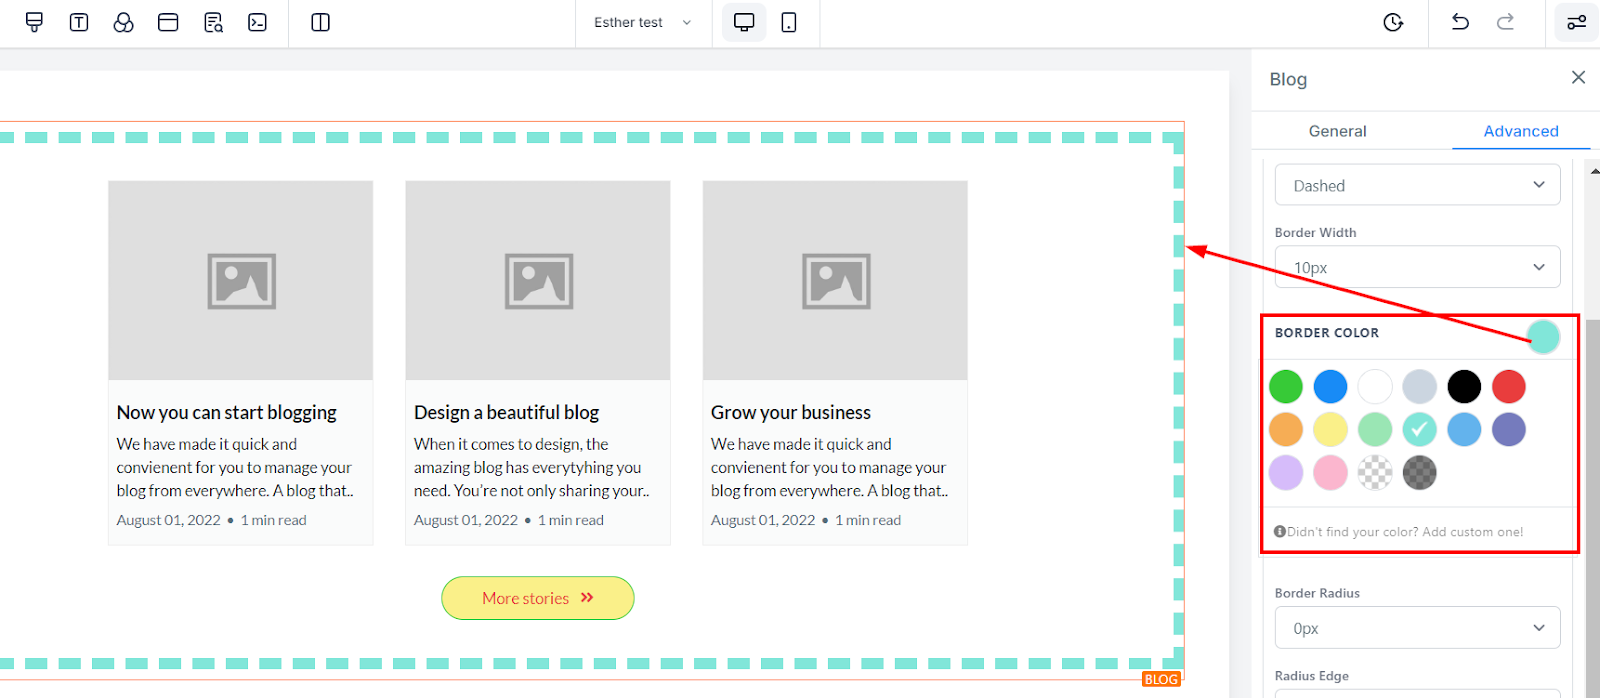
Color
To change the color of the border, click on this color icon.
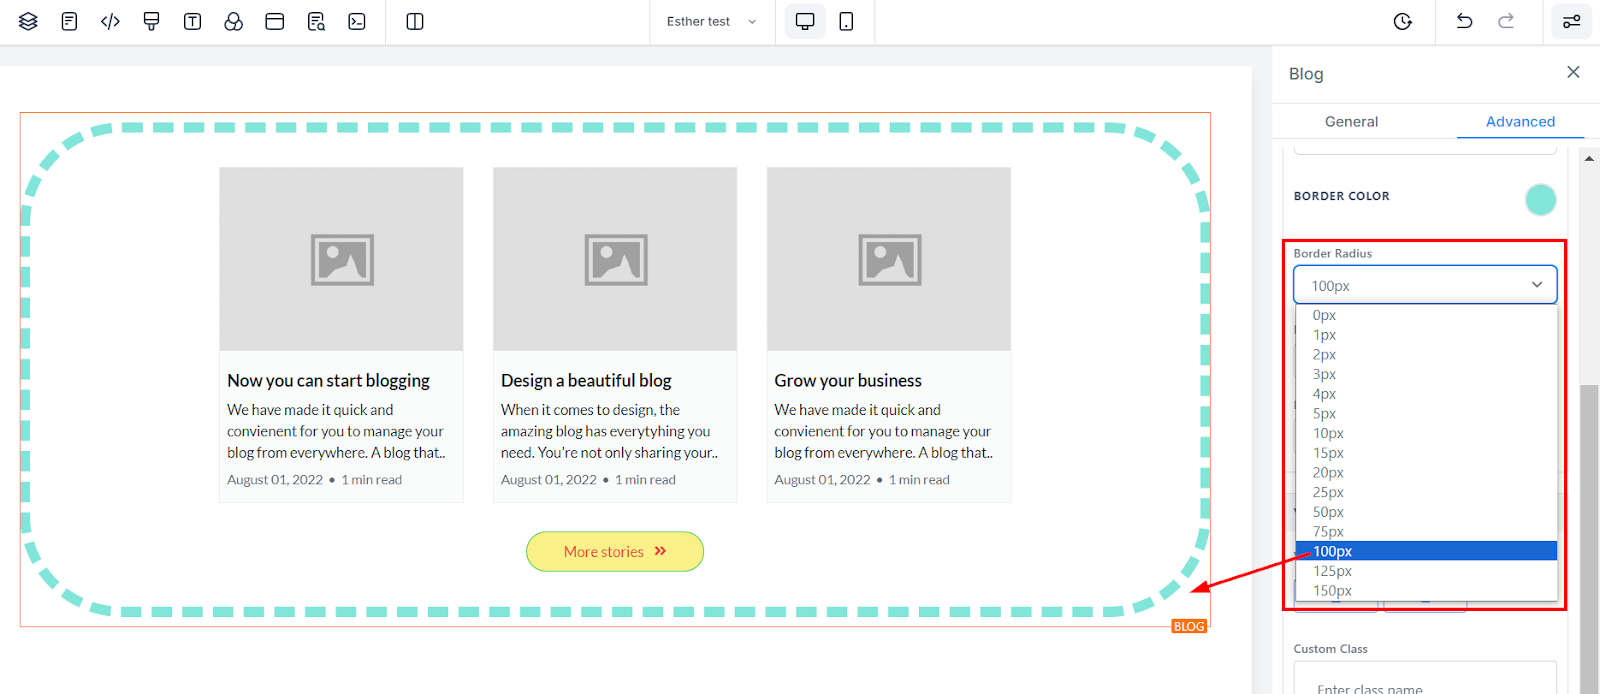
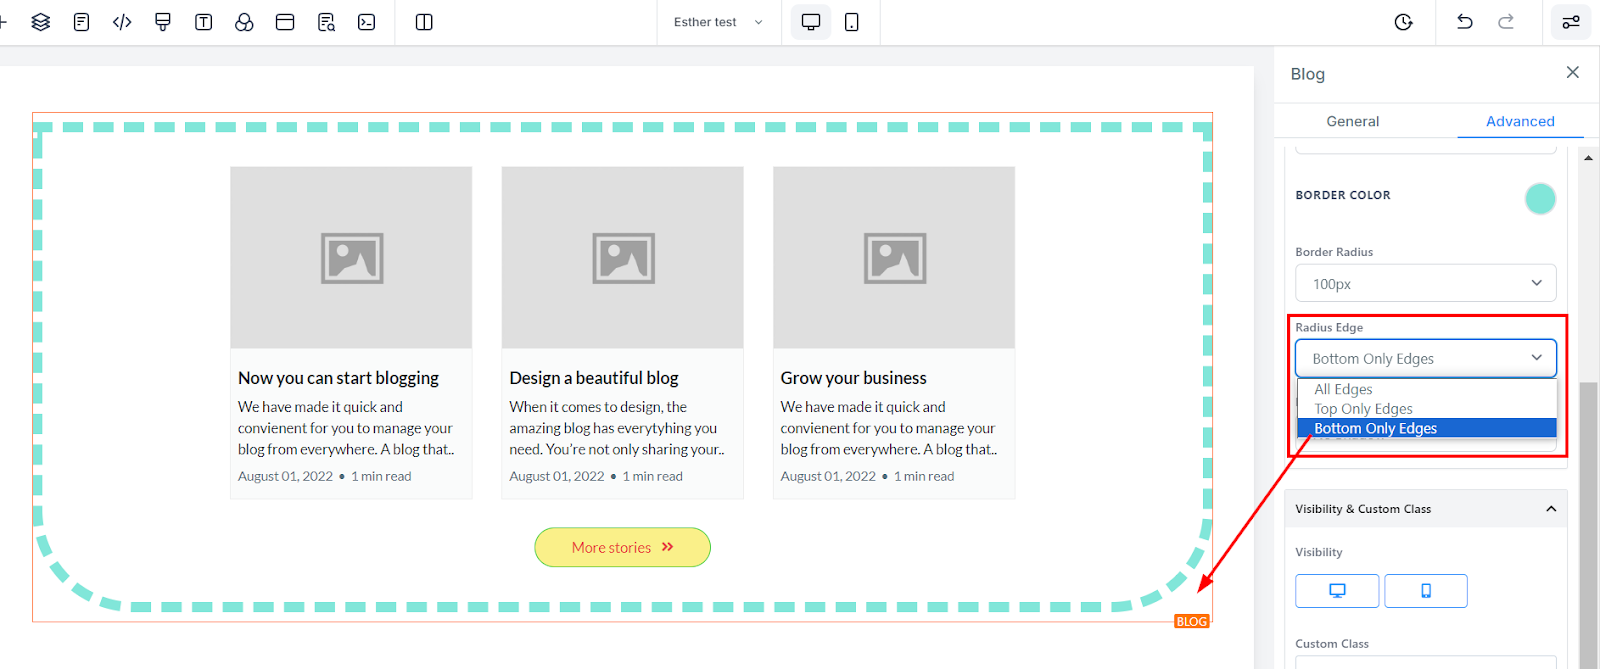
Radius
Adjusting the radius of your border curves the edges of the border, the higher the number you select, the curvier it becomes.
Radius Edge
You can decide the corner of the border you want to curve, either all edges, Top only, or Bottom edge only.
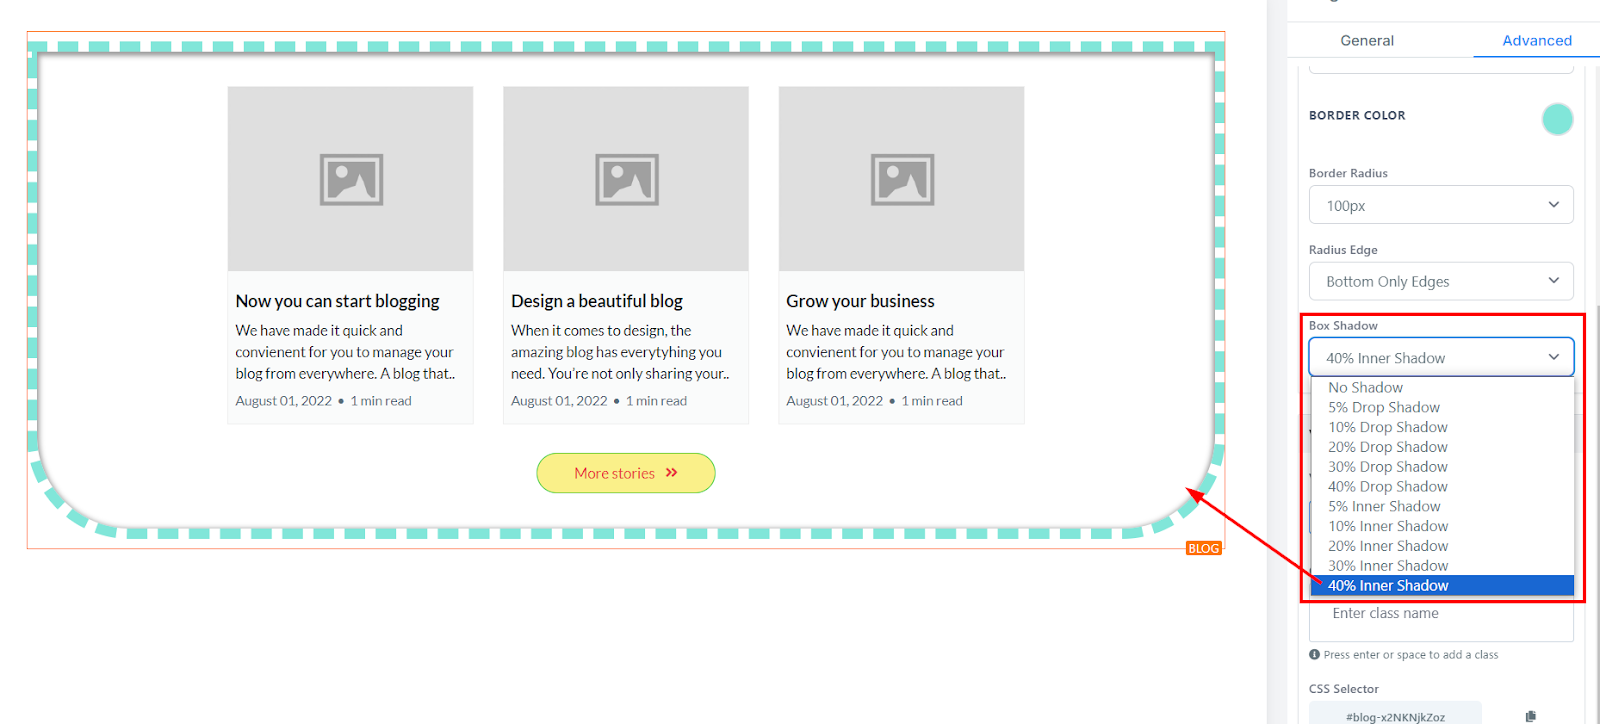
Box Shadow
If you want your box to have a shadow, simply select how strong or light you want the shadow to be.
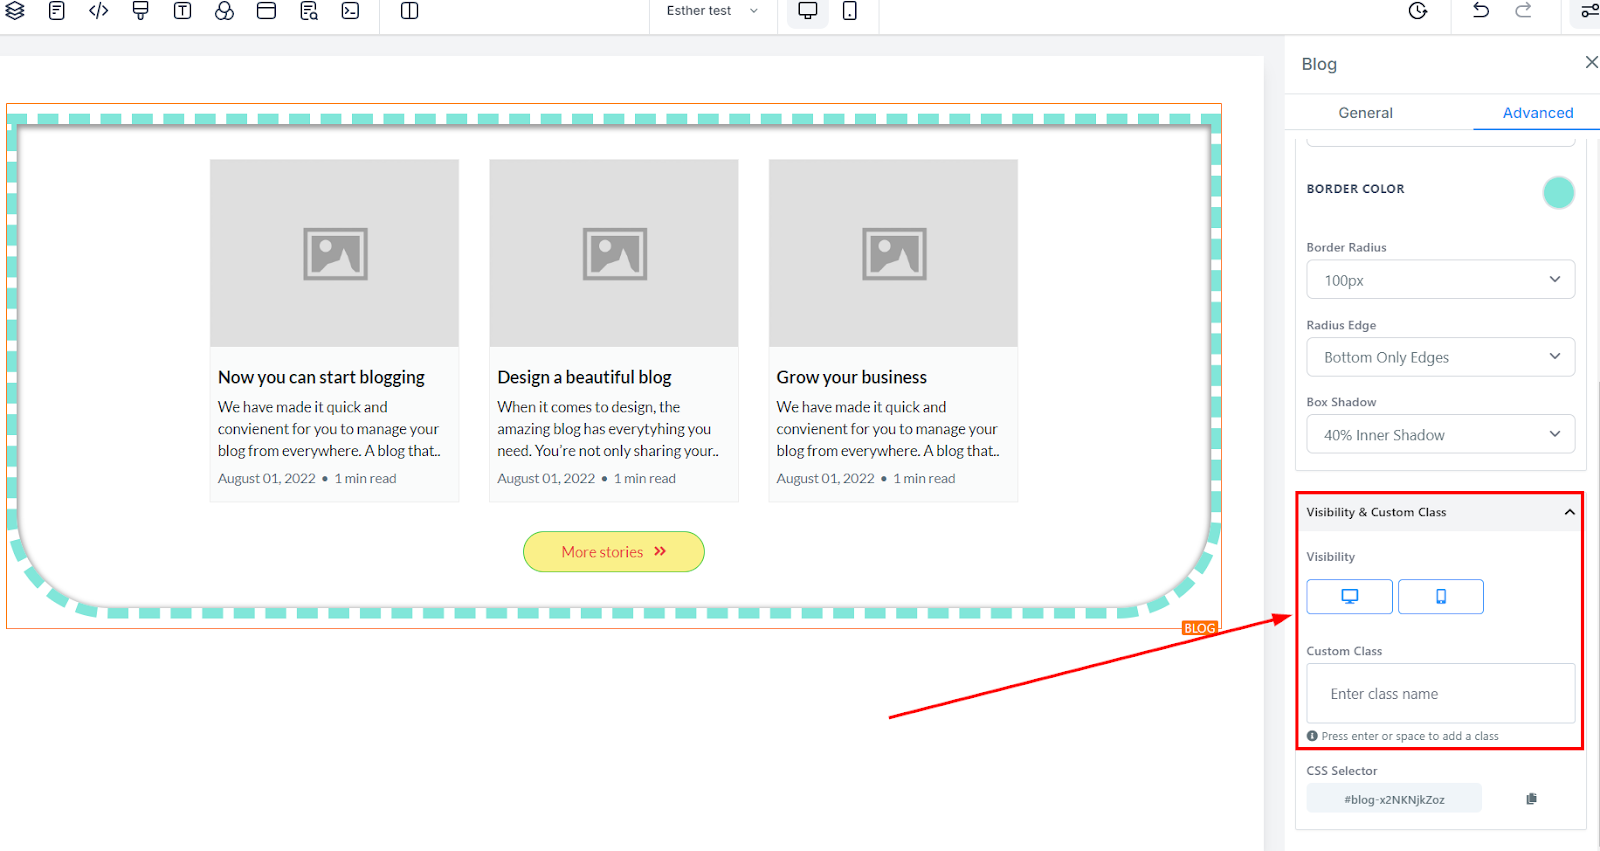
Visibility & Custom Class:
Visibility
Visibility lets you decide if you want your blog post element to be visible on mobile devices, desktops, or both. You can highlight the icon to select.
Custom Class
If you have a custom class, you can input it in the Custom Class field.
CSS Selector
If you need to copy the Custom CSS, just click on the "Copy" icon on the right side of the reference code.
